xTool F2 Ultra UV Paper & Cardstock Settings (2026 Guide)
xTool F2 Ultra UV paper settings for cutting, scoring and engraving cardstock and book board: Studio presets, sourced power and speed, fire safety and fixes.
Last updated 16 min read
On this page
- Short answer
- Quick answer: the best starting settings
- xTool F2 Ultra UV paper settings chart
- xTool Studio paper and cardstock materials
- Cut, score or engrave: which one to use
- What do these settings mean?
- Why a UV laser suits paper
- Step-by-step: cutting and engraving paper on the F2 Ultra UV
- 1. Set up the support
- 2. Measure the height
- 3. Pick a paper material
- 4. Test before the real sheet
- 5. Process and stay with it
- Cutting thicker card and book board
- Engraving paper and cardstock
- Choosing paper for the laser
- Safety: fire, smoke and airflow
- What should I do if the mark looks wrong?
- What could I not confirm?
- FAQ
- What are the best xTool F2 Ultra UV paper settings?
- Can the xTool F2 Ultra UV cut paper and cardstock?
- Does a UV laser burn or char paper?
- What settings cut 2 mm book board on the F2 Ultra UV?
- Why is my engraving on cardstock too faint?
- Why won't the F2 Ultra UV cut all the way through my card?
- Do I need air assist for paper on the F2 Ultra UV?
- Is it safe to laser cut paper on the F2 Ultra UV?
- Related guides
- Final thoughts
- Sources and further watching
Last updated: November 10, 2026
 Paper and cardstock are where a UV laser's tiny spot and low heat really show: fine cut-outs with almost no browning. (Computer-generated illustration.)
Quick facts
- Machine: xTool F2 Ultra UV, 5 W, 355 nm UV galvo, 200 × 200 mm work area
- Best base: the closest paper or cardstock material in xTool Studio, saved as your own copy
- 400 g cardstock preset (on video): cut 100% / 60 mm/s, score 85% / 125 mm/s, engrave 85% / 300 mm/s, 1 pass, 40 kHz
- 2 mm book board (on video): cut 100% / 60 mm/s / 5 passes, score 85% / 125 mm/s
- White cardstock engrave (on video): 40% power, 50 mm/s, 100 lines per cm, 40 kHz
- Frequency range: 40–150 kHz (xTool)
- Support: slatted panel or cut plate, never the bare baseplate
- Safety: paper burns, so keep the lid shut and never leave the job
Short answer
The xTool F2 Ultra UV is a 5 W, 355 nm galvo, and paper burns, so keep the lid shut and stay with the job. Start from the closest paper or cardstock material in xTool Studio. For 400 g cardstock, the one-click preset is 100 percent power at 60 mm/s to cut, 85 percent at 125 mm/s to score a line, and 85 percent at 300 mm/s to fill-engrave, each in one pass. The cut and the score are listed at 40 kHz. Support the sheet on the slatted panel or cut plate, never the bare baseplate, and tape it so air cannot move it. Cardstock and 2 mm book board can cut with little char, but extra energy can still brown or ignite the sheet. A 2 mm book-board cut in the chart is 100 percent power, 60 mm/s, and 5 passes at 40 kHz. Score that board at 85 percent and 125 mm/s for one pass. Retest when the weight or brand changes.
Quick answer: the best starting settings
The safest start is xTool Studio's own paper or cardstock material. For 400 g cardstock, the one-click preset shown in a LaserLiebelei livestream was:
- Cut: 100% power, 60 mm/s, 1 pass, 40 kHz
- Line score: 85% power, 125 mm/s, 1 pass, 40 kHz
- Fill engrave: 85% power, 300 mm/s, 1 pass
For thinner card, go faster or lower. For 2 mm book board, keep the same cut settings but add passes: Indigo Whimsy needed 5 passes at 100% and 60 mm/s.
Paper changes a lot between weights, coatings and brands, so run a quick test on a scrap before the real sheet.
xTool F2 Ultra UV paper settings chart
| Material | Job | Power | Speed | Passes | Other |
|---|---|---|---|---|---|
| 400 g cardstock (Studio preset) | Cut | 100% | 60 mm/s | 1 | 40 kHz, focus descent off |
| 400 g cardstock (Studio preset) | Line score | 85% | 125 mm/s | 1 | 40 kHz |
| 400 g cardstock (Studio preset) | Fill engrave | 85% | 300 mm/s | 1 | – |
| 2 mm (80-pt) book board | Score | 85% | 125 mm/s | 1 | 40 kHz |
| 2 mm (80-pt) book board | Cut | 100% | 60 mm/s | 5 | 40 kHz |
| 2 mm white cardstock | Cut | 55% | 10 mm/s | 1 | 40 kHz |
| 2 mm white cardstock | Engrave, first try (too faint) | 10% | 50 mm/s | 1 | 100 lines/cm, 40 kHz |
| 2 mm white cardstock | Engrave, second try (clean) | 40% | 50 mm/s | 1 | 100 lines/cm, 40 kHz, bi-directional |
| Playing cards (0.33 mm cardstock material) | Cut | default | 55 → 43 mm/s | default | slowed for a cleaner cut |
| Cardstock, estimated | Cut | 35% | 400 mm/s | 1 | settings-site estimate |
| 300 gsm cardstock, estimated | Cut | 95% | 100 mm/s | 1 | settings-site estimate |
Tip: Keep each row together. A power value only makes sense with its own speed, passes and paper.
How to read the chart:
- The 400 g preset and the book board rows are the best-anchored starting points, because both were read straight off xTool Studio on video.
- The 2 mm white cardstock is a rigid, thick card. Its very slow 10 mm/s cut was a creator's own note, not a Studio preset, so treat it as one data point.
- The two "estimated" rows come from a settings database that labels them as estimates. Use them only as a rough cross-check.
- General UV guidance points the same way. One UV laser maker puts typical 3–10 W galvo UV cuts on 80 lb cardstock at 50–150 mm/s, often in 1 pass. That covers other machines, so use it for scale only.
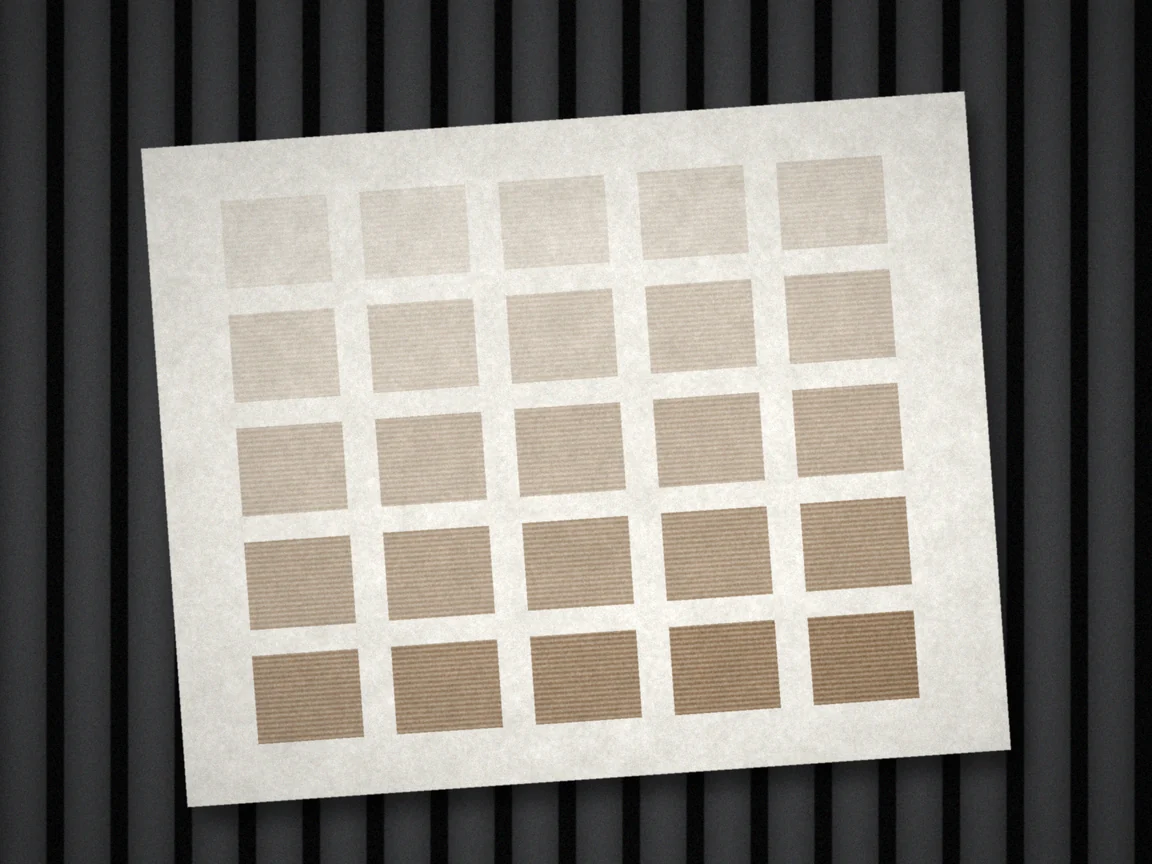 A quick power and speed grid on a scrap of the same card shows where the mark turns clear and where it starts to brown. (Computer-generated illustration.)
xTool Studio paper and cardstock materials
You don't have to guess your first recipe. xTool's material library has tested paper entries that list the F2 Ultra UV, and Atomm shows them:
- 1/77" (0.33 mm) cardstock paper in several colours, xTool-tested
- Cardstock 9 oz (300 g) in many colours, xTool-tested
- 400 g cardstock with a one-click preset (seen in the LaserLiebelei livestream)
The exact numbers load inside Studio, not on the public pages. That's why the chart above uses values read from creators' screens.
Not every paper has a preset. Ashlee Falco found no Studio settings for the white cardstock she was sent, so she entered her own and tested. When that happens, pick the nearest weight, save it as your own material and run a test array.
Cut, score or engrave: which one to use
Studio gives you three processing types for paper, and each has its own job:
| Processing type | What it does on paper | Typical use |
|---|---|---|
| Cut | Goes all the way through | Shapes, cut-outs, box parts, pop-ups |
| Score (line engrave) | A single line on the surface | Fold lines, outlines, text you don't want filled |
| Engrave (fill) | Fills an area with scan lines | Names, logos, patterns, photos |
Both the book board and 400 g presets score at 85% and 125 mm/s. Indigo Whimsy points out that a score only needs to mark the board. It doesn't need to be dark, and on light paper you often don't want it dark.
What do these settings mean?
Power, speed, passes, line density, and frequency decide how much energy reaches the surface. Use these notes with the one row you already chose.
- Power (%): share of the 5 W source. Cutting paper usually runs high, 55–100% in the sourced settings.
- Speed (mm/s): slower means more energy per spot. Cutting card runs slow (10–60 mm/s on video), engraving much faster (50–300 mm/s).
- Passes: repeats. Thin card cuts in 1 pass. 2 mm board needed 5.
- Lines per cm: fill density for engraving. xTool says 100 lines per cm equals 254 DPI.
- Frequency (kHz): pulse rate, 40–150 kHz on this machine. Every paper setting shown here used 40 kHz.
- Focus descent: lowers the focus a little on each pass, which helps thicker board cut evenly.
xTool explains all of these in its processing parameters guide.
Why a UV laser suits paper
Paper burns easily, and that's the main fight with diode and CO2 lasers. A 355 nm UV laser works with far less heat. Its short wavelength breaks the paper's surface bonds instead of mostly heating it, and its spot is tiny.
On video, that shows up clearly:
- Ashlee Falco's white cardstock cut-outs, even a 1-inch one, came out with no burning, soot or flashback on the white surface.
- Indigo Whimsy's book board pieces had no charring, and nothing came off when she rubbed the edges.
- LaserLiebelei cut fine wing details for a pop-up card from 400 g card.
"Low heat" isn't "no heat," though. Too much energy will still brown, pierce or ignite paper. Keep to the lowest setting that does the job.
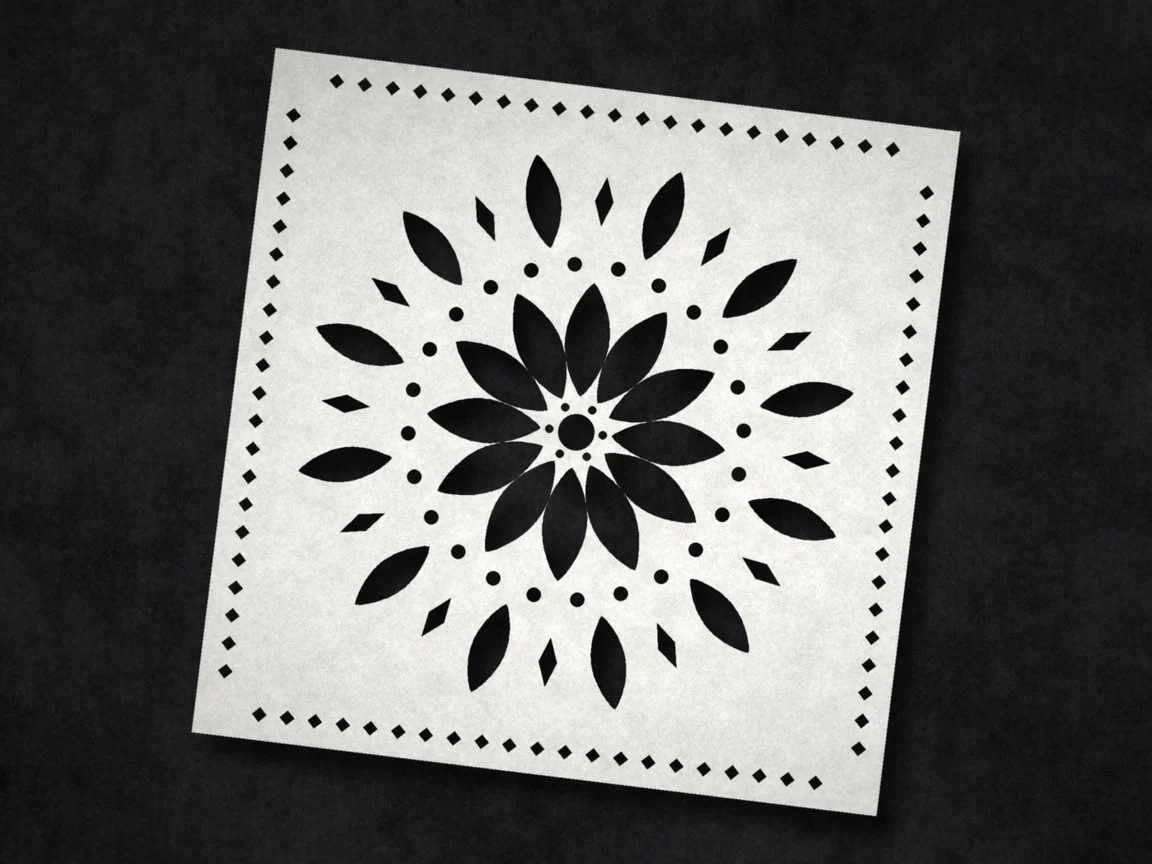 Fine lace patterns are where the small UV spot pays off, with clean inner corners and no brown edges. (Computer-generated illustration.)
Step-by-step: cutting and engraving paper on the F2 Ultra UV
1. Set up the support
- Fit the slatted panel or cut plate. xTool says to keep paper off the metal baseplate, where heat builds up and can scorch the back.
- Ashlee Falco fits the cutting plate first so the laser doesn't mark the machine's base.
- Tape the edges with masking tape or use magnetic clips. Air assist or the exhaust can lift a loose sheet.
2. Measure the height
- Use auto-measure on the real sheet, or type in the thickness. See the focus guide.
- If the camera position looks off, re-run the calibration.
- For repeat cards, a self-centering jig helps you place each card in the same spot.
3. Pick a paper material
- Choose the closest cardstock or paper entry in Studio.
- Save it under My Materials before you change anything.
- If there's no match, start from the chart above and test.
4. Test before the real sheet
- Run a material test array, or cut a few small shapes, on a scrap of the same paper.
- For cuts: slow down in small steps until the pieces drop out on their own. On playing cards, one maker went from 55 to 43 mm/s.
- For engraving: raise power in steps until the mark is clear, and stop before the paper browns.
5. Process and stay with it
- Close the lid, turn on the exhaust or air purifier and press start.
- Stay with the machine the whole time. Paper can catch fire.
- Check the edges and contrast. Re-test when the weight, brand or coating changes.
Cutting thicker card and book board
Thick card and book board are where the 5 W source feels its limits. They cut cleanly, but slowly.
Indigo Whimsy's 2 mm book board needed 5 passes at 100% and 60 mm/s. A few lessons from her video:
- Focus descent steps the focus down on each pass. It matters more as board gets thicker.
- Cut lines once. Where two shapes share an edge, the laser cuts that line twice unless you merge it, which adds time.
- Watch the angle. A galvo laser fires from the centre, so cut edges lean slightly, and they lean more the further a part sits from the centre. Box makers should place key parts near the middle.
- Group parts into layers so Studio cuts them in the order you want.
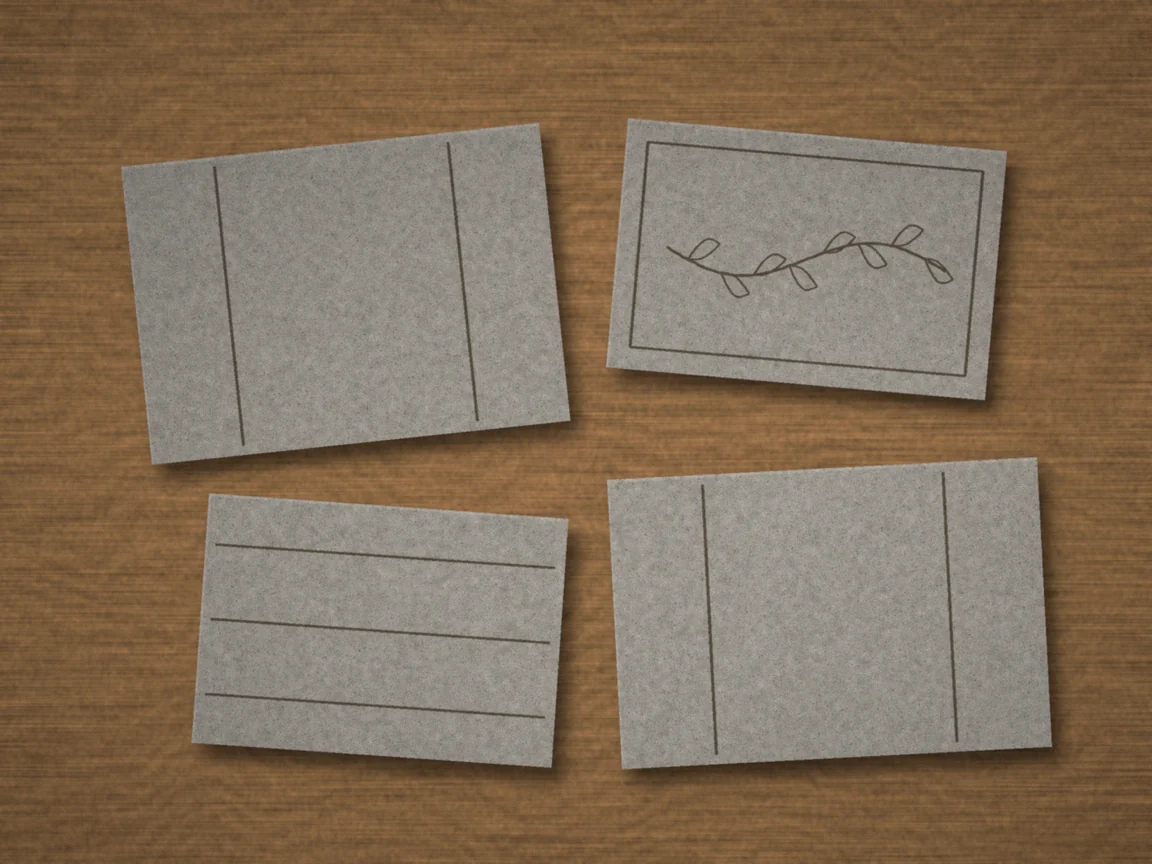 Scored fold lines and a light engraved border on 2 mm book board, the kind of parts bookbinders and box makers cut. (Computer-generated illustration.)
Engraving paper and cardstock
Engraving paper is a balance. Too little power barely shows, and too much browns or pierces the sheet.
Ashlee Falco's white cardstock shows how quickly it changes. At 10% power and 50 mm/s the name barely marked. At 40% with the same speed, 100 lines per cm and 40 kHz, it came out crisp with no charring. The 400 g preset engraves at 85% and 300 mm/s, which shows how much faster you can run on the right card.
Tips that carry across:
- Score text, fill logos. A line score is quicker and cleaner for thin lettering.
- Layered paper is great for contrast. Trotec notes that with two-layer paper, the laser lifts the top colour to reveal the one below.
- Photos on paper: Trotec suggests dropping photo resolution to around 250–333 dpi on its machines. Treat that as a general hint, then test.
For gift ideas that use paper and card, see UV laser project ideas, and for blanks worth stocking see best UV laser blanks.
Choosing paper for the laser
| Paper type | How it behaves | Tip |
|---|---|---|
| Plain white cardstock | Cuts clean, marks clearly once power is high enough | Raise engrave power in small steps |
| Heavy card (300–400 g) | Cuts in 1 pass with the right preset | Start from the Studio preset |
| Book board / chipboard (2 mm) | Needs several passes | Use focus descent, cut near the centre |
| Coated card, playing cards | Coating changes absorption | Slow the cut slightly and test |
| Glitter, foil or metallic card | Coatings change how the light is absorbed; no F2 Ultra UV data | Test small and watch closely |
| Thin printer paper | Can pierce or flutter easily | Tape it down and use low energy |
Coatings matter. A coated cardstock absorbs light differently from uncoated paper, and batches of the same brand can differ. Test every new pack.
Safety: fire, smoke and airflow
Paper is the most flammable thing most people put in a UV laser. Take it seriously.
- Never leave a paper job running. The playing card maker said it plainly: don't leave the machine, because of the fire risk.
- Keep the lid closed. Ashlee Falco ran with the lid open only so she could film, and told viewers not to copy that.
- Clear the smoke. xTool's cardstock guide recommends air assist to blow away smoke and dust and cut false fire alarms. Pair it with a good exhaust; see the inline fan guide.
- Keep paper off the metal baseplate. Use the slatted panel or cut plate.
- Wear laser glasses rated for 355 nm whenever the lid is open, plus the dust mask xTool's cardstock guide lists as required.
What should I do if the mark looks wrong?
Match the symptom to one cause in the table, change only that fix, and test it on scrap first.
| Problem | Likely cause | Fix |
|---|---|---|
| Doesn't cut through | Card too thick or dense for the setting | Slow down a little or add a pass; check focus |
| Brown or scorched edges | Too much energy in one spot | Raise speed or lower power; keep paper off the baseplate |
| Engraving too faint | Power too low for that paper | Raise power in steps (10% to 40% fixed it on white card) |
| Engraving pierces the sheet | Too much energy for thin paper | Lower power or speed up; consider a score instead of a fill |
| Paper moves or pieces fly | Airflow lifting the sheet | Tape edges or use magnetic clips |
| Back of the sheet marked | Heat from the baseplate | Use the slatted panel or cut plate |
| Board edges lean | Galvo cut angle | Place parts near the centre; cut thick parts in groups |
| Slow job on box parts | Shared edges cut twice | Merge shared lines in your design |
| Same paper, different result | New batch or coating | Re-test every new pack |
What could I not confirm?
The items below were not stated in the public sources for this page, so this chart does not fill them in.
- Studio preset numbers: most real values sit inside xTool Studio, not on the public web. Only the 400 g preset was visible on video.
- Thin paper: no creator showed F2 Ultra UV settings for ordinary 80 gsm printer paper.
- Coated and glitter card: no F2 Ultra UV source gave numbers for them.
- Photo engraving on paper: no F2 Ultra UV creator showed photo settings on paper.
FAQ
What are the best xTool F2 Ultra UV paper settings?
Start from the closest paper or cardstock material in xTool Studio. For 400 g cardstock, Studio's one-click preset showed 100% power at 60 mm/s for cutting, 85% at 125 mm/s for line scoring and 85% at 300 mm/s for fill engraving, each in 1 pass at 40 kHz. Test on a scrap first, because paper weight and coating change the result.
Can the xTool F2 Ultra UV cut paper and cardstock?
Yes. xTool lists paper among the materials the F2 Ultra UV can cut, and creators have cut white cardstock, 400 g card, playing cards and 2 mm book board with it. The 5 W source means thick board needs slow speeds or several passes.
Does a UV laser burn or char paper?
Much less than diode or CO2 lasers. Creators cutting cardstock and book board on the F2 Ultra UV showed clean edges with no visible charring or soot. Too much energy can still brown or ignite paper, so keep to the lowest setting that works.
What settings cut 2 mm book board on the F2 Ultra UV?
Indigo Whimsy cut 2 mm (80-point) book board at 100% power, 60 mm/s and 5 passes at 40 kHz, and scored it at 85%, 125 mm/s in 1 pass. Studio's focus descent option can help on thicker board.
Why is my engraving on cardstock too faint?
The power is too low for that paper. Ashlee Falco's first try on white cardstock at 10% power and 50 mm/s barely marked; at 40% power with the same speed it came out clean. Raise power in steps, or slow down a little, and stop before the paper browns.
Why won't the F2 Ultra UV cut all the way through my card?
The card is thicker or denser than the setting expects, or the focus is off. Slow the cut a little (one maker went from 55 to 43 mm/s on playing cards), add passes for board, and re-measure the height.
Do I need air assist for paper on the F2 Ultra UV?
xTool's cardstock guide recommends air assist to clear smoke and dust and reduce false fire alarms, but airflow can move light paper. Tape the edges or use magnetic clips, and use the slatted panel or cut plate.
Is it safe to laser cut paper on the F2 Ultra UV?
Yes, with care. Paper is flammable, so keep the lid closed, run the exhaust, never leave the job unattended and keep paper off the bare metal baseplate. Wear 355 nm-rated laser glasses whenever the lid is open.
Related guides
- All xTool F2 Ultra UV settings
- xTool F2 Ultra UV wood settings
- xTool F2 Ultra UV leather settings
- How to focus a UV laser
- How to calibrate the xTool F2 Ultra UV
- Best self-centering jigs for the F2 Ultra UV
- Best inline fans for the F2 Ultra UV
- Best UV laser blanks to buy and sell
- UV laser project ideas
Final thoughts
Start paper from the closest Studio material. For heavy card, test around 100% and 60 mm/s for cuts, 85% and 125 mm/s for scores, and step engraving power up until the mark is clear. Add passes for board rather than slowing to a crawl, keep the sheet on slats and taped down, and never walk away from a paper job.
Sources and further watching
Cutting and engraving white cardstock, including the faint first engrave and the cleaner second run. (Video: Ashlee Falco on YouTube.)
Score and multi-pass cut settings for 2 mm book board, plus the galvo cut-angle tip. (Video: Indigo Whimsy on YouTube.)
Studio's one-click 400 g cardstock preset for cut, score and engrave, shown on screen. (Video: LaserLiebelei on YouTube, in German.)
- xTool Support, Beginner's Guide to Laser Processing of Colored Cardstock: https://support.xtool.com/article/2451
- xTool Support, Processing Parameters for xTool F2 Ultra UV: https://support.xtool.com/article/2699
- xTool Support, FAQs on xTool F2 Ultra UV: https://support.xtool.com/article/2870
- xTool Support, xTool F2 Ultra UV User Guide: https://support.xtool.com/article/2595
- xTool Support, Processing Parameter Settings for xTool F2 Ultra UV (material test array): https://support.xtool.com/article/2698
- Atomm Material Lab, 1/77" (0.33 mm) Green Cardstock Paper (official): https://www.atomm.com/materials-lab/official/2129-1-77-0-33mm-green-cardstock-paper
- Atomm Material Lab, Purple Cardstock 9 oz (300 g) (official): https://www.atomm.com/materials-lab/official/2059-purple-cardstock-9oz-300g
- Atomm, Playing Card Butterfly Popout (F2 Ultra UV project by rubyrube): https://www.atomm.com/project/107645-playing-card-butterfly-popout
- Bonny Creations, xTool F2 Ultra UV Cardstock Settings: https://www.bonnycreations.com/settings/machines/xtool-f2-ultra-uv/cardstock
- Bonny Creations, xTool F2 Ultra UV Cardstock 300gsm Settings: https://www.bonnycreations.com/settings/machines/xtool-f2-ultra-uv/cardstock-300gsm
- Trotec, Tips and Tricks for Laser Processing Paper: https://www.troteclaser.com/en-us/helpcenter/materials/material-usage-hints/laser-processing-paper
- OMG Laser, CO2 vs UV Laser for Paper Cutting: https://omglaser.com/co2-vs-uv-laser-for-cutting-paper-speed-quality-and-best-practices/
- ComMarker US, Why Your Laser Cutter Burns Cardstock: https://www.commarkerus.com/blog/why-your-laser-cutter-burns-cardstock-and-how-to-fix-it-without-227.html
- Ashlee Falco, xTool F2 Ultra UV Laser FIRST TESTS: Crystal, Cardstock, Wood & More! (YouTube): https://www.youtube.com/watch?v=K72sLuuSa3Y
- Indigo Whimsy, Cutting Book Board with the xTool Ultra UV Laser - NO CHAR! (YouTube): https://www.youtube.com/watch?v=A1s49xDFqi8
- LaserLiebelei, LIVESTREAM F2 Ultra UV: fine paper cuts, a pop-up card gets wings (YouTube, German): https://www.youtube.com/watch?v=DScVIlaa7Oc
Related settings
- xTool F2 Ultra UV Bamboo Settings: Cutting Boards, Coasters & Plywood (2026)
- xTool F2 Ultra UV Granite Settings: Black Granite, Memorials & Rocks (2026)
- xTool F2 Ultra UV Polycarbonate Settings: PC Sheet, Cases & Cards (2026)
- xTool F2 Ultra UV Cork Settings: Coasters, Sheets & Photo Chart (2026)
- xTool F2 Ultra UV Marble Settings: Black, White & Green Marble Chart (2026)
- xTool F2 Ultra UV Gold Settings: Solid, Gold-Filled & Gold-Plated Jewelry (2026)
- xTool F2 Ultra UV Silver Settings: Sterling Silver Jewelry, Tags & Pendants (2026)
- xTool F2 Ultra UV Copper Settings: Sheet, Tags & Copper-Clad PCB Blanks (2026)
- xTool F2 Ultra UV Aluminum Settings: Bare Sheet, Cards, Tags & ID Plates (2026)
- xTool F2 Ultra UV Silicone Settings: Wristbands, Watch Bands & Phone Cases (2026)
- xTool F2 Ultra UV Titanium Settings: Color Mark, Dark Mark & Jewelry Chart (2026)
- xTool F2 Ultra UV ABS Settings: Presets, Test Grid & Safety Guide (2026)
- xTool F2 Ultra UV Brass Settings: Tags, Sheet & Coin Emboss Chart (2026)
- xTool F2 Ultra UV Crystal Settings: 3D Inner Engraving Guide (2026)
- xTool F2 Ultra UV Anodized Aluminum Settings: Business Cards & More (2026)
- xTool F2 Ultra UV Leather Settings: Genuine, Faux & Leatherette Chart (2026)
- xTool F2 Ultra UV Stainless Steel Settings: Dark, White, Color & Photo Chart (2026)
- xTool F2 Ultra UV Wood Settings: Basswood, Plywood, Pine & MDF Chart (2026)
- xTool F2 Ultra UV Acrylic Settings: Clear, Black & White Chart (2026)
- xTool F2 Ultra UV Ceramic Settings: Tiles & Mugs Chart (2026)
- xTool F2 Ultra UV Glass Settings: Flat Glass & Rotary Chart (2026)
- xTool F2 Ultra UV PLA Settings: 3D Print Colour Chart (2026)
- xTool F2 Ultra UV Slate Settings: Power, Speed & Frequency Chart (2026)
- xTool F2 Ultra UV Tumbler Settings: Powder-Coated & Stainless (2026)
- Can a UV Laser Engrave Slate?
- Can a UV Laser Engrave Glass?
Keep reading
xTool F2 Ultra UV Bamboo Settings: Cutting Boards, Coasters & Plywood (2026)
Sourced xTool F2 Ultra UV bamboo settings for cutting boards, coasters and plywood, with a starting test grid, glue-line tips and food-safe finishing.
Read more19 min read
xTool F2 Ultra UV Granite Settings: Black Granite, Memorials & Rocks (2026)
Sourced xTool F2 Ultra UV granite settings for polished black and light granite, with a starting test grid, deep relief, paint fill and silica safety.
Read more20 min read
xTool F2 Ultra UV Polycarbonate Settings: PC Sheet, Cases & Cards (2026)
Sourced xTool F2 Ultra UV polycarbonate settings for clear, white and black PC, with a starting test grid, mark colors, fume safety and fixes.
Read more18 min read