xTool F2 Ultra UV Silver Settings: Sterling Silver Jewelry, Tags & Pendants (2026)
Sourced xTool F2 Ultra UV silver settings for sterling jewelry, tags and pendants, with a test grid, rotary jewelry rows, reflection safety and honest limits.
21 min read
On this page
- Short answer
- Quick answer: the best starting settings
- xTool F2 Ultra UV silver settings chart
- A test grid for sterling silver
- Other UV machines (cross-reference only, not F2 Ultra UV numbers)
- Fiber numbers you should NOT use on the F2 Ultra UV
- What do the settings mean?
- Can the F2 Ultra UV engrave silver?
- Which silver are you engraving?
- Tarnish, polish and the finish you start with
- What I saw in the videos
- Step-by-step: engraving sterling silver jewelry
- 1. Identify and clean
- 2. Beat the reflection
- 3. Focus
- 4. Hold small pieces still
- 5. Grid, then the real piece
- 6. Clean and finish
- Pendants, tags, rings and more
- Safety
- Troubleshooting
- What I couldn't confirm
- FAQ
- Can the xTool F2 Ultra UV engrave silver?
- What are the best F2 Ultra UV settings for sterling silver?
- What settings work for silver rings on the RA3 rotary?
- Is polished silver dangerous for the F2 Ultra UV?
- Why is my engraving on silver faint or brownish?
- Can I engrave silver-plated jewelry with a UV laser?
- Should I use the fiber silver recipes on the F2 Ultra UV?
- Can the F2 Ultra UV color-engrave or emboss silver?
- Related guides
- Final thoughts
- Sources and further watching
Last updated: November 12, 2026
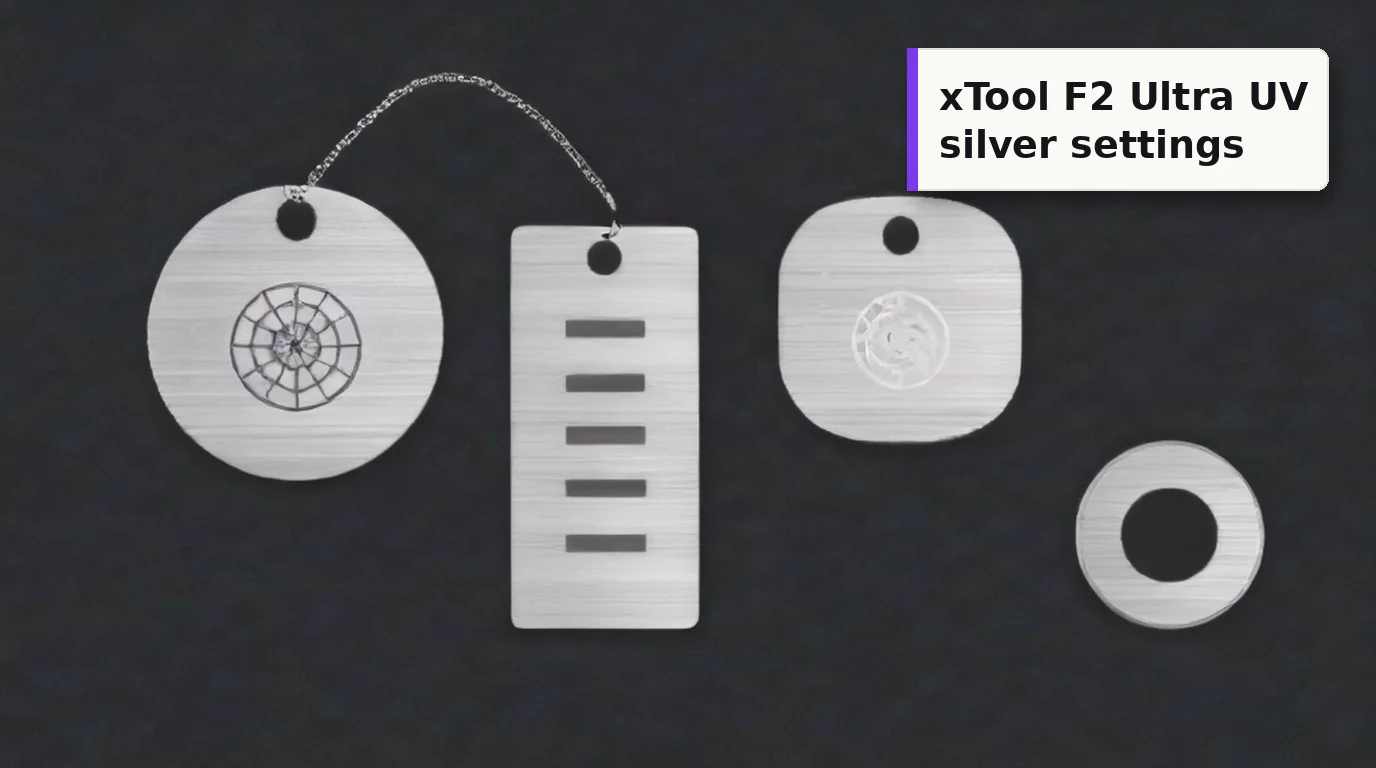 Sterling silver takes a fine, light-grey surface mark on the F2 Ultra UV. Think crisp detail, not deep carving. (AI-generated example.)
Silver is the metal jewelry makers ask about most. Sterling pendants, bar necklaces, charms, rings and pet tags sell well, and a UV laser's tiny spot is made for the small text and fine line art that go on them.
Here's where things honestly stand. Silver is on xTool's official list of materials the F2 Ultra UV is built for, and xTool's Material Lab now carries a "setting verified" F2 Ultra UV engrave preset for 925 silver. The catch is that the numbers only open inside xTool Studio, so they aren't published on the web. A community sterling silver preset for the F2 Ultra UV is also locked behind a login. Nobody I found has published a full, open F2 Ultra UV recipe for sterling silver with photos of the result.
So this guide gives you what is sourced: the F2 Ultra UV numbers that exist for small metal jewelry, a test grid built from this machine's published metal recipes, UV rows from other machines kept in their own table, and the fiber silver recipes you should not copy. Treat every row as a starting point, not a promise.
Quick facts
- Machine: xTool F2 Ultra UV, enclosed 5W, 355 nm UV galvo
- Is silver supported? Yes. xTool lists silver among the F2 Ultra UV's intended materials
- Official preset: xTool's Material Lab has a verified F2 Ultra UV engrave setting for 925 silver. Load it with "Open in Studio"; the numbers aren't shown publicly
- Open F2 Ultra UV silver recipe: none published that I could find, so run a test grid
- Suggested grid (mine, not tested): 30-100% power, 1500-50 mm/s, 1 pass, 500 lines/cm, 40 kHz
- Small jewelry on the RA3 rotary (F2 Ultra UV, not silver): 100% power, about 300 mm/s, 300 lines/cm, 40 kHz, 1 pass
- What the mark looks like: a fine grey to frosty-white surface mark. Depth takes a long time on a 5W UV
- Biggest risk: reflection from polished silver. Stay in focus and tilt the piece about 1 mm
- Not possible on this machine: reliable color marking and metal embossing (xTool FAQ)
- Safety: lid closed, extraction on, 355 nm goggles if the lid can't close
Short answer
The xTool F2 Ultra UV can engrave sterling silver, and xTool lists silver as an intended material. The mark is a fine, light surface mark, not a deep carve. xTool's Material Lab has a verified F2 Ultra UV preset for 925 silver that you can load in xTool Studio, but no open recipe is published. Start with that preset or run a grid from 30% power at 1500 mm/s to 100% at 50 mm/s, at 1 pass, 500 lines/cm and 40 kHz. For rings and bracelets on the RA3, makers used 100% power at 200-300 mm/s, 300 lines/cm and 40 kHz on other metals. Polish off tarnish first, stay in focus and tilt the piece about 1 mm. Don't expect color or embossing.
Quick answer: the best starting settings
Use xTool's own preset first. Open the 925 Silver page in xTool's Material Lab, pick the F2 Ultra UV tab, and choose "Open in Studio" or "Save to Studio". The page marks the F2 Ultra UV engrave setting as verified, with a parameter update on November 10, 2026. I can't print the numbers because the page doesn't show them, but this is the only silver preset for this machine that xTool stands behind.
If you want to understand the range, run a grid. No open F2 Ultra UV silver recipe turned up in my research, so I built the grid below from the published F2 Ultra UV metal recipes I already cover in my stainless steel guide. Those run from a fast, light pass (30% power at 1840 mm/s, 800 lines/cm, 40 kHz) to a slow, darker pass (100% power at 50 mm/s, 800 lines/cm, 40 kHz). It's my suggestion, not a tested silver recipe.
For rings and bracelets on the RA3 rotary, two makers published F2 Ultra UV jewelry numbers on screen, but neither piece was confirmed as silver. Ashlee Falco engraved a ring at 100% power, about 300 mm/s, 1 pass, 300 lines/cm and 40 kHz in about 10 seconds, and a stainless bracelet at 100% and 200 mm/s. Tuwbees Custom Works engraved the inside of a stainless ring at 100%, 40 mm/s, 2 passes and 800 lines/cm. They show you what a small, curved jewelry job looks like on this machine. They aren't silver recipes.
Before you start, read xTool's safety page. It tells you to make sure the laser is correctly focused when processing highly reflective materials, or reflected beams can damage the product (xTool F2 Ultra UV safety page). Polished silver is about as reflective as metal gets.
xTool F2 Ultra UV silver settings chart
Every row here was run on an F2 Ultra UV. Only the first row is a silver setting. Keep each row's numbers together.
| Item / goal | Power | Speed | Lines/cm | Passes | Frequency | Material | Source |
|---|---|---|---|---|---|---|---|
| 925 silver, engrave | in Studio | in Studio | in Studio | in Studio | in Studio | 925 silver | xTool Material Lab, "setting verified" (numbers load in Studio) |
| Small ring on RA3 rotary | 100% | ~300 mm/s (299-306) | 300 | 1 | 40 kHz | Ring, metal not stated | Ashlee Falco video, Studio panel on screen |
| Bracelet on RA3 rotary | 100% | 200 mm/s | not shown | 1 | not shown | 304 stainless | Same video, narration |
| Inside of a ring on RA3 | 100% | 40 mm/s | 800 | 2 | 40 kHz | Stainless | Tuwbees Custom Works video, on-screen overlay |
| Legal frequency window | - | - | - | - | 40-150 kHz | - | xTool Support 2699 |
Why the stainless rows are here: they're the closest published F2 Ultra UV numbers for small, curved jewelry. Silver reflects more and spreads heat faster than stainless, so expect a lighter mark at the same settings, and test before you trust them on a customer's piece.
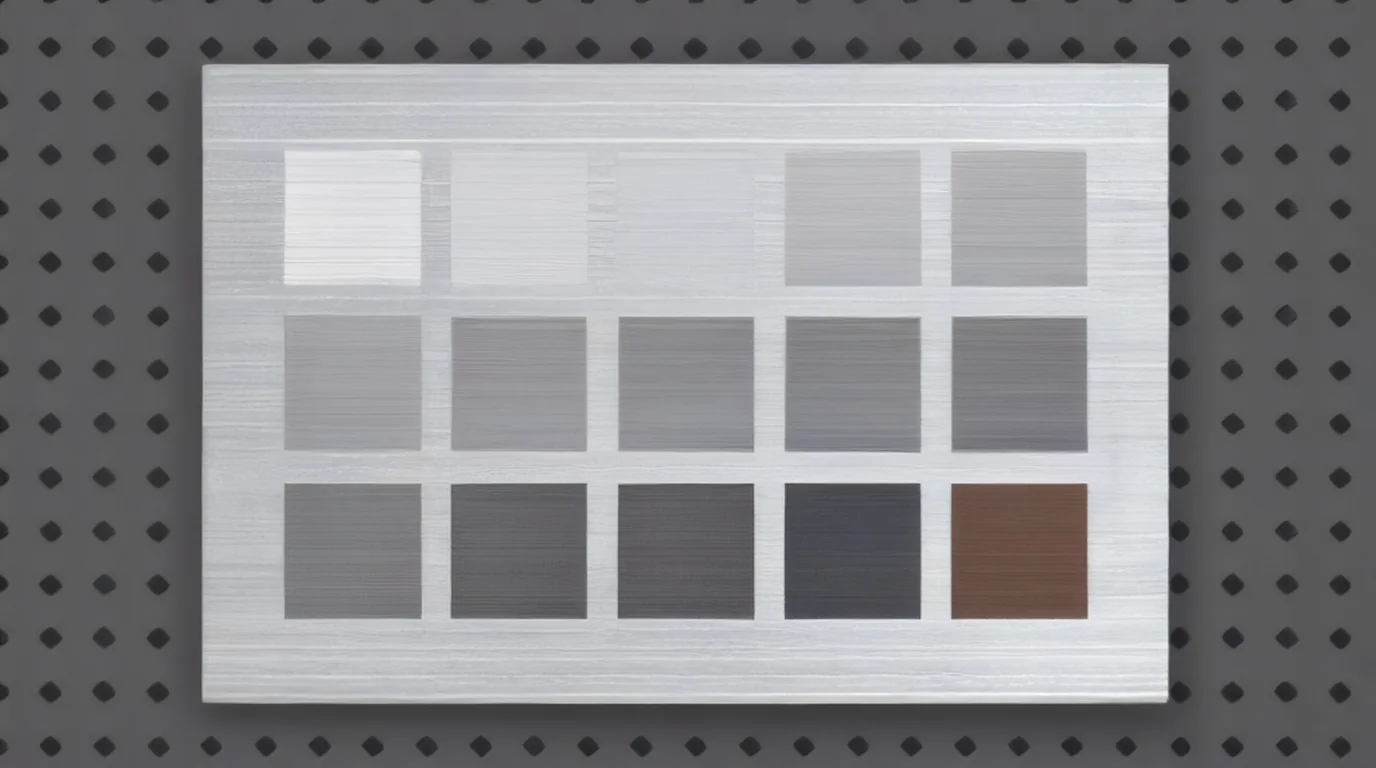 A small grid on your own silver stock tells you more than any chart. The brownish cell is the one to avoid. (AI-generated example.)
A test grid for sterling silver
This is my suggested grid, not a tested recipe. It brackets the F2 Ultra UV's published fast-light and slow-dark metal rows, and stays inside the machine's limits:
- Power: 30%, 60%, 100%
- Speed: 1500, 800, 300, 100, 50 mm/s
- Fixed: 1 pass, 500 lines/cm, 40 kHz, bi-directional
- Second grid (optional): take the best cell and try 800 lines/cm, then 2 passes
- Cells: 8-10 mm squares or one short word each, on a scrap blank from the same supplier
xTool Studio's "Material test array" builds this for you. Set the rows and columns, the speed and power range, and the processing type (xTool Support 2698).
Judge the cells after you wipe them, under the light you'll sell in. On silver, more energy doesn't always look better. Pramark, a Czech marking specialist, warns that sterling's copper content can oxidize locally and leave a brownish tint (Pramark). If a cell turns brown, back off.
Other UV machines (cross-reference only, not F2 Ultra UV numbers)
| Machine | Result | Published settings | Source | Why it doesn't transfer |
|---|---|---|---|---|
| 10W JPT UV, 300 mm lens | White mark on a sterling silver plate | 500 mm/s, 180 kHz, 2.5 ns pulse, 0.008 mm spacing, crosshatch, 1 pass | BWM Laser settings library | Twice the power, pulse-width control, and 180 kHz is above the F2 Ultra UV's 150 kHz limit |
| 10W JPT UV, 300 mm lens | White mark on silver jewelry | 300 mm/s, 60 kHz, 1 ns pulse, 0.03 mm spacing, crosshatch, 1 pass | BWM Laser settings library | Twice the power and pulse-width control |
| Thunder Laser Aurora UV 5W | Silver engrave default preset | 200 mm/s, 20% power, 0.0127 mm interval, Q-pulse 10 | Cut List Maker Laser Library | Different source, software and power scale |
| Generic 5W UV | Surface marking on silver | 60-85% power, 800-1500 mm/s, 20-40 kHz, 1-3 passes, 0.02-0.04 mm hatch | Laser Engraving Tips | A general range, not a recipe |
Two useful things come out of this table. First, the other UV makers reach for crosshatch and fine line spacing for a white mark on silver. Second, they run at fairly high speeds. Both point toward the fast end of the grid for a bright, even mark.
Fiber numbers you should NOT use on the F2 Ultra UV
These rank near the top for "xTool F2 Ultra silver settings", but they belong to the infrared fiber laser, not the UV.
| Machine / goal | Published settings | Source | Why not |
|---|---|---|---|
| F2 Ultra fiber, silver white mark | 70% power, 2500 mm/s, 200 LPC, 2 passes, 30 kHz, 500 ns, 45° crosshatch | L3D Accessories | 1064 nm fiber with pulse control |
| F2 Ultra fiber, silver standard engrave | 75% power, 1000 mm/s, 240 LPC, 2 passes, 46 kHz, 250 ns | L3D Accessories | Same reason |
| F2 Ultra fiber, silver deep black | 100% power, 200 mm/s, 300 LPC, 2 passes, 30 kHz, 500 ns | L3D Accessories | The UV can't form a stable oxide layer (xTool FAQ) |
What do the settings mean?
- Power (%): laser output. The published F2 Ultra UV jewelry rows all run at 100%.
- Speed (mm/s): slower means more energy per spot. The rotary ring ran at about 300 mm/s; the inside-ring job crawled at 40.
- Lines per cm: fill density. xTool says 100 lines/cm equals 254 DPI (xTool Support 2699). Higher numbers give a smoother, more solid fill on small text.
- Passes: a second pass deepens and evens out the mark. It also adds heat, which silver spreads quickly.
- Frequency (kHz): pulse rate, 40-150 kHz on this machine. Every F2 Ultra UV metal row I found uses 40 kHz.
- Crosshatch: fill lines in two directions. Other UV makers use it for white marks on silver.
- Dot duration and DPI: these apply in bitmap mode for photos. On stainless, Chris from L3D uses 100% power, 650 µs dot duration, 1000 DPI and 40 kHz with Jarvis dithering. I didn't find a silver photo test for this machine.
Can the F2 Ultra UV engrave silver?
Yes, with honest limits.
It's on the list. xTool's safety page says the UV laser can process "stainless steel, aluminum, brass, silver, platinum, titanium" and more (xTool Support 2751). That's more than I could say for copper.
Why UV helps on silver. Silver is hard on lasers for two reasons. It reflects most infrared light, and it spreads heat away from the spot very fast. Pramark puts silver's reflection at roughly 85-95% at 1064 nm, the fiber wavelength. A 355 nm UV works more by breaking bonds than by heating, which is why it's often called "cold marking". The small heat-affected zone is what jewelers like about it.
Where it stops. The mark is shallow:
- Laser Engraving 911 says that with a 5W UV you can put "a light engraving on gold, silver, copper, brass" and other metals, "but getting depth with this machine and this type of laser takes a long time".
- Boyne Valley Laser Studio, an Irish laser studio that reviews xTool machines for jewelers, rates the F2 Ultra UV for "surface marks" on solid gold and silver, mostly grey or black ablative marks. They point to a MOPA fiber for the deepest, most repeatable marks and for color.
- Pramark notes that silver is soft and that typical engraving depth on it is very shallow, around 0.005-0.01 mm, to avoid deforming the surface.
My read: for names, dates, initials, tiny line art and hallmark-style text on sterling, the F2 Ultra UV is a great fit. It's a weaker choice when the customer wants deep, dark or colored engraving.
Which silver are you engraving?
Different "silvers" behave differently, and some of them aren't silver at all.
| Material | What it is | What to expect | Where to start |
|---|---|---|---|
| Sterling silver (925) | 92.5% silver, usually with copper | The common jewelry metal; copper can brown the mark if you overheat it | This guide's grid, or xTool's 925 preset |
| Fine silver (999) | Nearly pure silver | Softer and more reflective; don't assume the 925 setting transfers | Re-run the grid (ZhuoRui) |
| Silver-plated jewelry | A thin silver layer over brass or copper | The laser can go through the plating | Fast, light cells only; test on a sacrificial piece |
| Nickel silver | Copper, nickel and zinc, with no silver | Behaves more like brass | See the brass guide |
| Tarnished silver | Silver with a sulfide film | The laser may mark the film, not the metal | Polish first |
| Anodized "silver" aluminum | Aluminum with a clear or silver coat | A coating job | See the anodized aluminum guide |
Sterling silver is defined as 92.5% silver by weight, with the rest usually copper, and it tarnishes as it reacts with sulfur in the air (Wikipedia: Sterling silver). ZhuoRui Laser makes the practical point: a 925 part and a 999 part shouldn't share one parameter assumption, and the same alloy can respond differently after polishing, tarnishing or coating.
On plated pieces, Boyne Valley says the UV's lower heat makes it "the more forgiving choice", but that "thin plating can still be altered", so they test on a sample first. I'd do the same.
Tarnish, polish and the finish you start with
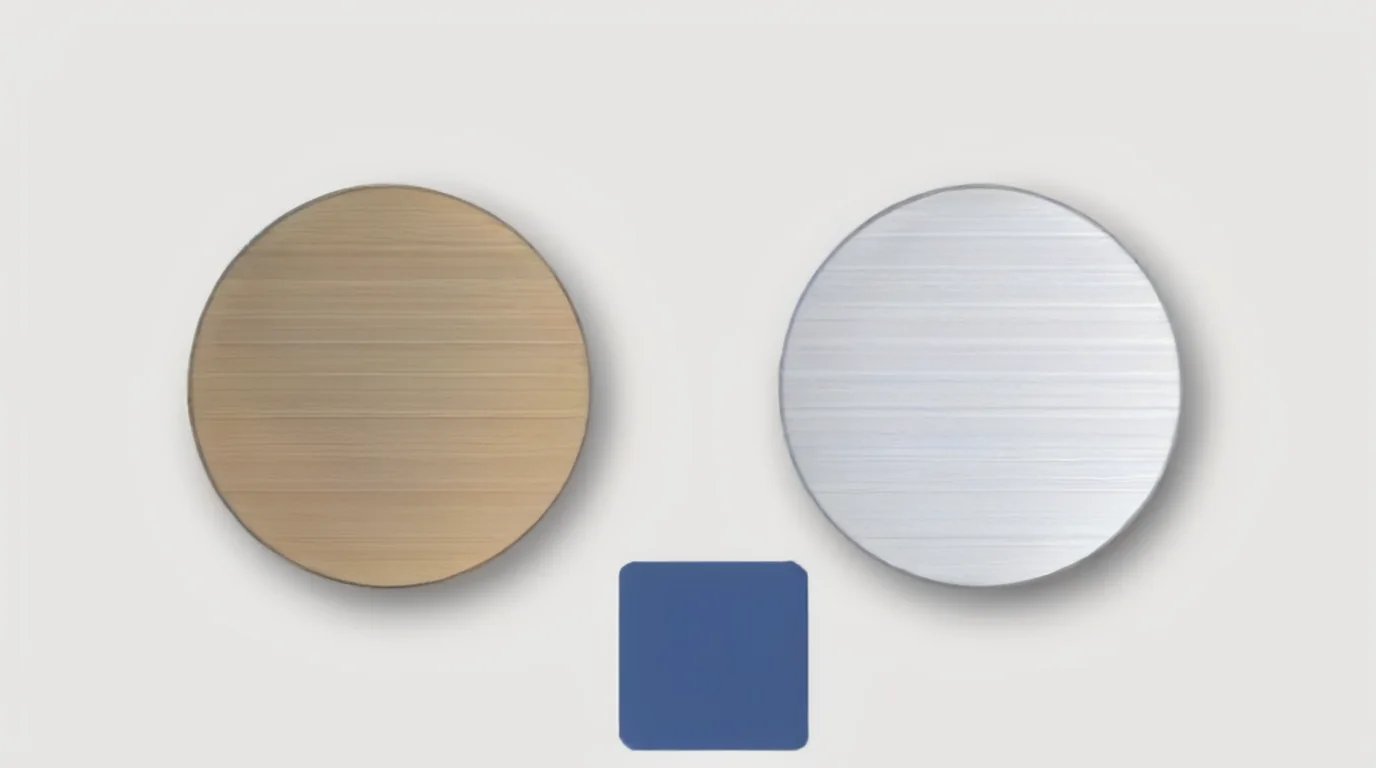 Tarnish changes how the laser couples into the metal. Polish your blanks before you run the grid, not after. (AI-generated example.)
Tarnish is the hidden variable on silver. Pramark recommends removing sulfides and organic dirt, chemically or mechanically, before marking to get a stable, even result. A blank that sat in a drawer for six months won't mark like the same blank fresh from the supplier.
- Mirror-polished blanks: the brightest look and the highest reflection risk. Autofocus can struggle.
- Brushed or satin blanks: easier to couple energy into, and a more even tone.
- Pre-oxidized or blackened silver: the laser removes the dark layer and shows bright silver underneath. Treat it like a coating.
What I saw in the videos
I watched the jewelry sections frame by frame instead of only reading transcripts.
- Ashlee Falco, RA3 + F2 Ultra UV rotary test: For the bracelet, the xTool Studio panel shows Material "304 Stainless Steel" and a 2.6 in diameter. She said the library didn't give her settings, so she ran 100 power and 200 speed. The job took about 15 seconds, and she called the engraving "really deep". For the ring, the panel shows a user-defined engrave at Power 100, Speed 299 (she later reads it as 306), Pass 1, 300 lines per cm, 40 kHz and bi-directional, with a 0.87 in diameter. It took about 10 seconds. The ring's metal isn't stated. Her takeaway: she couldn't get text that small from her other xTool machines (the F2, F1 Ultra and P3).
- Tuwbees Custom Works, inside-ring tutorial: A stainless ring sits on the RA3 tilted to 26°, with the text mirrored. The on-screen overlay reads "Power 100%, Speed 40 mm/s, Pass 2, LPC 800", and the Studio panel shows 40 kHz, bi-directional.
- Laser Engraving 911, F2 Ultra UV review: The metal section groups silver with gold, copper, brass, aluminum and steel as "light engraving" metals for jewelry makers. No silver settings appear on screen.
Step-by-step: engraving sterling silver jewelry
1. Identify and clean
- Confirm it's 925, 999, plated or nickel silver. Check the stamp or ask the supplier.
- Polish off tarnish, then wipe with isopropyl alcohol to remove polish residue and fingerprints.
2. Beat the reflection
- Put a 1 mm object under one side so the piece isn't square to the laser module, as xTool recommends for reflective metals (xTool metal guide).
- xTool also suggests black laser marking spray on mirror-finish metal. Note that the laser then marks a fixed color effect on the spray layer, which may not be the look you want on fine jewelry.
- If the mark gets lighter partway through a long job, stop and let the module cool. xTool says reflective metals bounce heat back into the laser module and cause power loss.
3. Focus
- Use manual focus by overlapping the red and blue dots, or put a piece of masking tape or dark paper at the ranging spot so auto-measure can read the surface. My how to focus a UV laser guide walks through both.
4. Hold small pieces still
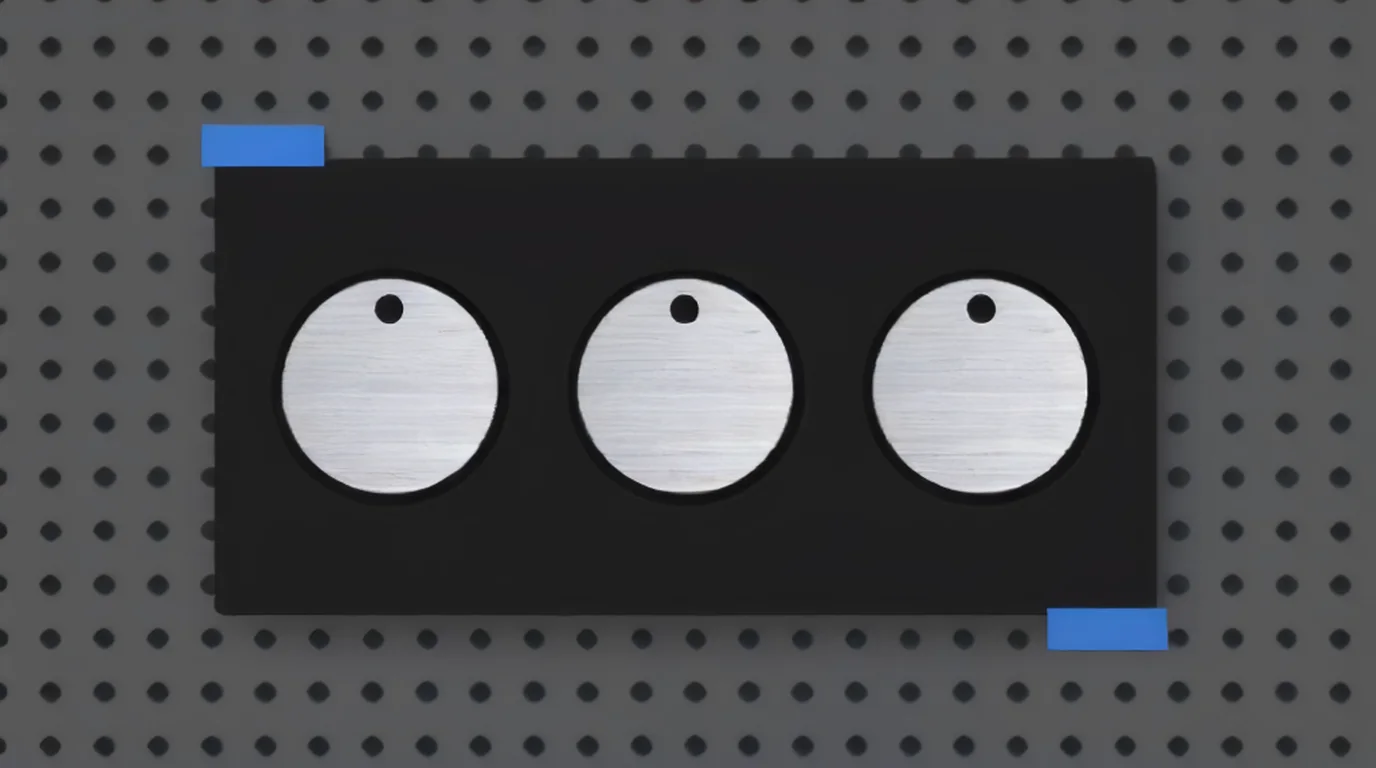 A simple pocket jig keeps small pendants from shifting in the exhaust airflow and makes batch jobs repeatable. (AI-generated example.)
- Pendants and charms are light enough for the airflow to move them. Use a jig or a dab of tape on the back. See best self-centering jigs for the F2 Ultra UV.
- For rings and bangles, use the RA3 rotary with the surface lens, enter the diameter, and center the design on the highest point of the curve.
5. Grid, then the real piece
- Run the grid on a scrap blank from the same batch, wipe it, and judge it under raking light.
- Close the lid, start, and keep extraction running.
6. Clean and finish
- Let the piece cool, then wipe it with a soft cloth. Atomm's processing tips say to clean metal after engraving, using a neutral cleaner if needed.
- A light pass with a polishing cloth brightens the surrounding silver. Be gentle on very shallow marks.
Pendants, tags, rings and more
Silver blanks that suit a UV laser:
- Pendants and charms: names, dates, initials, birth flowers, tiny line art.
- Bar necklaces and ID bracelets: short text, coordinates, Roman numerals.
- Rings: outside or inside text on the RA3 rotary.
- Pet tags and keepsake tags: small text and simple icons.
- Hallmark-style marks: tiny maker's marks and stock codes. perfectly4med showed 0.5 mm text staying legible on a coated pendant with the F2 Ultra UV.
More blank ideas: best UV laser blanks to buy and sell and UV laser project ideas.
Safety
- Keep the enclosure closed. If it can't close, wear goggles rated for 355 ± 5 nm, as the xTool safety page requires.
- Reflection is the main machine risk with polished silver. Stay in focus and tilt the piece.
- Run extraction. Metal vapor and polish residue both produce fumes.
- Freshly engraved metal is hot. Let it cool before you handle it.
Troubleshooting
| Problem | Likely cause | Fix |
|---|---|---|
| Faint or invisible mark | Too little energy, or mirror silver reflecting | Slow down one grid step; check under raking light |
| Brownish or dull cells | Too much heat; sterling's copper oxidizing | Speed up or drop power; avoid extra passes |
| Uneven tone across a pendant | Tarnish or polish residue | Polish and clean with alcohol, then re-run |
| Mark goes through plating | Plated piece, too much energy | Use the fastest, lightest cell; test on a sacrificial piece |
| Autofocus fails or measures wrong | Mirror-like surface | Manual focus, or tape at the ranging spot |
| Text distorted on a ring | Wrong diameter or not centered on the high point | Re-measure the diameter and re-center on the RA3 |
| Mark fades during a long job | Laser module heating from reflection | Pause and let it cool; split large fills |
| Results change between batches | Different alloy, finish or tarnish | Re-run a small grid per supplier batch |
What I couldn't confirm
- The numbers in xTool's verified 925 silver preset. They load in xTool Studio but aren't published on the page.
- An open, photographed F2 Ultra UV recipe for sterling silver. I found none. The community preset is locked behind a login.
- Depth numbers on silver for this machine. No F2 Ultra UV source measured them.
- Whether a dark mark is repeatable on silver with this UV. Boyne Valley mentions grey and black ablative marks, but I didn't find a published F2 Ultra UV recipe for one.
- How UV marks on silver wear over time. No published test turned up.
FAQ
Can the xTool F2 Ultra UV engrave silver?
Yes. xTool lists silver among the F2 Ultra UV's intended materials. Expect a fine surface mark rather than deep engraving, and test on a scrap blank first.
What are the best F2 Ultra UV settings for sterling silver?
Start with xTool's verified 925 silver preset, which loads from the Material Lab into xTool Studio. Otherwise, run a grid from 30% power at 1500 mm/s to 100% at 50 mm/s, at 1 pass, 500 lines/cm and 40 kHz, and pick the cleanest cell.
What settings work for silver rings on the RA3 rotary?
No silver ring recipe is published for this machine. On screen, one maker engraved a ring at 100% power, about 300 mm/s, 300 lines/cm, 1 pass and 40 kHz, and another engraved inside a stainless ring at 100%, 40 mm/s, 800 lines/cm and 2 passes. Use them as starting points and test.
Is polished silver dangerous for the F2 Ultra UV?
Mirror-polished metal can reflect the beam back into the laser module. xTool says to keep the laser correctly focused on highly reflective materials and to put a 1 mm object under one side of reflective metal.
Why is my engraving on silver faint or brownish?
Faint usually means too little energy or a reflective, tarnished surface. Brownish usually means too much heat, which can oxidize the copper in sterling. Clean the blank, re-focus, and move one grid step in the right direction.
Can I engrave silver-plated jewelry with a UV laser?
Often, yes, and UV is gentler than fiber on plating. But thin plating can still be marked through, so use the fastest, lightest setting that's visible and test on a sacrificial piece.
Should I use the fiber silver recipes on the F2 Ultra UV?
No. Recipes like 70% power, 2500 mm/s, 30 kHz and 500 ns pulse belong to the infrared fiber laser. The UV doesn't have the same pulse control or power.
Can the F2 Ultra UV color-engrave or emboss silver?
No. xTool's FAQ says the UV's color engraving is very limited and unstable because it can't form a stable oxide layer, and that metal can't be used for embossment on this machine.
Related guides
- xTool F2 Ultra UV stainless steel settings
- xTool F2 Ultra UV gold settings
- xTool F2 Ultra UV brass settings
- xTool F2 Ultra UV copper settings
- xTool F2 Ultra UV titanium settings
- How to focus a UV laser
- Best self-centering jigs for the F2 Ultra UV
- Best UV laser blanks to buy and sell
- UV laser project ideas
Final thoughts
Sterling silver is one of the best reasons to own a UV laser if you make jewelry. The F2 Ultra UV puts tiny, crisp text where fiber and diode machines struggle. Start with xTool's verified 925 preset, or grid from 30% at 1500 mm/s to 100% at 50 mm/s at 500 lines/cm and 40 kHz. Polish before you engrave, tilt the piece 1 mm, stay in focus, and don't promise depth, dark marks or color.
Sources and further watching
- xTool Support - Safety First for xTool F2 Ultra UV (article 2751): https://support.xtool.com/article/2751
- xTool Support - Safety page for the F2 Ultra UV (article 2737): https://support.xtool.com/article/2737
- xTool Support - Processing Parameters for xTool F2 Ultra UV (article 2699): https://support.xtool.com/article/2699
- xTool Support - Processing Parameter Settings / Material test array (article 2698): https://support.xtool.com/article/2698
- xTool Support - Beginner's Guide to Metal Laser Processing (article 2507): https://support.xtool.com/article/2507
- xTool Support - FAQs on xTool F2 Ultra UV (article 2870): https://support.xtool.com/article/2870
- xTool Material Lab (Atomm) - 925 Silver, official tested settings: https://www.atomm.com/materials-lab/official/2155-925-silver
- Atomm Material Lab - Sterling Silver for the F2 Ultra UV (community, login required): https://www.atomm.com/materials-lab/community/6461-sterling-silver
- Boyne Valley Laser Studio - xTool F2 Ultra UV hands-on review: https://boynevalleylaserstudio.ie/xtool/f2-ultra-uv
- Boyne Valley Laser Studio - Best xTool for jewellers: https://boynevalleylaserstudio.ie/xtool/best-xtool-for-jewellers
- perfectly4med - Friday Focus: the xTool F2 Ultra UV laser: https://perfectly4med.co.uk/2026/01/16/friday-focus-xtool-f2-ultra-uv-laser/
- BWM Laser - UV laser marking, engraving and cutting settings: https://www.bwmlaser.com/uv-laser-marking-engraving-cutting-settings/
- Cut List Maker Laser Library - Thunder Laser Aurora UV 5W silver preset: https://library.cutlistmaker.com/laser/thunder-laser-aurora-uv-5w/uv/uv-uv-silver-engrave-default
- Laser Engraving Tips - Laser engraver to engrave silver: https://laserengravingtips.com/can-a-laser-engraver-engrave-silver/
- L3D Accessories - xTool F2 Ultra precious metals settings (fiber rows): https://www.l3daccessories.com/pages/xtool-f2-ultra-precious-metals-settings
- Pramark - Laser marking of silver: technology and parameters: https://www.pramark.cz/baze-znalosti/laser/laserove-znaceni-stribra/
- ZhuoRui Laser - Silver laser marking (925, 999 and silver-plated parts): https://zhuoruilaser.com/materials/metals/silver/
- Wikipedia - Sterling silver: https://en.wikipedia.org/wiki/Sterling_silver
Further watching (embeds)
- Ashlee Falco - "RA3 + F2 Ultra UV Rotary Test. Does It Actually Work on Tumblers and Jewelry?": https://www.youtube.com/watch?v=Jw6zvII-CsU
- Tuwbees Custom Works - "How to Engrave Inside a Ring | xTool F2 Ultra UV + RA3 Tutorial": https://www.youtube.com/watch?v=gdJq-nP1NJ4
- Laser Engraving 911 - "xTool F2 Ultra UV Laser: What You Need to Know Before Buying": https://www.youtube.com/watch?v=38YVlBi81o0
F2 Ultra UV with the RA3 rotary on tumblers, a wine glass, a stainless bracelet and a ring, with the settings shown on screen. (Video: Ashlee Falco on YouTube.)
Engraving the inside of a stainless steel ring on the F2 Ultra UV and RA3, including the settings used. (Video: Tuwbees Custom Works on YouTube.)
F2 Ultra UV review including light engraving on metals such as silver, gold and copper. (Video: Laser Engraving 911 on YouTube.)
Related settings
- xTool F2 Ultra UV Bamboo Settings: Cutting Boards, Coasters & Plywood (2026)
- xTool F2 Ultra UV Granite Settings: Black Granite, Memorials & Rocks (2026)
- xTool F2 Ultra UV Polycarbonate Settings: PC Sheet, Cases & Cards (2026)
- xTool F2 Ultra UV Cork Settings: Coasters, Sheets & Photo Chart (2026)
- xTool F2 Ultra UV Marble Settings: Black, White & Green Marble Chart (2026)
- xTool F2 Ultra UV Gold Settings: Solid, Gold-Filled & Gold-Plated Jewelry (2026)
- xTool F2 Ultra UV Copper Settings: Sheet, Tags & Copper-Clad PCB Blanks (2026)
- xTool F2 Ultra UV Aluminum Settings: Bare Sheet, Cards, Tags & ID Plates (2026)
- xTool F2 Ultra UV Silicone Settings: Wristbands, Watch Bands & Phone Cases (2026)
- xTool F2 Ultra UV Titanium Settings: Color Mark, Dark Mark & Jewelry Chart (2026)
- xTool F2 Ultra UV Paper & Cardstock Settings (2026 Guide)
- xTool F2 Ultra UV ABS Settings: Presets, Test Grid & Safety Guide (2026)
- xTool F2 Ultra UV Brass Settings: Tags, Sheet & Coin Emboss Chart (2026)
- xTool F2 Ultra UV Crystal Settings: 3D Inner Engraving Guide (2026)
- xTool F2 Ultra UV Anodized Aluminum Settings: Business Cards & More (2026)
- xTool F2 Ultra UV Leather Settings: Genuine, Faux & Leatherette Chart (2026)
- xTool F2 Ultra UV Stainless Steel Settings: Dark, White, Color & Photo Chart (2026)
- xTool F2 Ultra UV Wood Settings: Basswood, Plywood, Pine & MDF Chart (2026)
- xTool F2 Ultra UV Acrylic Settings: Clear, Black & White Chart (2026)
- xTool F2 Ultra UV Ceramic Settings: Tiles & Mugs Chart (2026)
- xTool F2 Ultra UV Glass Settings: Flat Glass & Rotary Chart (2026)
- xTool F2 Ultra UV PLA Settings: 3D Print Colour Chart (2026)
- xTool F2 Ultra UV Slate Settings: Power, Speed & Frequency Chart (2026)
- xTool F2 Ultra UV Tumbler Settings: Powder-Coated & Stainless (2026)
- Can a UV Laser Engrave Slate?
- Can a UV Laser Engrave Glass?
Keep reading
xTool F2 Ultra UV Bamboo Settings: Cutting Boards, Coasters & Plywood (2026)
Sourced xTool F2 Ultra UV bamboo settings for cutting boards, coasters and plywood, with a starting test grid, glue-line tips and food-safe finishing.
Read more19 min read
xTool F2 Ultra UV Granite Settings: Black Granite, Memorials & Rocks (2026)
Sourced xTool F2 Ultra UV granite settings for polished black and light granite, with a starting test grid, deep relief, paint fill and silica safety.
Read more20 min read
xTool F2 Ultra UV Polycarbonate Settings: PC Sheet, Cases & Cards (2026)
Sourced xTool F2 Ultra UV polycarbonate settings for clear, white and black PC, with a starting test grid, mark colors, fume safety and fixes.
Read more18 min read