xTool F2 Ultra UV Crystal Settings: 3D Inner Engraving Guide (2026)
xTool F2 Ultra UV 3D crystal settings for K9 cubes, photo blocks and crystal balls: power, dot duration, layer height, frequency, point spacing, setup steps and fixes for cracks and cloudy engravings.
Last updated 8 min read
On this page
- Short answer
- Quick answer: the best starting settings
- xTool F2 Ultra UV crystal settings chart
- Point spacing in the 3D file
- How 3D crystal engraving works
- What do these settings mean?
- Step-by-step: engraving a crystal cube
- 1. Set up the machine
- 2. Measure the crystal
- 3. Set up the job
- 4. Import the model
- 5. Engrave
- Can I engrave a crystal ball?
- What should I do if the mark looks wrong?
- FAQ
- What are the best xTool F2 Ultra UV crystal settings?
- Can the F2 Ultra UV engrave inside any glass?
- How big can a crystal engraving be?
- Why is my crystal engraving cloudy or cracked?
- What power works with GenMake files?
- How long does a 3D crystal take?
- Can I engrave crystal balls?
- Related guides
- Final thoughts
- Sources and further watching
Last updated: November 10, 2026
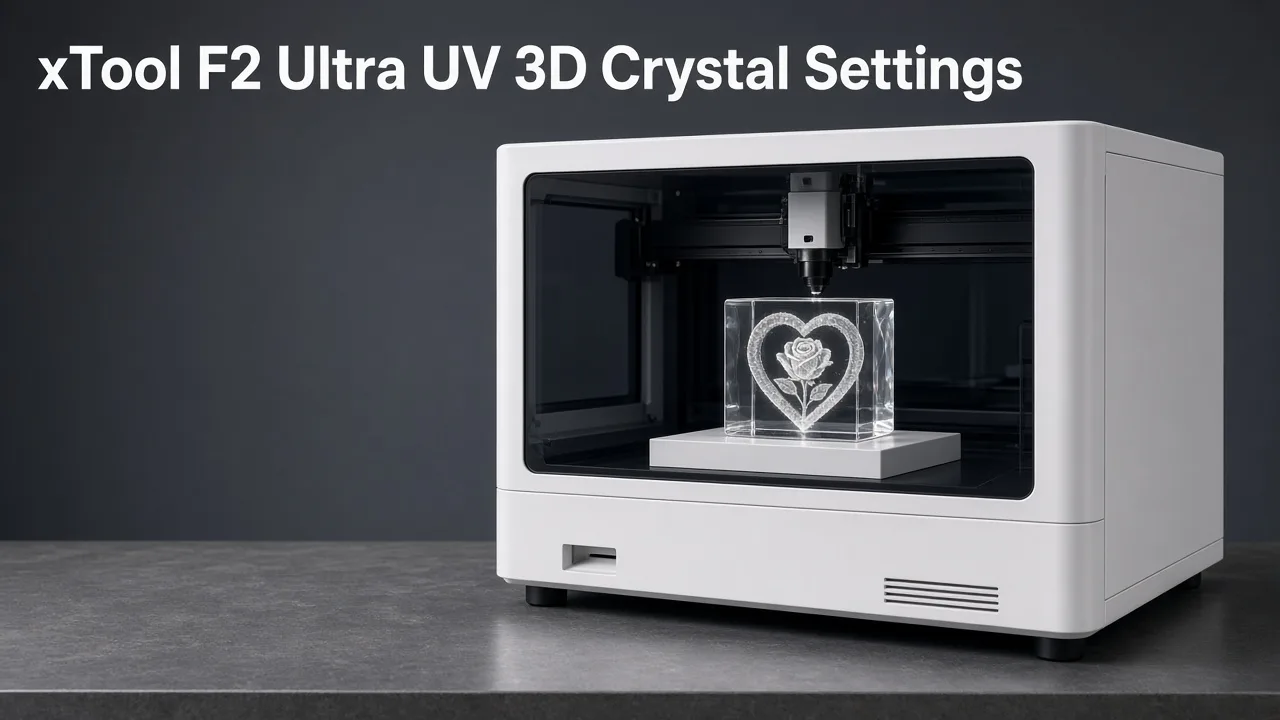 3D inner engraving turns a plain K9 block into a gift that sells. (AI-generated illustration, generic machine.)
Quick facts
- Machine: xTool F2 Ultra UV, 5W, 355 nm UV galvo, in Inner Engraving mode
- Preset: K9 Inner Carved Glass, 80% power, 200 µs dot duration, 60 kHz
- Layer height: match your file; 0.07 mm for Cockpit 3D defaults, 0.04 mm is the preset
- GenMake files: test around 68–72% power
- Material: K9 optical crystal only, refractive index 1.5
- Max engraving area: 70 × 70 mm, material up to 150 mm tall
- Needs: inner-engraving lens plus the riser
- Rule: never resize a point cloud after import
Short answer
The xTool F2 Ultra UV is a 5 W, 355 nm galvo used here in Inner Engraving mode, and the material is K9 optical crystal, not ordinary glass. Choose K9 Inner Carved Glass in xTool Studio. That preset loads 80 percent power, a 200 microsecond dot duration, and 60 kHz. Set layer height to the Z spacing of the 3D file. A Cockpit 3D default export uses 0.07 mm. The preset itself is 0.04 mm. For a GenMake file, test around 68 to 72 percent power and read the recipe card that comes with the file. The engraving must fit inside 70 by 70 mm, and the blank can be up to 150 mm tall. Never resize a point cloud after import, because that changes the dot spacing. Very fine 0.02 to 0.04 mm spacing tends to look cloudy or over-bright. A portrait at 0.07 mm on a 50 by 50 by 80 mm block can take 20 to 30 minutes. Keep the lid shut.
Quick answer: the best starting settings
Choose K9 Inner Carved Glass in xTool Studio. That loads 80% power, 200 µs dot duration and 60 kHz.
The one number you must change is layer height. Set it to the Z spacing your 3D file was built with. For a Cockpit 3D default export, that's 0.07 mm.
Using a GenMake file? Start near 70% power and read the recipe card that comes with it.
xTool F2 Ultra UV crystal settings chart
| Job | Power | Dot duration | Layer height | Frequency | Source |
|---|---|---|---|---|---|
| K9 cube, preset | 80% | 200 µs | 0.04 mm | 60 kHz | xTool Studio preset (via Atomm and FauxHammer) |
| K9 cube, Cockpit 3D photo | 80% | 200 µs | 0.07 mm | 60 kHz | Atomm community (ross.hughey); FauxHammer |
| 50 mm K9 block, photo | 80% | 200 µs | 0.04 mm | 40 kHz | Atomm community (ohanaglassworksoahu) |
| Heart crystal pendant | 80% | 200 µs | 0.04 mm | 60 kHz | Atomm project file |
| GenMake point cloud | 68–72% | file default | file default | file default | GenMake studio tutorial |
Tip: Keep each row together. Layer height belongs to the file, not to the machine, so copy it from your 3D software.
Point spacing in the 3D file
How you build the file matters as much as the laser settings.
| Spacing | What the sources saw |
|---|---|
| 0.02–0.03 mm | Dense, cloudy, "almost burnt" look (Chris from L3D) |
| 0.04 mm | Over-bright with visible vertical lines; took almost 2 hours (FauxHammer) |
| 0.06 mm | Best result on Chris's photo test |
| 0.07 mm | Cockpit 3D default; 20–30 minutes per portrait (FauxHammer) |
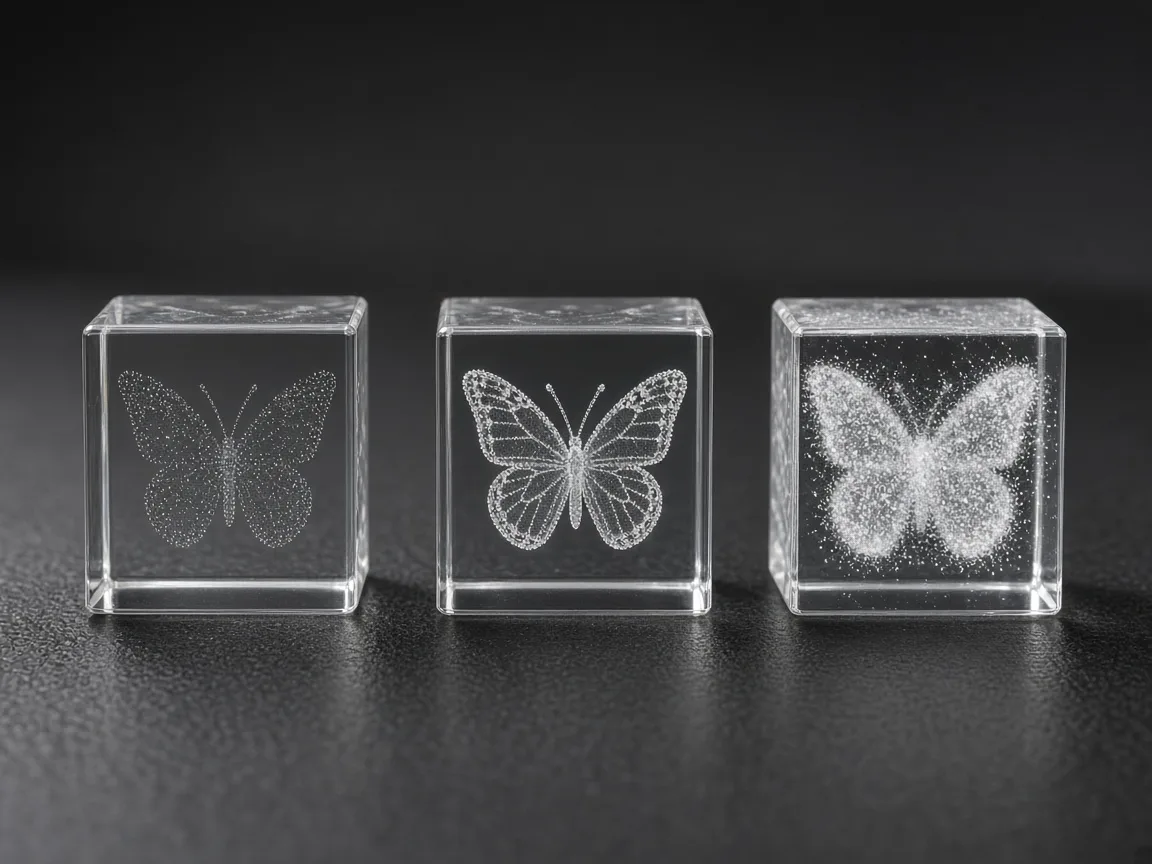 Too sparse looks faint, too dense looks cloudy. Aim for the middle. (AI-generated example.)
How 3D crystal engraving works
The inner-engraving lens focuses the UV beam below the surface. Each pulse makes a tiny white fracture point inside the glass.
Thousands of points, layer by layer, build the 3D image. That's why the file is called a point cloud.
What do these settings mean?
Power, speed, passes, line density, and frequency decide how much energy reaches the surface. Use these notes with the one row you already chose.
- Power (%): energy per dot. Too high causes cracks and flicker.
- Dot duration (µs): how long the laser fires per point.
- Layer height (mm): Z distance between layers. Must match the file.
- Frequency (kHz): pulse rate. Most sources use 60 kHz.
- Refractive index: 1.5 for official K9. Other glass needs its own value (xTool).
Step-by-step: engraving a crystal cube
1. Set up the machine
- Power off and swap to the inner-engraving lens.
- Screw the riser to the baseplate.
2. Measure the crystal
- Use calipers. Blocks sold as 60 × 60 × 90 mm can measure 60 × 58 × 89 (Reddit user report).
- Leave 1–2 mm extra margin on beveled blocks, and keep designs 3 mm or more from edges.
3. Set up the job
- Choose Inner Engraving mode and K9 Inner Carved Glass.
- Enter real dimensions and the positioning-piece values or corner coordinates.
4. Import the model
- xTool Studio takes STL, OBJ, AMF, 3MF, GLB and PLY.
- Keep files under 100 MB; Studio won't import files over about 150 MB (FauxHammer).
- Don't stretch a point cloud after import. It changes the dot spacing.
5. Engrave
- Set layer height, then start.
- Keep the lid shut. Opening it causes vibration and layer breaks (xTool).
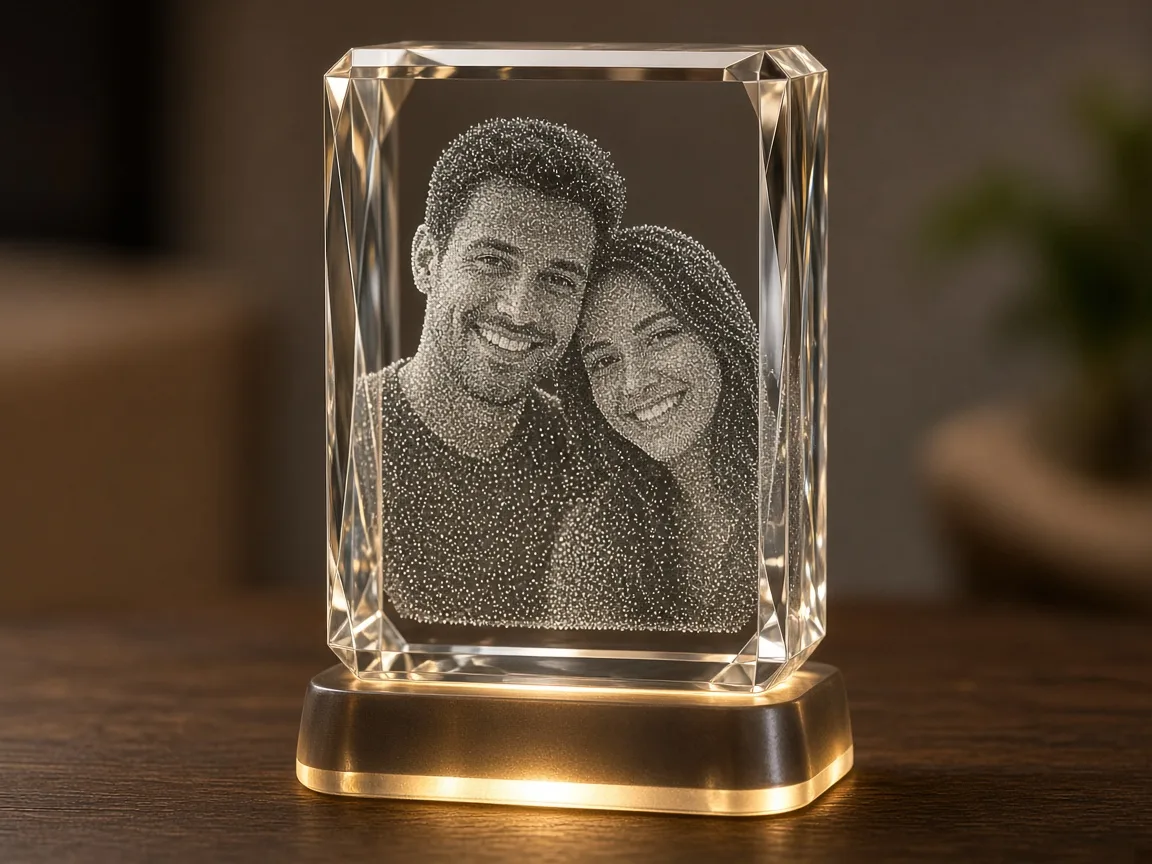 Photo portraits are the best-selling crystal product. An LED base makes the dots glow. (AI-generated example.)
Can I engrave a crystal ball?
xTool suggests 60–100 mm K9 balls in a flat-bottomed cup about 120 mm wide. Fix the ball on a base and cover it with about 2 mm of engraving oil.
Glycerin (1.473) or liquid paraffin works. Let bubbles settle before you start.
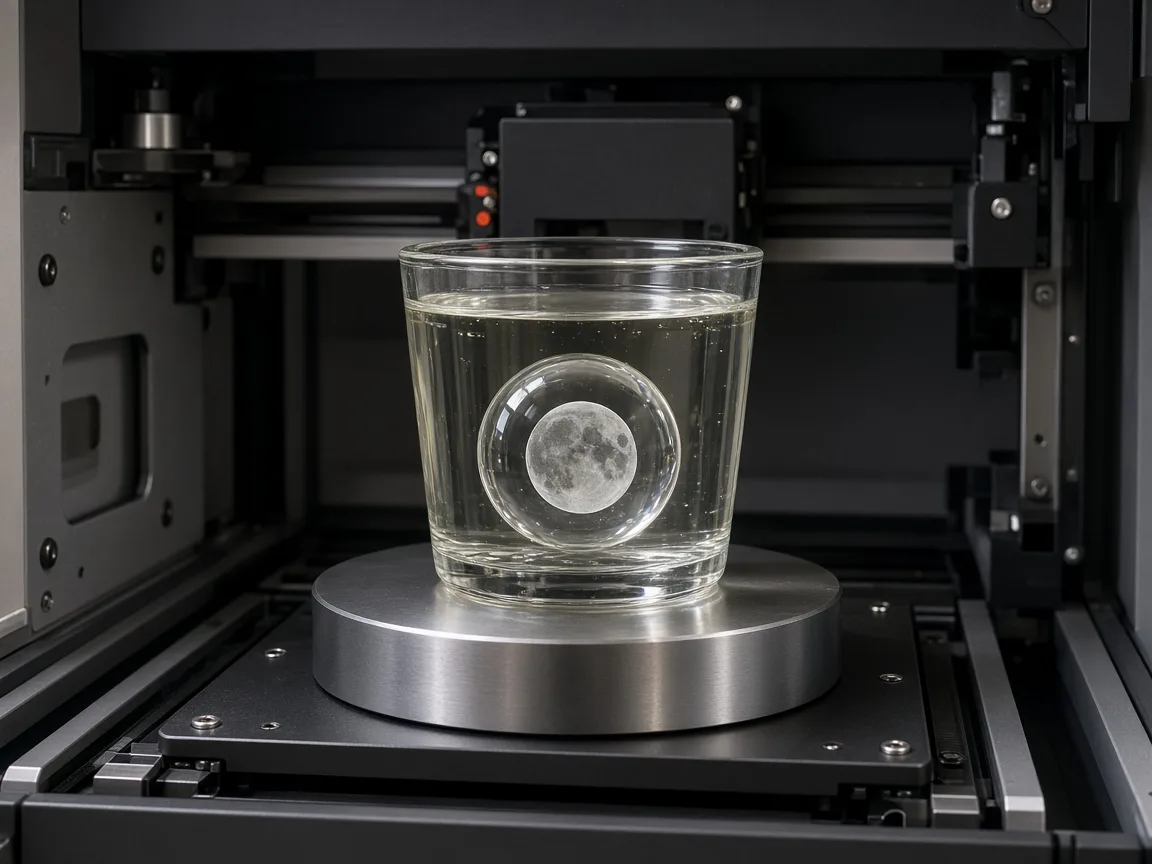 The oil keeps focus steady on a curved surface. (AI-generated illustration, generic machine.)
What should I do if the mark looks wrong?
Match the symptom to one cause in the table, change only that fix, and test it on scrap first.
| Problem | Likely cause | Fix |
|---|---|---|
| Blurry image | Spacing or layer height too large | Lower spacing or layer height (xTool) |
| Some areas faint | Too little energy | Raise power or slow down (xTool) |
| Flicker or cracks | Too much energy | Lower power, speed up, or widen spacing (xTool) |
| Cloudy, over-bright | Dots too dense | Rebuild the file at 0.06–0.07 mm |
| Image too high or low | Wrong dimensions | Re-measure and run Z-axis calibration |
| Image shifted sideways | Position mismatch | Check riser values and run work-area calibration |
| Layer break | Lid opened mid-job | Keep the enclosure shut |
| Defects after engraving | Flawed blank | Buy from a trusted K9 supplier |
FAQ
What are the best xTool F2 Ultra UV crystal settings?
Start with the K9 Inner Carved Glass preset: 80% power, 200 µs dot duration, 60 kHz. Then set layer height to match your 3D file, such as 0.07 mm for a Cockpit 3D default export.
Can the F2 Ultra UV engrave inside any glass?
No. xTool says inner engraving needs K9 optical crystal. Ordinary window or drinking glass isn't suitable.
How big can a crystal engraving be?
The engraving must fit inside 70 × 70 mm in X and Y, and the material can be up to 150 mm tall.
Why is my crystal engraving cloudy or cracked?
Too much energy or too many dots. Lower power, raise speed, or increase point spacing. Very fine 0.02–0.04 mm spacing tends to look over-bright.
What power works with GenMake files?
GenMake's tutorial suggests testing around 68–72% power on the F2 Ultra UV, and checking the recipe card that comes with each file.
How long does a 3D crystal take?
FauxHammer reports 20–30 minutes for a portrait at 0.07 mm on a 50 × 50 × 80 mm block, and almost 2 hours at 0.04 mm.
Can I engrave crystal balls?
Yes. xTool recommends 60–100 mm K9 balls fixed on a base and submerged about 2 mm under an engraving oil such as glycerin.
Related guides
- xTool F2 Ultra UV glass settings
- Can a UV laser engrave glass?
- How to calibrate the xTool F2 Ultra UV
- Best UV laser blanks to buy and sell
- UV laser project ideas
Final thoughts
Load the K9 preset, match layer height to your file, and build point clouds at 0.06–0.07 mm. Measure every block, keep the lid shut, and back off power the moment you see cracks.
Sources and further watching
Point spacing and strength compared side by side. (Video: Chris from L3D on YouTube.)
Cockpit 3D files, 0.07 mm vs 0.04 mm, and run times. (Video: FauxHammer on YouTube.)
Building a PLY file and a 68–72% power starting point. (Video: GenMake studio on YouTube.)
- xTool Support, Start Inner Engraving with xTool F2 Ultra UV: https://support.xtool.com/article/2708
- xTool Support, Approaches to Improving Inner Engraving Results: https://support.xtool.com/article/2899
- xTool Support, Inner Engraving Work Area Calibration: https://support.xtool.com/article/2712
- xTool Support, Crystal Ball Inner Engraving (without the kit): https://support.xtool.com/article/3267
- xTool Support, F2 Ultra UV User Guide: https://support.xtool.com/article/2359
- xTool Academy, Inner Engraving with F2 Ultra UV: https://support.xtool.com/academy/course?id=281
- Atomm Material Lab, K9 Inner Carved Glass by ross.hughey: https://www.atomm.com/materials-lab/community/1377-k9-inner-carved-glass
- Atomm Material Lab, K9 Inner Carved Glass by ohanaglassworksoahu: https://www.atomm.com/materials-lab/community/4424-k9-inner-carved-glass
- Atomm, Heart-shaped crystal pendant project: https://www.atomm.com/project/146840-tal-pendant-with-family-portrait-and-love-textheart-shaped-crys
- FauxHammer, Cockpit 3D crystal portraits tutorial: https://www.fauxhammer.com/tutorials/cockpit-3d-how-to-make-and-sell-professional-3d-crystal-portraits-from-photos/
- Reddit r/xToolOfficial, K9 crystal blanks for F2 Ultra UV: https://www.reddit.com/r/xToolOfficial/comments/1w9nu6h/k9_crystal_blanks_for_f2_ultra_uv/
- Chris from L3D, I Tested Crystal Engraving Settings (YouTube): https://www.youtube.com/watch?v=1X0SsUpDBzs
- FauxHammer, How to Make and Sell 3D Crystal Portraits (YouTube): https://www.youtube.com/watch?v=rtxz-9PFxj4
- GenMake studio, 3D Crystal Engraving Files with GenMake (YouTube): https://www.youtube.com/watch?v=tKlx3HH_3t4
Related settings
- xTool F2 Ultra UV Bamboo Settings: Cutting Boards, Coasters & Plywood (2026)
- xTool F2 Ultra UV Granite Settings: Black Granite, Memorials & Rocks (2026)
- xTool F2 Ultra UV Polycarbonate Settings: PC Sheet, Cases & Cards (2026)
- xTool F2 Ultra UV Cork Settings: Coasters, Sheets & Photo Chart (2026)
- xTool F2 Ultra UV Marble Settings: Black, White & Green Marble Chart (2026)
- xTool F2 Ultra UV Gold Settings: Solid, Gold-Filled & Gold-Plated Jewelry (2026)
- xTool F2 Ultra UV Silver Settings: Sterling Silver Jewelry, Tags & Pendants (2026)
- xTool F2 Ultra UV Copper Settings: Sheet, Tags & Copper-Clad PCB Blanks (2026)
- xTool F2 Ultra UV Aluminum Settings: Bare Sheet, Cards, Tags & ID Plates (2026)
- xTool F2 Ultra UV Silicone Settings: Wristbands, Watch Bands & Phone Cases (2026)
- xTool F2 Ultra UV Titanium Settings: Color Mark, Dark Mark & Jewelry Chart (2026)
- xTool F2 Ultra UV Paper & Cardstock Settings (2026 Guide)
- xTool F2 Ultra UV ABS Settings: Presets, Test Grid & Safety Guide (2026)
- xTool F2 Ultra UV Brass Settings: Tags, Sheet & Coin Emboss Chart (2026)
- xTool F2 Ultra UV Anodized Aluminum Settings: Business Cards & More (2026)
- xTool F2 Ultra UV Leather Settings: Genuine, Faux & Leatherette Chart (2026)
- xTool F2 Ultra UV Stainless Steel Settings: Dark, White, Color & Photo Chart (2026)
- xTool F2 Ultra UV Wood Settings: Basswood, Plywood, Pine & MDF Chart (2026)
- xTool F2 Ultra UV Acrylic Settings: Clear, Black & White Chart (2026)
- xTool F2 Ultra UV Ceramic Settings: Tiles & Mugs Chart (2026)
- xTool F2 Ultra UV Glass Settings: Flat Glass & Rotary Chart (2026)
- xTool F2 Ultra UV PLA Settings: 3D Print Colour Chart (2026)
- xTool F2 Ultra UV Slate Settings: Power, Speed & Frequency Chart (2026)
- xTool F2 Ultra UV Tumbler Settings: Powder-Coated & Stainless (2026)
- Can a UV Laser Engrave Slate?
- Can a UV Laser Engrave Glass?
Keep reading
xTool F2 Ultra UV Bamboo Settings: Cutting Boards, Coasters & Plywood (2026)
Sourced xTool F2 Ultra UV bamboo settings for cutting boards, coasters and plywood, with a starting test grid, glue-line tips and food-safe finishing.
Read more19 min read
xTool F2 Ultra UV Granite Settings: Black Granite, Memorials & Rocks (2026)
Sourced xTool F2 Ultra UV granite settings for polished black and light granite, with a starting test grid, deep relief, paint fill and silica safety.
Read more20 min read
xTool F2 Ultra UV Polycarbonate Settings: PC Sheet, Cases & Cards (2026)
Sourced xTool F2 Ultra UV polycarbonate settings for clear, white and black PC, with a starting test grid, mark colors, fume safety and fixes.
Read more18 min read