xTool F2 Ultra UV Brass Settings: Tags, Sheet & Coin Emboss Chart (2026)
xTool F2 Ultra UV brass settings for key tags, thin brass sheet and embossed brass coins: power, speed, lines per cm, passes and frequency, plus reflection safety, test grids, polishing and fixes.
Last updated 10 min read
On this page
- Short answer
- Quick answer: the best starting settings
- xTool F2 Ultra UV brass settings chart
- Coin emboss extras
- Can a UV laser really engrave brass?
- What do these settings mean?
- Step-by-step: engraving a brass tag
- 1. Prepare the brass
- 2. Focus, then move it back
- 3. Choose a base material
- 4. Run a test array
- 5. Engrave and check
- How do I get more contrast on brass?
- Is brass engraving safe, and does it get hot?
- What should I do if the mark looks wrong?
- FAQ
- What are the best xTool F2 Ultra UV brass settings?
- Can a UV laser engrave brass?
- Can the F2 Ultra UV color engrave brass?
- How long does a brass coin take on the F2 Ultra UV?
- Do I need to place brass off-center?
- Why is my brass engraving too light?
- Does brass get hot under a UV laser?
- Related guides
- Final thoughts
- Sources and further watching
Last updated: November 10, 2026
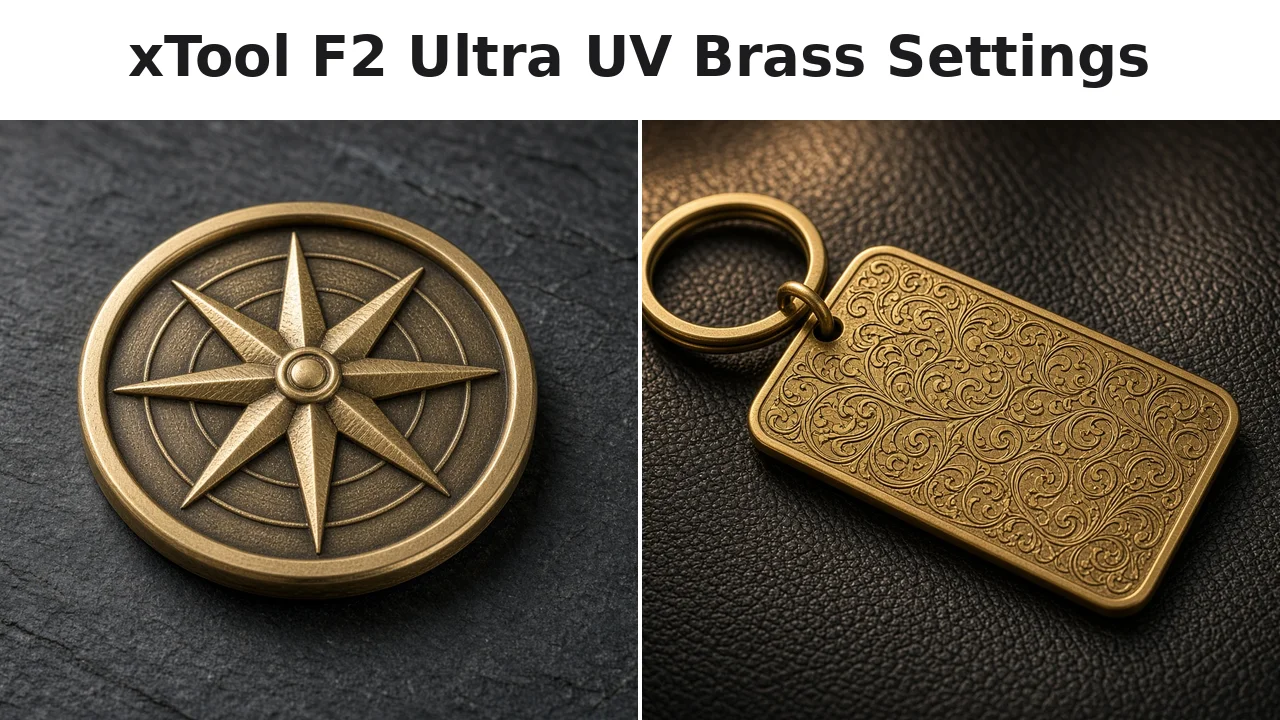 Brass tags and coins are both fair game for a 5W UV galvo, as long as you're patient. (AI-generated illustration.)
Quick facts
- Machine: xTool F2 Ultra UV, 5W, 355 nm UV galvo, field lens
- Tag text starting point: 100% power, 480 mm/s, 600 LPC, 1 pass, 40 kHz
- Studio base preset: 862 brass sheet, 90% power, 500 mm/s
- Coin emboss: 100% power, 1000 mm/s, 4 passes, 300 LPC, 40 kHz
- Frequency range: 40–150 kHz; brass jobs usually stay at 40 kHz
- Look: pale satin mark, no lasting color like stainless
- Safety: set focus, then move the part back toward the exhaust
- Finish: polish the highs, darken the lows
Short answer
The xTool F2 Ultra UV is a 5 W, 355 nm galvo. For text or line art on a brass tag, start at 100 percent power, about 480 mm/s, 600 lines per centimetre, one pass, and 40 kHz. That is a clean, light mark. For a raised coin, use 3D Emboss at 100 percent power, 1000 mm/s, 4 passes per layer, 300 lines per centimetre, and 40 kHz. A 4-pass coin emboss has been reported at 6 hours 45 minutes, and a 40 mm coin at about 4.5 hours. Studio's 862 brass sheet base is 90 percent power at 500 mm/s. Frequency on this machine is 40 to 150 kHz, and these brass jobs stay at 40 kHz. Place brass off-center after you focus, because reflection can damage the lens. A long emboss can leave the coin about 85 °C, so let it cool. Alloys and polish change the result. Grid a spare blank, then polish the highs and darken the lows.
Quick answer: the best starting settings
For text or line art on a brass tag, start at 100% power, about 480 mm/s, 600 lines per cm, 1 pass and 40 kHz. That gives a clean, light mark.
Want depth, like a raised coin? Use 3D Emboss at 100% power, 1000 mm/s, 4 passes per layer, 300 LPC and 40 kHz, and plan for a job that runs for hours.
Either way, run a material test array on a spare blank first. Brass alloys, plating and polish all change the result.
xTool F2 Ultra UV brass settings chart
| Job | Power | Speed | LPC | Passes | Frequency | Source |
|---|---|---|---|---|---|---|
| Brass tag 0.5 mm, text | 100% | 480 mm/s | 600 | 1 | 40 kHz | DAYGONE LASERCRAFT |
| 862 brass sheet preset (base) | 90% | 500 mm/s | preset | 1 | preset | xTool Studio preset, shown by DAYGONE LASERCRAFT |
| Test array range | 50–100% | 50–600 mm/s | 600 | 1 | 40 kHz | DAYGONE LASERCRAFT |
| Brass sheet 0.1 mm, score | 70% | 1000 mm/s | – | 1 | – | Atomm community (Hylian) |
| Brass coin, 3D Emboss | 100% | 1000 mm/s | 300 | 4 per layer | 40 kHz | Revved Up Design |
| Emboss cleanup layer (every 5 layers) | 95% | 1200 mm/s | – | 1 | 40 kHz | Revved Up Design |
Tip: Keep each row together. A power value only makes sense with its own speed, LPC and passes.
Coin emboss extras
These settings sit next to power and speed in the 3D Emboss panel:
- Layers: 256, the maximum Studio allows
- Engrave angle: 15° works well; the range goes up to about 45°
- Descend at Z axis: on, 0.01 mm, so focus follows the depth
- Cleanup pass: every 5 layers to smooth stippling
Two passes per layer gives roughly the feel of a normal coin. Four passes gives a deeper, chunkier relief (Revved Up Design).
 Polish the raised areas and leave the recesses dark for a coin that reads from across the room. (AI-generated example.)
Can a UV laser really engrave brass?
Yes, but set your expectations. The F2 Ultra UV marks brass cleanly and can emboss it slowly. It won't match a fiber laser for speed or deep, dark marks.
Some reviewers, such as Aurora Tech, point out that metal reflects much of the UV light, so most jobs are surface marking. Coin makers show real depth is possible. It just takes hours, not minutes.
If you sell brass items in volume, a fiber machine is the faster tool. For fine text, monograms and one-off gifts, the UV works well.
What do these settings mean?
Power, speed, passes, line density, and frequency decide how much energy reaches the surface. Use these notes with the one row you already chose.
- Power (%): share of the 5W source. Brass usually needs 90–100%.
- Speed (mm/s): slower puts more energy into each line.
- Lines per cm (LPC): fill density. Higher is darker and slower.
- Passes: repeats per job, or per layer in Emboss mode.
- Frequency (kHz): pulse rate, 40–150 kHz on this machine (xTool). Brass jobs stay at 40 kHz for the hardest hit per pulse.
Step-by-step: engraving a brass tag
1. Prepare the brass
- Wipe it with isopropyl alcohol. Oil and fingerprints cause blotchy marks.
- Lacquered brass marks differently from bare brass. Test the same stock you'll sell.
2. Focus, then move it back
- Line up the two red focus dots on the brass to set height.
- Slide the jig back toward the exhaust. Studio warns about this for reflective metal, and it keeps the beam from bouncing straight into the lens.
- A self-centering jig makes repeat placement much easier.
3. Choose a base material
- Under Metal, Brass, pick an entry that actually has settings, such as 862 brass sheet. Many brass entries are empty.
- Switch to a custom material before you edit, so you don't overwrite the preset.
4. Run a test array
- Use Material Test Array: power 50–100%, speed 50–600 mm/s.
- Ungroup it and delete the labels if the tag is small.
- Pick the cleanest cell, then save it under My Materials.
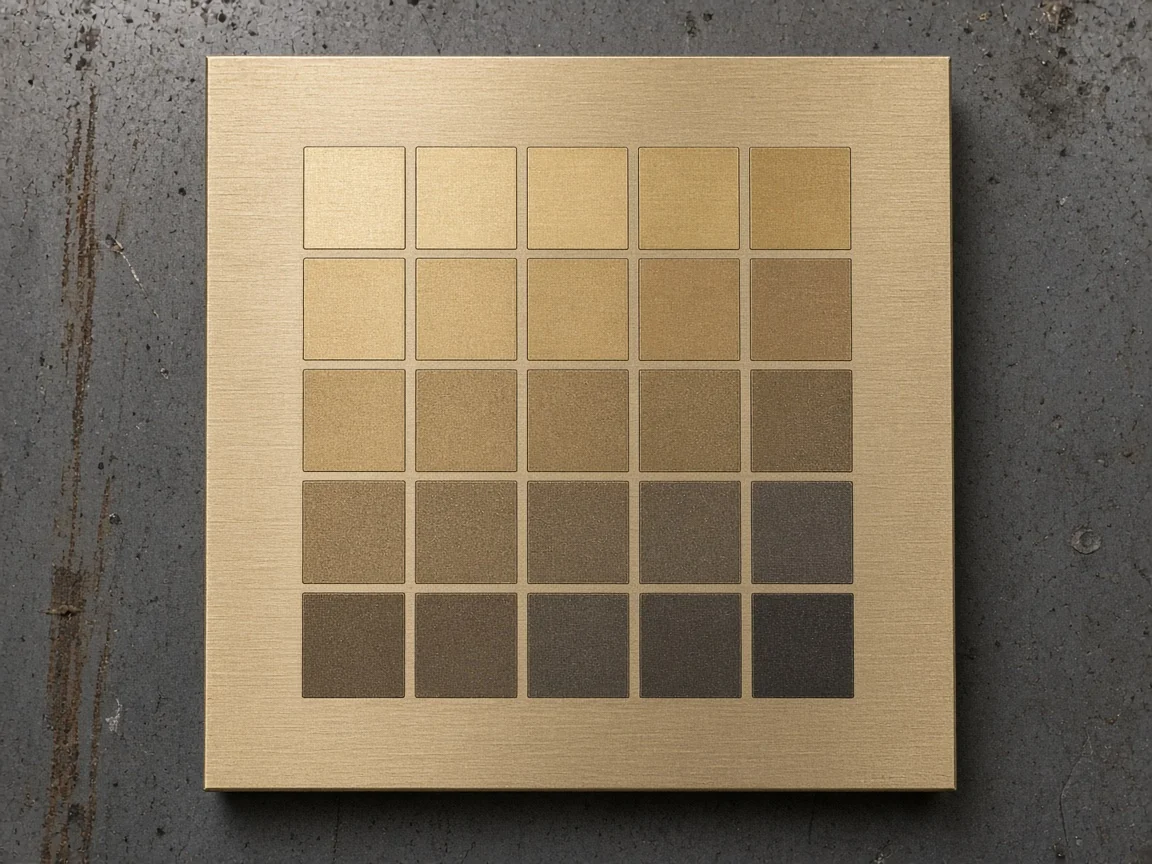 A small power and speed grid on scrap brass tells you more than any chart.
5. Engrave and check
- Frame first. The camera view can be slightly off on small parts.
- Engrave, let it cool, and judge contrast under normal light.
How do I get more contrast on brass?
UV marks on brass come out pale. That's normal. Here's how makers add contrast:
- Polish the highs: brass polish and a rotary polishing pad bring back the shine (Revved Up Design).
- Darken the lows: a brass blackening solution such as Brass Black, then a light sanding (Atomm, josh.e).
- Sand lightly: fine-grit paper removes the dark film an emboss leaves behind.
- Rinse: cool water and a melamine sponge clear polish residue.
Don't chase color. Community users report brass won't hold oxide colors the way stainless steel does. For color work, see the stainless steel settings instead.
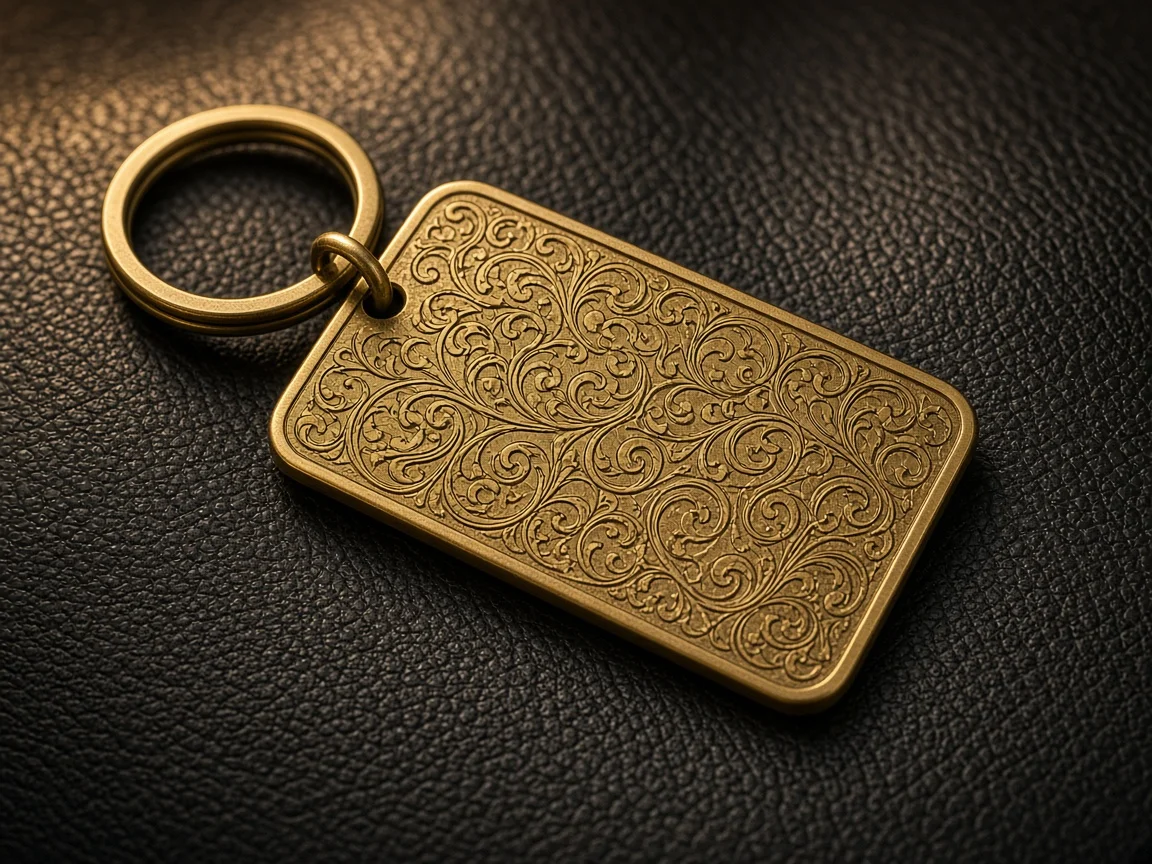 Fine line art shows off the UV's small spot size on brass key tags. (AI-generated example.)
Is brass engraving safe, and does it get hot?
Brass can reflect into the lens and a long coin job can get hot, so use the placement and cooling steps below.
- Reflection: always place brass off-center. xTool support says this helps prevent lens damage, and coatings can reduce reflections.
- Heat: a coin measured about 85 °C after a long emboss (Revved Up Design). Lift it out with the jig.
- Dust: deep brass work makes fine metal dust. Vent it outside with a good inline fan; one Reddit user warns it clogs filters quickly.
- Lid: keep the enclosure closed while the laser runs.
What should I do if the mark looks wrong?
Match the symptom to one cause in the table, change only that fix, and test it on scrap first.
| Problem | Likely cause | Fix |
|---|---|---|
| Mark too light | UV contrast on brass is low | Slow down, add a pass, then darken and polish |
| Blotchy or patchy mark | Oil or lacquer on the surface | Clean with alcohol; test lacquered stock separately |
| Fuzzy edges | Focus off | Re-measure height on the actual part (focus guide) |
| Design off-center | Camera distortion | Use outline framing before you start |
| Coin layers misaligned | Part moved between checks | Run all passes in one go; don't open the lid |
| Coin looks black | Normal emboss residue | Sand lightly and polish |
| Very long run time | Emboss is slow on a 5W UV | Use 2 passes for a shallow feel, or batch work |
FAQ
What are the best xTool F2 Ultra UV brass settings?
For text on a brass tag, a good starting point is 100% power, about 480 mm/s, 600 lines per cm, 1 pass and 40 kHz. Run a test array on a spare blank first, because brass alloys and finishes vary.
Can a UV laser engrave brass?
Yes. The F2 Ultra UV marks and slowly embosses bare brass. The mark is lighter and shallower than a fiber laser makes, so it suits fine text, line art and patient relief work.
Can the F2 Ultra UV color engrave brass?
Don't expect it. Community users report you can't get lasting oxide colors on brass the way you can on stainless steel. Use polishing and a brass darkener for contrast instead.
How long does a brass coin take on the F2 Ultra UV?
Hours. Revved Up Design's 4-pass coin emboss showed 6 hours 45 minutes, and an Atomm project puts a 40 mm coin at about 4.5 hours.
Do I need to place brass off-center?
Yes. xTool Studio asks you to move reflective metal toward the exhaust, and xTool support says off-center placement helps prevent lens damage.
Why is my brass engraving too light?
UV marks on brass are naturally pale. Slow down, add a pass, or raise lines per cm, then darken the engraved area with a brass blackening solution and polish the surface.
Does brass get hot under a UV laser?
On long jobs, yes. A coin measured about 85 °C right after a multi-hour emboss, so let parts cool or lift them out with the jig.
Related guides
- xTool F2 Ultra UV copper settings
- xTool F2 Ultra UV stainless steel settings
- xTool F2 Ultra UV anodized aluminum settings
- How to focus a UV laser
- Best self-centering jigs for the F2 Ultra UV
- Best UV laser blanks to buy and sell
Final thoughts
Start brass tags at 100% power and about 480 mm/s, and run a test array on every new batch. For coins, use 3D Emboss at 1000 mm/s with 4 passes and let it run. Always move brass back from center, then polish and darken for contrast.
Sources and further watching
Material test array, final tag settings and saving a custom material. (Video: DAYGONE LASERCRAFT on YouTube.)
Coin relief setup, 3D Emboss settings, run time and polishing. (Video: Revved Up Design on YouTube.)
A broad review with an honest look at metal limits. (Video: Aurora Tech on YouTube.)
- xTool Support, Processing Parameters for xTool F2 Ultra UV: https://support.xtool.com/article/2699
- xTool Support, Start Color Engraving with xTool F2 Ultra UV: https://support.xtool.com/article/3845
- xTool, Laser Engraving Brass: The Ultimate Guide: https://www.xtool.com/blogs/xtool-academy/laser-engraving-brass
- Atomm Material Lab, Brass (official): https://www.atomm.com/materials-lab/official/95-brass
- Atomm Material Lab, 0.1 mm brass sheet by Hylian: https://www.atomm.com/materials-lab/community/412-0-1mm-brass-sheet
- Atomm, Brass Coin - Aztec Owl (josh.e): https://www.atomm.com/project/116780-brass-coin-aztec-owl
- Reddit r/xToolOfficial, F2 Ultra UV Questions (reflective metals, xTool support reply): https://www.reddit.com/r/xToolOfficial/comments/1quf6g6/f2_ultra_uv_questions_round_2/
- Reddit r/xToolOfficial, F2 Ultra brass coin thread (color and dust notes): https://www.reddit.com/r/xToolOfficial/comments/1ug6j7d/xtool_f2_ultra_question/
- DAYGONE LASERCRAFT, UV Laser Brass Tag Test + Engrave (YouTube): https://www.youtube.com/watch?v=gbs5o5lENes
- Revved Up Design, Can my UV Laser ACTUALLY Emboss Coins? (YouTube): https://www.youtube.com/watch?v=sl4sF0tyO7U
- Aurora Tech, xTool F2 Ultra UV In-Depth Review (YouTube): https://www.youtube.com/watch?v=zitSTxV1cJA
Related settings
- xTool F2 Ultra UV Bamboo Settings: Cutting Boards, Coasters & Plywood (2026)
- xTool F2 Ultra UV Granite Settings: Black Granite, Memorials & Rocks (2026)
- xTool F2 Ultra UV Polycarbonate Settings: PC Sheet, Cases & Cards (2026)
- xTool F2 Ultra UV Cork Settings: Coasters, Sheets & Photo Chart (2026)
- xTool F2 Ultra UV Marble Settings: Black, White & Green Marble Chart (2026)
- xTool F2 Ultra UV Gold Settings: Solid, Gold-Filled & Gold-Plated Jewelry (2026)
- xTool F2 Ultra UV Silver Settings: Sterling Silver Jewelry, Tags & Pendants (2026)
- xTool F2 Ultra UV Copper Settings: Sheet, Tags & Copper-Clad PCB Blanks (2026)
- xTool F2 Ultra UV Aluminum Settings: Bare Sheet, Cards, Tags & ID Plates (2026)
- xTool F2 Ultra UV Silicone Settings: Wristbands, Watch Bands & Phone Cases (2026)
- xTool F2 Ultra UV Titanium Settings: Color Mark, Dark Mark & Jewelry Chart (2026)
- xTool F2 Ultra UV Paper & Cardstock Settings (2026 Guide)
- xTool F2 Ultra UV ABS Settings: Presets, Test Grid & Safety Guide (2026)
- xTool F2 Ultra UV Crystal Settings: 3D Inner Engraving Guide (2026)
- xTool F2 Ultra UV Anodized Aluminum Settings: Business Cards & More (2026)
- xTool F2 Ultra UV Leather Settings: Genuine, Faux & Leatherette Chart (2026)
- xTool F2 Ultra UV Stainless Steel Settings: Dark, White, Color & Photo Chart (2026)
- xTool F2 Ultra UV Wood Settings: Basswood, Plywood, Pine & MDF Chart (2026)
- xTool F2 Ultra UV Acrylic Settings: Clear, Black & White Chart (2026)
- xTool F2 Ultra UV Ceramic Settings: Tiles & Mugs Chart (2026)
- xTool F2 Ultra UV Glass Settings: Flat Glass & Rotary Chart (2026)
- xTool F2 Ultra UV PLA Settings: 3D Print Colour Chart (2026)
- xTool F2 Ultra UV Slate Settings: Power, Speed & Frequency Chart (2026)
- xTool F2 Ultra UV Tumbler Settings: Powder-Coated & Stainless (2026)
- Can a UV Laser Engrave Slate?
- Can a UV Laser Engrave Glass?
Keep reading
xTool F2 Ultra UV Bamboo Settings: Cutting Boards, Coasters & Plywood (2026)
Sourced xTool F2 Ultra UV bamboo settings for cutting boards, coasters and plywood, with a starting test grid, glue-line tips and food-safe finishing.
Read more19 min read
xTool F2 Ultra UV Granite Settings: Black Granite, Memorials & Rocks (2026)
Sourced xTool F2 Ultra UV granite settings for polished black and light granite, with a starting test grid, deep relief, paint fill and silica safety.
Read more20 min read
xTool F2 Ultra UV Polycarbonate Settings: PC Sheet, Cases & Cards (2026)
Sourced xTool F2 Ultra UV polycarbonate settings for clear, white and black PC, with a starting test grid, mark colors, fume safety and fixes.
Read more18 min read