xTool F2 Ultra UV Wood Settings: Basswood, Plywood, Pine & MDF Chart (2026)
Sourced xTool F2 Ultra UV wood settings for engraving basswood, pine, Baltic birch plywood and MDF, plus 3D emboss, cutting limits, a test-grid method and troubleshooting.
8 min read
On this page
- Quick answer: the best starting settings
- xTool F2 Ultra UV wood settings chart
- Cutting and 3D emboss
- Why the numbers disagree
- What the settings mean
- What results to expect
- Step-by-step: engraving wood on the F2 Ultra UV
- 1. Prep the wood
- 2. Focus
- 3. Run a test grid
- 4. Prepare the artwork
- 5. Engrave
- 6. Save and finish
- 3D emboss
- Troubleshooting
- FAQ
- Can the xTool F2 Ultra UV engrave wood?
- What is a good starting setting for basswood?
- How do I get a darker engrave on wood?
- Can the xTool F2 Ultra UV cut wood?
- Does the UV laser burn wood?
- Is UV or diode better for wood?
- Can I do 3D relief on wood?
- Which wood is best for 3D emboss?
- Why are my wood marks faint or missing?
- Related guides
- Final thoughts
- Sources and further watching
Last updated: November 3, 2026
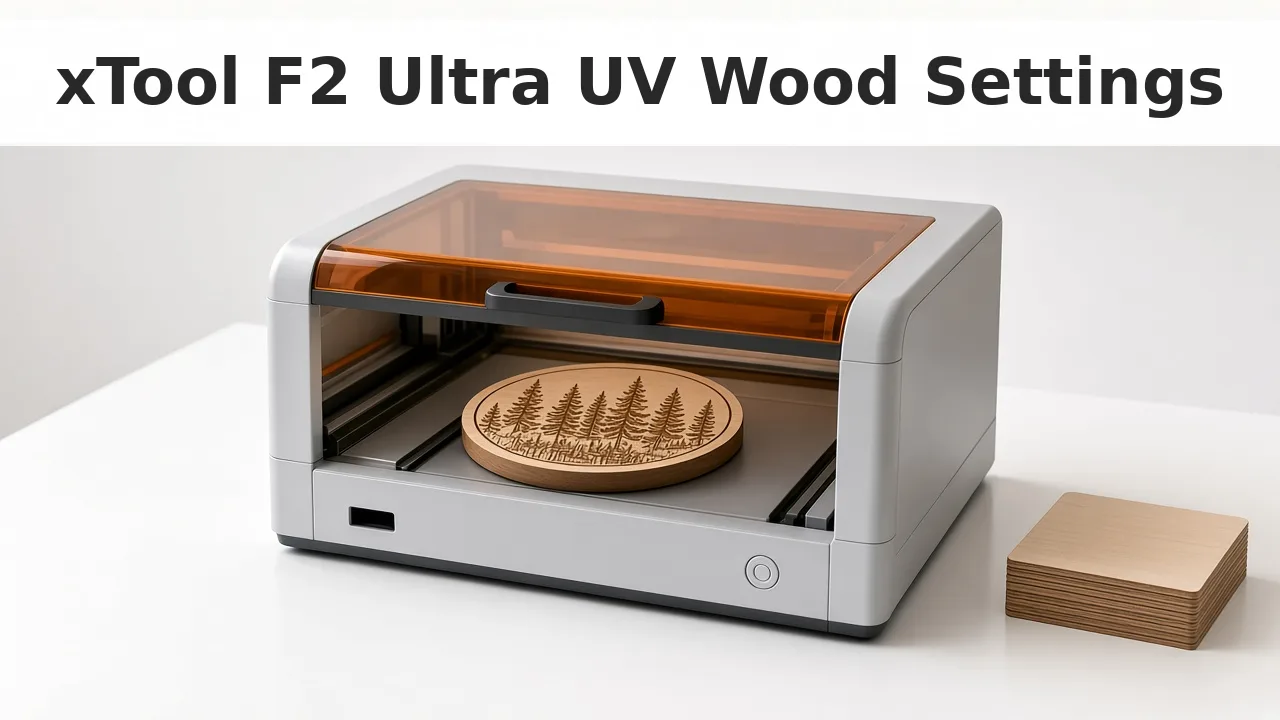 A UV laser marks wood with fine detail and almost no char. (AI-generated illustration, generic machine.)
Quick facts
- Machine: xTool F2 Ultra UV, 5W, 355 nm ultraviolet galvo laser
- Basswood starting point: 45% power, 600 mm/s, 1 pass, 500 DPI
- Golden-brown pine: 35% power, 100 mm/s, 500 lines/cm, 1 pass, 40 kHz
- Deep dark pine: 50% power, 100 mm/s, 500 lines/cm, 2 passes, 40 kHz
- Cutting 3 mm Baltic birch: 100% power, 4 mm/s, 1 pass, 40 kHz
- Frequency range on this machine: 40–150 kHz
- Look to expect: cleaner and sharper than a diode, but lighter in tone
- Always: run a test grid, because wood varies by species, batch and moisture
Quick answer: the best starting settings
For basswood, a good starting point is 45% power, 600 mm/s, 1 pass. Run a test grid and adjust.
For a golden-brown vector mark on pine or plywood, try 35–50% power, 100 mm/s, 500 lines/cm, 40 kHz.
For a darker mark, slow down or add a pass before you raise power. These are starting points. Wood varies by species, batch and moisture.
xTool F2 Ultra UV wood settings chart
| Wood / result | Power | Speed | Passes | Lines/cm or DPI | Frequency |
|---|---|---|---|---|---|
| Basswood, sharp engrave | 45% | 600 mm/s | 1 | 500 DPI | not stated |
| Pine rounds, golden brown | 35% | 100 mm/s | 1 | 500 LPC | 40 kHz |
| Pine rounds, deep dark | 50% | 100 mm/s | 2 | 500 LPC | 40 kHz |
| 3 mm Baltic birch, golden brown | 50% | 100 mm/s | not stated | 500 LPC | 40 kHz |
| 3 mm Baltic birch, dark deep engrave | 40% | 100 mm/s | 2 | 500 LPC | 40 kHz |
| Maple-faced MDF, golden brown | 85% | 250 mm/s | 1 | 120 LPC | 40 kHz |
| 3 mm plywood logo (preset) | 85% | 225 mm/s | not stated | not stated | not stated |
| 3 mm plywood, darker (preset test table) | 70% | 100 mm/s | not stated | not stated | not stated |
| Lightening diode burn marks on cut wood | 60% | 1200 mm/s | 3 | not stated | not stated |
Cutting and 3D emboss
| Job | Power | Speed | Passes / layers | Other |
|---|---|---|---|---|
| Cut 3 mm Baltic birch | 100% | 4 mm/s | 1 | 40 kHz |
| Cut 3 mm plywood (preset) | 100% | 6 mm/s | not stated | |
| Cut 1/4 in wood | not stated | 3 mm/s | 2 | |
| 3D emboss, beechwood coaster | 80% | 2500 mm/s | 100 layers | 250 LPC, 40 kHz, Z down 0.01 mm every 10 layers |
| 3D emboss, poplar (oak preset) | 100% | 15,000 mm/s | 256 layers | took 1 h 40 min |
Tip: Keep each row's numbers together. Mixing power from one row with speed from another is a new combination. Run a test grid before you use it.
Why the numbers disagree
- Species matters. Soft basswood marks easily; resin-rich pine and dense hardwoods react differently.
- Line density changes energy. 500 lines/cm puts far more energy into the wood than 120 lines/cm at the same power and speed.
- Goal differs. A light golden mark, a deep dark mark and a cleaning pass all use very different energy.
UV marks come out cleaner and sharper than a diode, and a little lighter and slower. An infrared diode mark is darker and faster. Darkness on UV comes from time: slower speeds, more passes, or more lines/cm. A 3D emboss leaves little or no burning, but it is slow.
What the settings mean
- Power (%): laser output. Higher means a darker, deeper mark.
- Speed (mm/s): slower puts more energy into each spot.
- Passes: each pass darkens and deepens the mark.
- Lines per cm: line density. 100 lines/cm equals 254 DPI.
- Frequency (kHz): pulse rate, 40–150 kHz on the F2 Ultra UV. Every wood recipe in the chart that states a frequency uses 40 kHz.
- Dot duration (µs): time per dot for bitmaps. A useful range is 100–500 µs. Too long can cause a whitening effect.
What results to expect
- Lighter than a diode. UV marks wood mostly by surface change, not heavy burning. Expect golden brown more than black.
- Very clean edges. Little or no smoke stain, so masking is often optional for dark woods. Cut edges on 3 mm plywood can come out with zero char, and many boards need no sanding.
- Light woods show the best contrast. Basswood, maple and birch work well. Dark acacia photos need more image work.
- Hard maple is a strong choice for 3D emboss.
- CO2 burns and a diode scorches. UV gives fine detail with a wide margin before the wood chars.
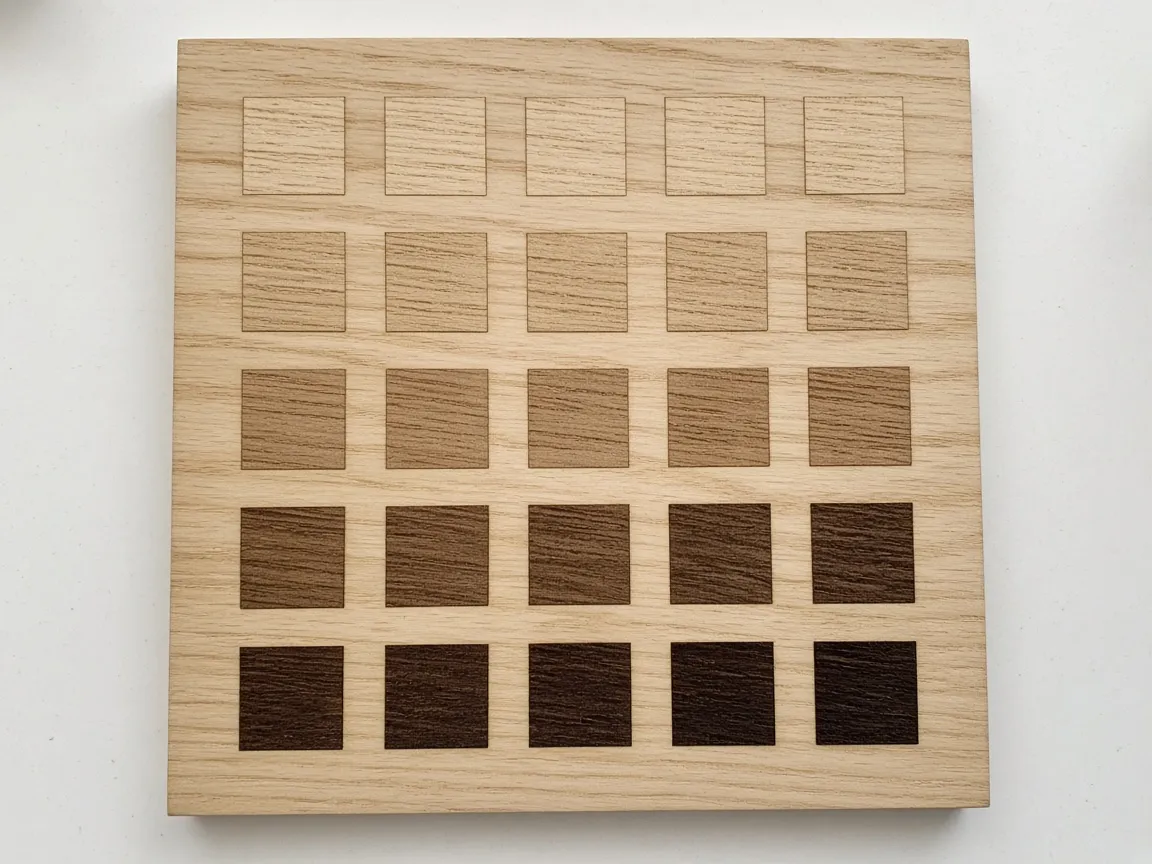 A power and speed test grid shows how light or dark your wood goes before you commit to a project. (AI-generated example.)
Step-by-step: engraving wood on the F2 Ultra UV
1. Prep the wood
- Use flat, dry wood. Sand rough faces lightly.
- Mask light woods if you plan to paint-fill. Skip the mask for deep engraves on darker woods.
- Use a jig for coasters and rounds so batches line up.
2. Focus
- Overlap the red and blue focus spots on the surface, or use autofocus.
- On warped boards, focus on the highest point of the design.
3. Run a test grid
- In xTool Studio, choose Applications > Material test array.
- Span power and speed around one row from the chart above.
- Pick the square with the tone you want and clean edges.
4. Prepare the artwork
- For photos, auto adjust is a solid first pass.
- Use dithering such as Jarvis for photos and keep dots from overlapping.
5. Engrave
- Uni-directional mode gives sharper edges; bi-directional is faster.
- Run extraction. UV makes little smoke but still makes fine dust.
6. Save and finish
- Save the winning settings as a custom material.
- Brush off dust. Seal with a clear finish if the piece will be handled a lot.
3D emboss
A beechwood coaster starting point is 80% power, 2500 mm/s, 250 lines/cm, 100 layers, 40 kHz, with Z dropping 0.01 mm every 10 layers. Cutting the layer count from 200 to 100, and lines/cm from 300 to 250, saves time. Expect about 2 hours.
A poplar piece on the oak preset at 100% power, 15,000 mm/s, 256 layers took 1 hour 40 minutes. If a job runs for hours, halve the layers or lower the lines/cm and test a small patch first.
Troubleshooting
| Problem | Likely cause | Fix |
|---|---|---|
| Faint or no mark | Off focus or low power | Overlap the red/blue spots; test on 3 mm basswood |
| Too light | Too little energy | Slow down, add a pass, or raise lines/cm |
| Yellowing when cleaning wood | Too much energy | Lower power and raise speed |
| Blotchy tone | Grain or resin | Pick even-grained wood; try a slower single pass |
| Angled cut edges | Galvo beam angle at the edges | Cut thick wood near the center of the bed |
| 3D emboss takes hours | Many layers, high lines/cm | Halve layers or lower lines/cm |
FAQ
Can the xTool F2 Ultra UV engrave wood?
Yes. The 5W UV beam marks wood with very little char. The detail is cleaner and sharper than a diode, and the tone is lighter.
What is a good starting setting for basswood?
A good starting point is 45% power, 600 mm/s, 1 pass, 500 DPI. Run a test grid around it.
How do I get a darker engrave on wood?
Slow down or add a second pass rather than jumping to full power. A deep dark mark on pine is 50% power, 100 mm/s, 500 lines/cm, 2 passes, 40 kHz.
Can the xTool F2 Ultra UV cut wood?
Yes, thin wood. A starting cut for 3 mm Baltic birch is 100% power, 4 mm/s, 1 pass, 40 kHz. A 3 mm plywood preset is 100% at 6 mm/s.
Does the UV laser burn wood?
Very little. Cut edges can come out with zero char, and many pieces need no sanding.
Is UV or diode better for wood?
UV is cleaner and sharper. An infrared diode mark is darker, faster and higher contrast.
Can I do 3D relief on wood?
Yes, in embossment mode. A beechwood coaster recipe is 80% power, 2500 mm/s, 250 lines/cm, 100 layers, 40 kHz, descending Z 0.01 mm every 10 layers.
Which wood is best for 3D emboss?
Hard maple is the strongest of the common choices. Test a small patch of the species you have.
Why are my wood marks faint or missing?
Usual causes are reduced laser power, the wrong settings, or the red and blue focus spots not overlapping. Refocus first, then test on 3 mm basswood.
Related guides
- How to focus a UV laser
- How to calibrate the xTool F2 Ultra UV
- Best self-centering jigs for the F2 Ultra UV
- xTool F2 Ultra UV slate settings
- UV laser project ideas
Final thoughts
Start basswood at 45% and 600 mm/s, and pine or plywood at 35–50% and 100 mm/s with 500 lines/cm. For darker marks, add time, not just power. Then save the winning row for each wood you buy.
Sources and further watching
- xTool Support, Processing Parameters for F2 Ultra UV
- xTool Support, Processing Parameters (Test Matrix)
- xTool Support, Troubleshoot Engraving Failure on Non-Glass Materials
- L3D Accessories, F2 Ultra UV wood settings
- L3D Accessories, F2 Ultra UV laser settings hub
- Bonny Creations, Basswood on the F2 Ultra UV
- Atomm, Basswood (official F2 Ultra UV material)
- Atomm, Clean Burn Marks on Wood with F2 Ultra UV
- Chris from L3D, F2 vs F2 Ultra UV
- Aurora Tech, F2 Ultra UV In-Depth Review
- Chris from L3D, 3D Emboss Tutorial
- Six Eight Woodworks, F2 Ultra UV Complete Review
- Hands On Katie, Testing An Impossible Laser
The same wood file on an infrared F2 and the F2 Ultra UV. (Video: Chris from L3D on YouTube.)
Plywood logo, photo and cut tests. (Video: Aurora Tech on YouTube.)
3D emboss settings on a wooden coaster. (Video: Chris from L3D on YouTube.)
Related settings
- xTool F2 Ultra UV Anodized Aluminum Settings: Business Cards & More (2026)
- xTool F2 Ultra UV Leather Settings: Genuine, Faux & Leatherette Chart (2026)
- xTool F2 Ultra UV Stainless Steel Settings: Dark, White, Color & Photo Chart (2026)
- xTool F2 Ultra UV Acrylic Settings: Clear, Black & White Chart (2026)
- xTool F2 Ultra UV Ceramic Settings: Tiles & Mugs Chart (2026)
- xTool F2 Ultra UV Glass Settings: Flat Glass & Rotary Chart (2026)
- xTool F2 Ultra UV PLA Settings: 3D Print Colour Chart (2026)
- xTool F2 Ultra UV Slate Settings: Power, Speed & Frequency Chart (2026)
- xTool F2 Ultra UV Tumbler Settings: Powder-Coated & Stainless (2026)
- Can a UV Laser Engrave Slate?
- Can a UV Laser Engrave Glass?
Keep reading
xTool F2 Ultra UV Stainless Steel Settings: Dark, White, Color & Photo Chart (2026)
Sourced xTool F2 Ultra UV stainless steel settings for slate-grey, white, deep, color and photo engraving on dog tags and cards, plus defocus tips, a test-grid method and troubleshooting.
Read more8 min read
xTool F2 Ultra UV Leather Settings: Genuine, Faux & Leatherette Chart (2026)
Sourced xTool F2 Ultra UV leather settings for genuine leather, faux/PU leather and two-tone leatherette patches, plus cutting, a test-grid method and troubleshooting.
Read more8 min read
xTool F2 Ultra UV Anodized Aluminum Settings: Business Cards & More (2026)
Sourced xTool F2 Ultra UV anodized aluminum settings for black, blue and pink metal business cards and fidget pens, plus bare aluminum notes, a test-grid method and troubleshooting.
Read more7 min read