xTool F2 Ultra UV Anodized Aluminum Settings: Business Cards & More (2026)
Sourced xTool F2 Ultra UV anodized aluminum settings for black, blue and pink metal business cards and fidget pens, plus bare aluminum notes, a test-grid method and troubleshooting.
7 min read
On this page
- Quick answer: the best starting settings
- xTool F2 Ultra UV anodized aluminum settings chart
- Bare (raw) aluminum
- Why the numbers disagree
- Why anodized aluminum engraves so well
- What the settings mean
- Step-by-step: engraving anodized business cards
- 1. Prep
- 2. Focus
- 3. Start from a row
- 4. Test on a spare card
- 5. Engrave and batch
- Troubleshooting
- FAQ
- Can the xTool F2 Ultra UV engrave anodized aluminum?
- What are good settings for black anodized business cards?
- Do different anodized colors need different settings?
- Is there a simpler starting point?
- Can it engrave bare (raw) aluminum?
- Is UV or fiber better for anodized aluminum?
- Does anodized aluminum smell or smoke?
- Related guides
- Final thoughts
- Sources and further watching
Last updated: November 3, 2026
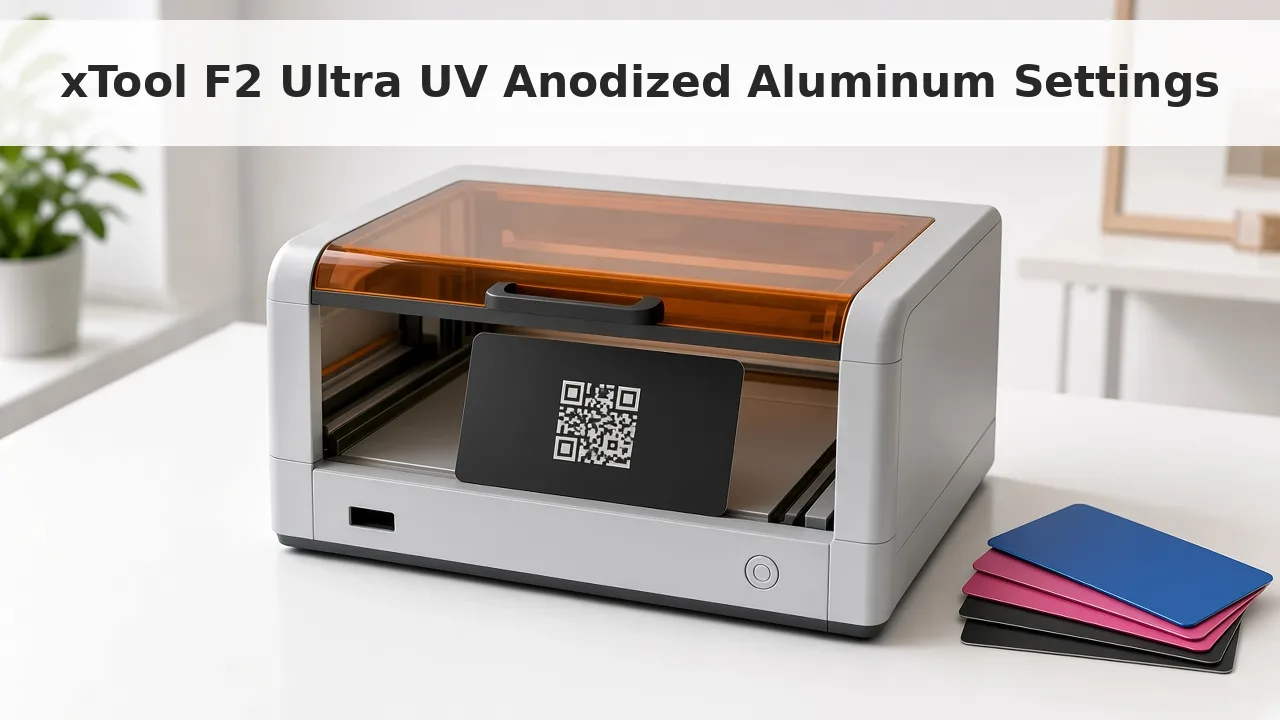 Anodized metal business cards are one of the easiest metal jobs for a UV laser. (AI-generated illustration, generic machine.)
Quick facts
- Machine: xTool F2 Ultra UV, 5W, 355 nm ultraviolet galvo laser
- Black business cards: 95% power, 2000 mm/s, 300 lines/cm, 1 pass, 40 kHz
- Blue business cards: 100% power, 1500 mm/s, 300 lines/cm, 1 pass, 40 kHz
- Pink business cards: 100% power, 1800 mm/s, 300 lines/cm, 40 kHz
- Lower-energy starting row: 35% power, 400 mm/s, 1 pass
- How it works: the laser removes the dyed anodized layer to reveal silver metal
- One of the most forgiving metals for this UV laser
- Always: test one spare card per supplier and color
Quick answer: the best starting settings
For black anodized business cards, a good starting point is 95% power, 2000 mm/s, 300 lines/cm, 1 pass, 40 kHz. Run a test on a spare card and adjust.
For blue or pink cards, try 100% power at 1500–1800 mm/s with the same 300 lines/cm and 40 kHz.
A much lower-energy row to compare is 35% power, 400 mm/s, 1 pass. Test both. Use a jig, and test one spare card before a batch.
xTool F2 Ultra UV anodized aluminum settings chart
| Item / result | Power | Speed | Passes | Lines/cm | Frequency |
|---|---|---|---|---|---|
| Business card, black | 95% | 2000 mm/s | 1 | 300 | 40 kHz |
| Business card, blue | 100% | 1500 mm/s | 1 | 300 | 40 kHz |
| Business card, pink | 100% | 1800 mm/s | not stated | 300 | 40 kHz |
| Business card, rose | 100% | 1000 mm/s | not stated | 300 | 40 kHz |
| Fidget pen, dark colors (light grey mark) | 100% | 300 mm/s | 1 | 500 | 40 kHz |
| Fidget pen, light blue (white mark) | not shown | 300 mm/s | 2 | 500 | 40 kHz |
| Fidget pen, white (grey mark) | not shown | 200 mm/s | not stated | 500 | 40 kHz |
| Fidget pen, white (black mark) | not shown | 50 mm/s | not stated | 500 | 40 kHz |
| Anodized aluminum, engrave | 35% | 400 mm/s | 1 | not stated | not stated |
| Anodized aluminum, mark | 90% | 400 mm/s | 1 | not stated | not stated |
| Black anodized aluminum, mark | 90% | 600 mm/s | 1 | not stated | not stated |
"Not shown" means the public settings page lists the speed but not the power. Don't guess a power for those rows.
Bare (raw) aluminum
| Item | Settings | Result |
|---|---|---|
| Raw 6061 aluminum, text and logo | Stainless steel preset (no raw aluminum preset in the library) | Clear marks; a 45 × 45 mm logo took about 30 s |
Tip: Keep each row's numbers together. Mixing power from one row with speed from another is a new combination. Run a test grid before you use it.
Why the numbers disagree
- Coating thickness varies. Cheap cards may have a thinner or softer anodized layer than premium ones.
- Colors absorb differently. Very light colors sometimes need a touch more power. Most colors can share one row.
- Line density changes energy. The 300 lines/cm card rows run very fast. The 35% / 400 mm/s row doesn't state a density, so don't mix them.
Metal marking on this machine is quite fast, though a fiber laser is still the usual production tool for anodized aluminum.
Why anodized aluminum engraves so well
Anodizing grows a hard oxide layer on aluminum, then dyes it. The UV beam removes that thin dyed layer and reveals the bare metal, so the mark comes out silver-white against the color.
Because the job is just clearing a thin layer, it runs fast. The black card recipe moves at 2000 mm/s.
What the settings mean
- Power (%): laser output.
- Speed (mm/s): faster speeds put less energy into each spot. Card recipes run very fast.
- Lines per cm: line density. 300 lines/cm is common for card fills. 100 lines/cm equals 254 DPI.
- Frequency (kHz): pulse rate, 40–150 kHz on the F2 Ultra UV. Every row in the chart that states a frequency uses 40 kHz.
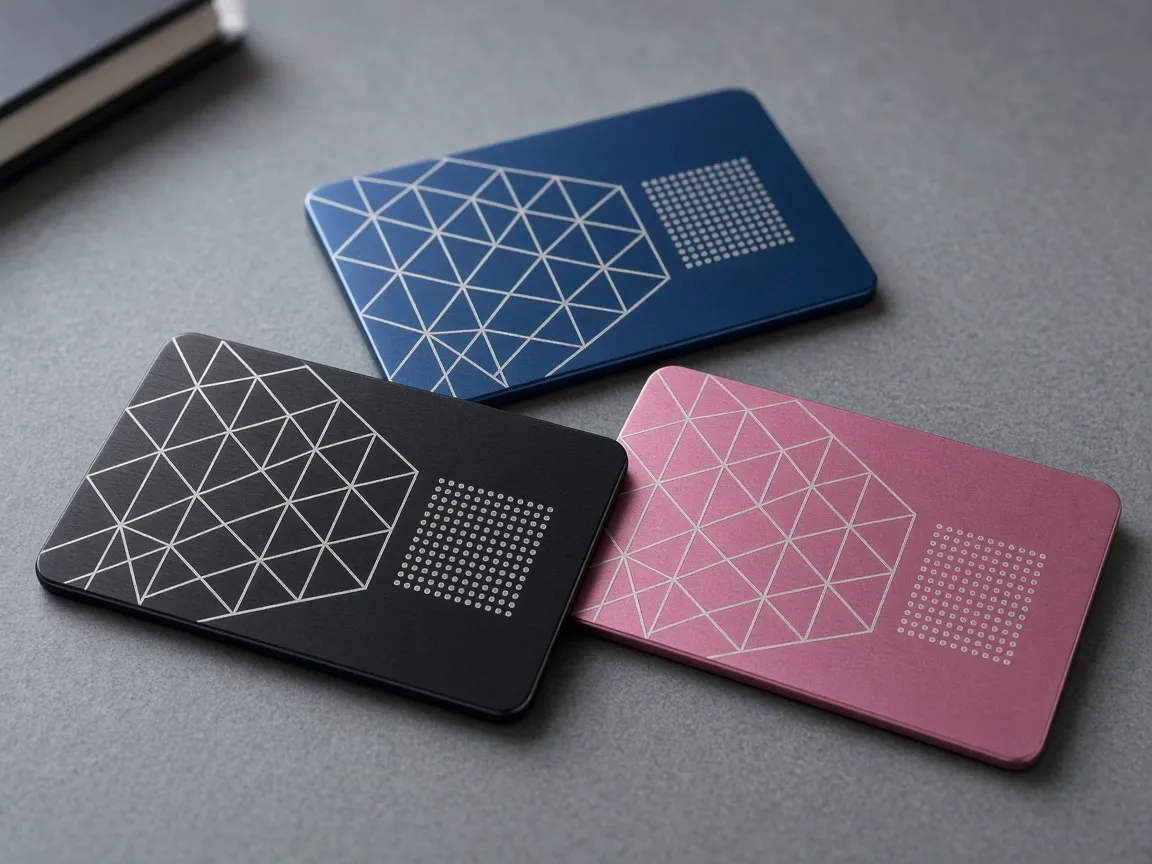 The UV laser removes the dyed layer, so every color shows the same bright silver mark. (AI-generated example.)
Step-by-step: engraving anodized business cards
1. Prep
- Wipe off fingerprints.
- Use a metal business card jig so every card sits in the same place.
2. Focus
- Autofocus, or overlap the red and blue spots on the card surface.
- Cards are thin, so make sure they lie flat in the jig.
3. Start from a row
- Pick your card color in the chart. Start at 300 lines/cm and 40 kHz.
4. Test on a spare card
- Engrave a small square or a single line of text.
- You want an even, bright silver mark with crisp edges.
- If the mark is patchy, slow down slightly or add a touch of power. If it looks rough, speed up.
5. Engrave and batch
- Use batch or array tools in xTool Studio to fill a multi-card jig.
- Save the setting as a custom material per card supplier and color.
Troubleshooting
| Problem | Likely cause | Fix |
|---|---|---|
| Patchy color left in the mark | Too little energy | Slow down slightly or raise power |
| Mark looks dull or rough | Too much energy | Speed up |
| Light colors look uneven | Light dye needs more energy | Add a touch of power |
| Text not centered on the card | Card shifted | Use a jig and frame before each batch |
| Faint mark on raw aluminum | No anodized layer to remove | Treat it like bare metal; start from the stainless preset |
FAQ
Can the xTool F2 Ultra UV engrave anodized aluminum?
Yes. It removes the colored anodized layer and shows the bright bare metal underneath, which gives a silver-white mark.
What are good settings for black anodized business cards?
A good starting point is 95% power, 2000 mm/s, 300 lines/cm, 1 pass, 40 kHz, in a business card jig. Run a test on a spare card and adjust.
Do different anodized colors need different settings?
Mostly no, but very light colors sometimes need a little more power. Blue is listed at 100% and 1500 mm/s, and pink at 100% and 1800 mm/s.
Is there a simpler starting point?
A lower-energy row is 35% power, 400 mm/s, 1 pass. It is much lighter than the 95% / 2000 mm/s card row, so test both.
Can it engrave bare (raw) aluminum?
Yes. Raw 6061 aluminum marked clearly with the stainless steel preset. A 45 × 45 mm logo took about 30 seconds. There is no raw-aluminum preset in the library.
Is UV or fiber better for anodized aluminum?
A fiber laser is the usual production tool. The F2 Ultra UV still marks anodized aluminum, and it is quite fast.
Does anodized aluminum smell or smoke?
Very little. Still run the fan and wear UV-rated glasses.
Related guides
- xTool F2 Ultra UV stainless steel settings
- Best self-centering jigs for the F2 Ultra UV
- Best UV laser blanks to buy and sell
- UV laser project ideas
- Desktop UV laser buying guide
Final thoughts
Start black cards at 95% power, 2000 mm/s, 300 lines/cm and 40 kHz, and blue or pink at 100% and 1500–1800 mm/s. Test a spare card from every new supplier, use a jig, and save one setting per color.
Sources and further watching
- xTool Support, Processing Parameters for F2 Ultra UV
- xTool Support, Processing Parameter Settings for F2 Ultra UV
- L3D Accessories, F2 Ultra UV aluminium settings
- L3D Accessories, F2 Ultra UV laser settings hub
- Maker Foundry, Anodized Metal Business Cards for xTool F2 UV
- Bonny Creations, Anodized Aluminum on the F2 Ultra UV
- Bonny Creations, F2 Ultra UV settings hub
- Atomm, Black aluminium business card UV test
- Six Eight Woodworks, F2 Ultra UV Complete Review
- Aurora Tech, F2 Ultra UV In-Depth Review
Metal and anodized aluminum on the F2 Ultra UV. (Video: Six Eight Woodworks on YouTube.)
Raw 6061 aluminum marked with the stainless preset. (Video: Aurora Tech on YouTube.)
Related settings
- xTool F2 Ultra UV Leather Settings: Genuine, Faux & Leatherette Chart (2026)
- xTool F2 Ultra UV Stainless Steel Settings: Dark, White, Color & Photo Chart (2026)
- xTool F2 Ultra UV Wood Settings: Basswood, Plywood, Pine & MDF Chart (2026)
- xTool F2 Ultra UV Acrylic Settings: Clear, Black & White Chart (2026)
- xTool F2 Ultra UV Ceramic Settings: Tiles & Mugs Chart (2026)
- xTool F2 Ultra UV Glass Settings: Flat Glass & Rotary Chart (2026)
- xTool F2 Ultra UV PLA Settings: 3D Print Colour Chart (2026)
- xTool F2 Ultra UV Slate Settings: Power, Speed & Frequency Chart (2026)
- xTool F2 Ultra UV Tumbler Settings: Powder-Coated & Stainless (2026)
- Can a UV Laser Engrave Slate?
- Can a UV Laser Engrave Glass?
Keep reading
xTool F2 Ultra UV Stainless Steel Settings: Dark, White, Color & Photo Chart (2026)
Sourced xTool F2 Ultra UV stainless steel settings for slate-grey, white, deep, color and photo engraving on dog tags and cards, plus defocus tips, a test-grid method and troubleshooting.
Read more8 min read
xTool F2 Ultra UV Wood Settings: Basswood, Plywood, Pine & MDF Chart (2026)
Sourced xTool F2 Ultra UV wood settings for engraving basswood, pine, Baltic birch plywood and MDF, plus 3D emboss, cutting limits, a test-grid method and troubleshooting.
Read more8 min read
xTool F2 Ultra UV Leather Settings: Genuine, Faux & Leatherette Chart (2026)
Sourced xTool F2 Ultra UV leather settings for genuine leather, faux/PU leather and two-tone leatherette patches, plus cutting, a test-grid method and troubleshooting.
Read more8 min read