xTool F2 Ultra UV Copper Settings: Sheet, Tags & Copper-Clad PCB Blanks (2026)
Sourced xTool F2 Ultra UV copper settings, including the published PCB copper-removal recipe, reflection safety, a test grid and honest limits.
19 min read
On this page
- Short answer
- Quick answer: the best starting settings
- xTool F2 Ultra UV copper settings chart
- A test grid built from the two sourced rows
- Other UV machines (cross-reference only, not F2 Ultra UV numbers)
- Fiber numbers you should NOT use on the F2 Ultra UV
- What do the settings mean?
- Can the F2 Ultra UV engrave copper?
- Copper surfaces: what changes the result
- Copper-clad PCB blanks: what the sources say
- What I saw in the videos
- Step-by-step: engraving copper sheet and tags
- 1. Identify and clean
- 2. Beat the reflection
- 3. Focus
- 4. Hold it flat
- 5. Grid, then the real piece
- 6. Clean and protect
- Tags, jewelry blanks, PCBs and more
- Safety
- Troubleshooting
- What I couldn't confirm
- FAQ
- Can the xTool F2 Ultra UV engrave copper?
- What are the best F2 Ultra UV settings for copper?
- Can the F2 Ultra UV make PCBs?
- Is copper dangerous for the F2 Ultra UV laser?
- Why is my copper engraving faint or dull?
- Can I get a black or dark mark on copper with a UV laser?
- Should I use the fiber copper recipes on the F2 Ultra UV?
- Can the F2 Ultra UV color-engrave, emboss or cut copper?
- Related guides
- Final thoughts
- Sources and further watching
Last updated: November 11, 2026
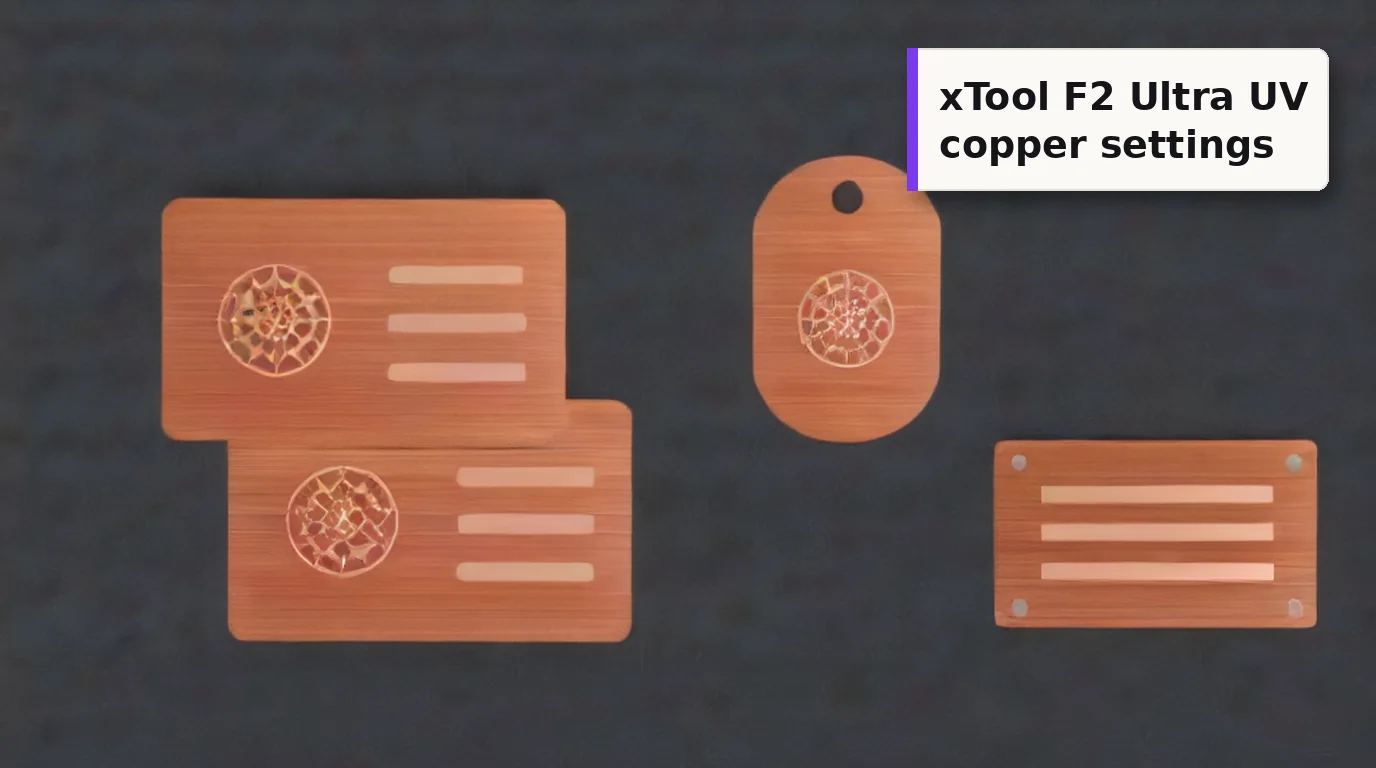 Copper marks with a light, salmon-pink tone on the F2 Ultra UV. It's a shallow, fine-detail mark, not a deep carve. (AI-generated example.)
Copper is the metal people ask about after they've done aluminum, brass and stainless on a UV laser. It's shiny, it's soft, it's a favorite for tags, jewelry blanks and circuit boards, and it behaves differently from every other metal on your bed.
Here's the honest starting point. I couldn't find a published F2 Ultra UV recipe for engraving bare copper sheet. xTool's own list of materials the F2 Ultra UV is built for names stainless steel, aluminum, brass, silver, platinum and titanium, but not copper. What does exist is a well-documented recipe for removing the copper layer from PCB blanks, a long Hackster review that explains where that process breaks down, and plenty of cross-reference data from other UV and fiber machines.
So this guide gives you the sourced F2 Ultra UV numbers, keeps other machines in their own tables, and shows you how to build a test grid for decorative copper marks. Treat every row as a starting point, not a promise.
Quick facts
- Machine: xTool F2 Ultra UV, enclosed 5W, 355 nm UV galvo
- Published F2 Ultra UV copper recipe: PCB copper removal at 100% power, 80 mm/s, 200 lines, 3 passes with 45° rotation between passes (Hobby Laser Cutters)
- Gentle brightening pass (same source): 30% power, 500 mm/s, 300 lines
- Frequency: not stated in that source. The machine's range is 40-150 kHz
- Bare copper sheet recipe: none published for the F2 Ultra UV; use a test grid
- What the mark looks like: shallow, light salmon to bright copper. Depth takes a long time on a 5W UV
- Biggest risk: reflection into the laser module. xTool warns about copper by name, so keep it in focus and tilted about 1 mm
- Not possible on this machine: metal embossing and reliable color marking (xTool FAQ)
- Safety: lid closed, extraction on, 355 nm goggles if the lid can't close
Short answer
The xTool F2 Ultra UV can mark copper, but the marks are shallow and fine rather than deep or dark, and I couldn't find a published recipe for bare copper sheet. The only sourced F2 Ultra UV numbers are for copper-clad PCB blanks: 100% power, 80 mm/s, 200 lines and 3 passes with 45° rotation between passes to remove copper, then a 500 mm/s clean-up pass and a gentle 30% power, 500 mm/s, 300 lines pass to brighten the surface. For decorative marks, run your own grid between those two rows at 1 pass and 40 kHz. Copper is highly reflective, and xTool warns about it by name, so keep the piece in focus and tilt it about 1 mm. Don't expect color, embossing or reliable PCB isolation; a fiber laser suits those jobs better.
Quick answer: the best starting settings
For removing copper from a copper-clad PCB blank, the only F2 Ultra UV recipe I found with numbers comes from JT Makes It on Hobby Laser Cutters. He cleared the copper with 100% power, 80 mm/s, a 200-line interval and three passes, rotating the pattern 45° between passes. That ablated the copper fully but left the FR-4 board slightly charred under the cleared areas. A second pass at 500 mm/s with the same design removed most of the charring. A final, gentler pass over the whole board at 30% power, 500 mm/s, 300 lines cleaned the surface and made the exposed copper noticeably brighter and shinier.
For decorative marks on copper sheet, tags or blanks, nobody I found published F2 Ultra UV numbers. The brightening pass above is the closest sourced hint, and the removal pass is the other end of the range. I built the test grid below from those two rows, and it's labeled as my suggestion, not a tested recipe.
The article doesn't state a frequency. The F2 Ultra UV runs from 40 to 150 kHz (xTool Support). The in-focus metal recipes I've published for this machine use 40 kHz, so that's a sensible place to start your grid. It's my suggestion, not a published copper value.
Before you press start, read xTool's safety page. It tells you to make sure the laser is correctly focused when processing highly reflective materials like stainless steel and copper, or reflected beams can damage the product (xTool F2 Ultra UV safety page).
xTool F2 Ultra UV copper settings chart
These rows come from F2 Ultra UV sources only. Keep each row's numbers together.
| Item / goal | Power | Speed | Lines | Passes | Frequency | Source |
|---|---|---|---|---|---|---|
| Copper-clad PCB, remove copper | 100% | 80 mm/s | 200 | 3 (45° rotation between passes) | not stated | Hobby Laser Cutters (JT Makes It), F2 Ultra UV review |
| Same board, charring clean-up pass | 100% | 500 mm/s | 200 | 1 | not stated | Same source (same design and settings, speed raised) |
| Same board, final brightening pass | 30% | 500 mm/s | 300 | 1 | not stated | Same source |
| Legal frequency window | - | - | - | - | 40-150 kHz | xTool Support 2699 |
Note on the source: the article says "a 200-line interval" and "300 lines". It doesn't say whether those are lines per cm, and it doesn't show the xTool Studio panel. Enter them as lines per cm, which is the unit Studio uses for the F2 Ultra UV, and check your result before you trust the board's isolation.
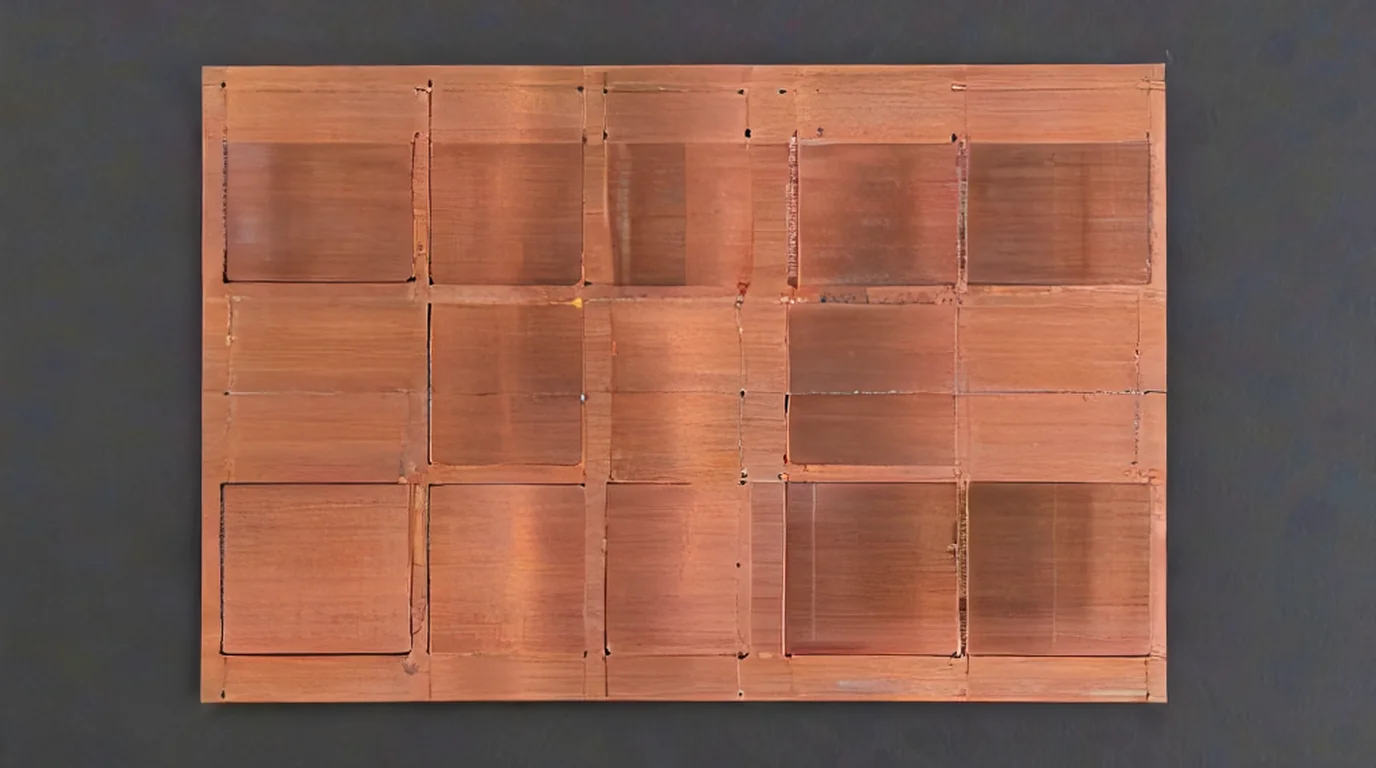 A small grid on your own copper stock tells you more than any chart. Copper finishes and alloys vary a lot. (AI-generated example.)
A test grid built from the two sourced rows
This is my suggested grid, not a tested recipe. It brackets the PCB brightening pass and removal pass, and stays inside the machine's limits:
- Power: 30%, 60%, 100%
- Speed: 500, 200, 80 mm/s
- Fixed: 1 pass, 300 lines/cm, 40 kHz
- Second grid (optional): repeat the best cell at 200 lines/cm, then with the pattern rotated 45° between two passes
- Cells: 10 mm squares or one short word each, on an offcut of the same copper
Pick the cell with the cleanest, most even tone after wiping. On copper, more energy often means a rougher, duller cell, not a deeper-looking one.
Other UV machines (cross-reference only, not F2 Ultra UV numbers)
| Machine | Result | Published settings | Source | Why it doesn't transfer |
|---|---|---|---|---|
| ComMarker Omni 1 5W UV | Copper layer removed from FR-4 (test grid) | 300 mm/s, 0.03 mm interval, 40 kHz, 1.00 ns Q-pulse, 5-25 passes; power not shown | JT Makes It video, on-screen label | Different machine and software, and it has a pulse-width control |
| ComMarker Omni 1 10W UV | Copper removed faster, cut deeper into the board | 500 mm/s, 0.03 mm interval, 40 kHz, 1.00 ns, 5-25 passes; also 6 cutting + 2 cleaning passes for a full PCB | JT Makes It video and Hobby Laser Cutters article | Twice the power |
| Generic desktop/lab UV | Shallow copper marking | 3-20 W, 50-200 kHz, 50-500 mm/s, 10-20 ns pulse, 1-10 µm depth | Mimowork reference table | A general range, not a recipe |
Fiber numbers you should NOT use on the F2 Ultra UV
These rank near the top for "xTool F2 Ultra copper settings", but they belong to the infrared fiber laser, not the UV.
| Machine / goal | Published settings | Source | Why not |
|---|---|---|---|
| F2 Ultra fiber, copper deep engrave | 100% power, 500 mm/s, 300 LPC, 5 passes, 30 kHz, 500 ns pulse, 45° crosshatch | L3D Accessories | 1064 nm fiber with pulse control |
| F2 Ultra fiber, copper clean pass | 50% power, 1000 mm/s, 300 LPC, 2 passes, 120 kHz, 250 ns | L3D Accessories | Same reason |
| F2 Ultra fiber, copper dark anneal | 100% power, 200 mm/s, 300 LPC, 30 kHz, 500 ns | L3D Accessories | The UV can't form a stable oxide layer (xTool FAQ) |
| F2 Ultra fiber 60W, 1 mm copper cut | 100% power, 30 mm/s, 1 pass, 120 lines/cm, 25 kHz, 200 ns pulse, embossment mode | Atomm Material Lab (community) | Cutting and embossing metal aren't available on the UV |
L3D's own FAQ explains why fiber copper recipes use many passes: copper reflects a lot of laser energy, so depth builds up from many light passes. A 5W UV has the same problem from the other side, with far less power.
What do the settings mean?
- Power (%): laser output. The sourced rows run at 100% for removal and 30% for brightening.
- Speed (mm/s): slower means more energy per spot. The removal pass crawls at 80 mm/s; the clean-up passes run at 500.
- Lines: fill density. xTool says 100 lines/cm equals 254 DPI (xTool 2699).
- Passes and rotation: three passes with 45° between them spread the energy in different directions so the copper clears evenly.
- Frequency (kHz): pulse rate, 40-150 kHz. The PCB source didn't show one.
- Dot duration and DPI: these apply in bitmap mode. No copper bitmap source turned up for this machine.
Can the F2 Ultra UV engrave copper?
Yes, with honest limits.
Why it works at all. Copper absorbs 355 nm light much better than it absorbs infrared. RFH Laser notes that solid copper reflects more than 95% of near-infrared (about 1 µm) light, while copper absorbs UV through green wavelengths much better. KEYENCE calls UV the best choice for copper because it absorbs the beam instead of bouncing it, and describes it as a "cold marking" method.
Where it stops. The mark is shallow and slow to deepen:
- Laser Engraving 911's F2 Ultra UV review says that on metals "you're not going to get much depth at all" unless you have half an hour or an hour to spare, because it's a 5W UV laser. He lists copper among the metals you can mark lightly.
- JT Makes It found the UV can mark raw aluminum, brass and copper, but the engravings are less deep and have fewer effects than a fiber laser.
- xTool lists stainless steel, aluminum, brass, silver, platinum and titanium as intended F2 Ultra UV materials. Copper isn't on that list, even though the same safety text warns about copper's reflectivity.
The PCB story is mixed. The same laser gave two different verdicts:
- Positive: JT Makes It cleared copper completely and cleaned the board to a bright finish in a couple of minutes.
- Negative: Cameron Coward on Hackster tried more than a dozen PCBs and "never achieved good results". The UV engraved and cut thin copper very well, but traces still had measurable resistance between them. He suspected copper particles were being baked into the FR-4. The only fully isolated board he made needed engraving about halfway through the FR-4, and took around 90 minutes.
My read: for names, small logos and light decorative marks on copper, the F2 Ultra UV is a fine fit. For production PCBs, treat it as an experiment and always test continuity between traces with a meter. If you need deep, dark copper marks every day, a fiber laser is the better tool.
Copper surfaces: what changes the result
| Surface | What to expect | Where to start |
|---|---|---|
| Bare polished or mirror copper | Highest reflection risk; autofocus can struggle | Tilt, focus manually, small grid |
| Brushed or matte copper | Easier to couple energy in; more even tone | This guide's grid |
| Oxidized or tarnished copper | The laser may be acting on an oxide layer, not bare copper | Clean it first, then test (ZhuoRui) |
| Plated, lacquered or coated copper | The coating can be the real target | Treat it as a coating job |
| Copper-clad PCB blank | Thin copper over FR-4; the substrate matters | Hobby Laser Cutters rows |
ZhuoRui's copper guide makes the key point: don't copy a stainless steel recipe to copper, and qualify the final surface first. Grade, oxide state, polish and coatings all change the outcome. Brass is a different material too. See my F2 Ultra UV brass settings guide for that.
Copper-clad PCB blanks: what the sources say
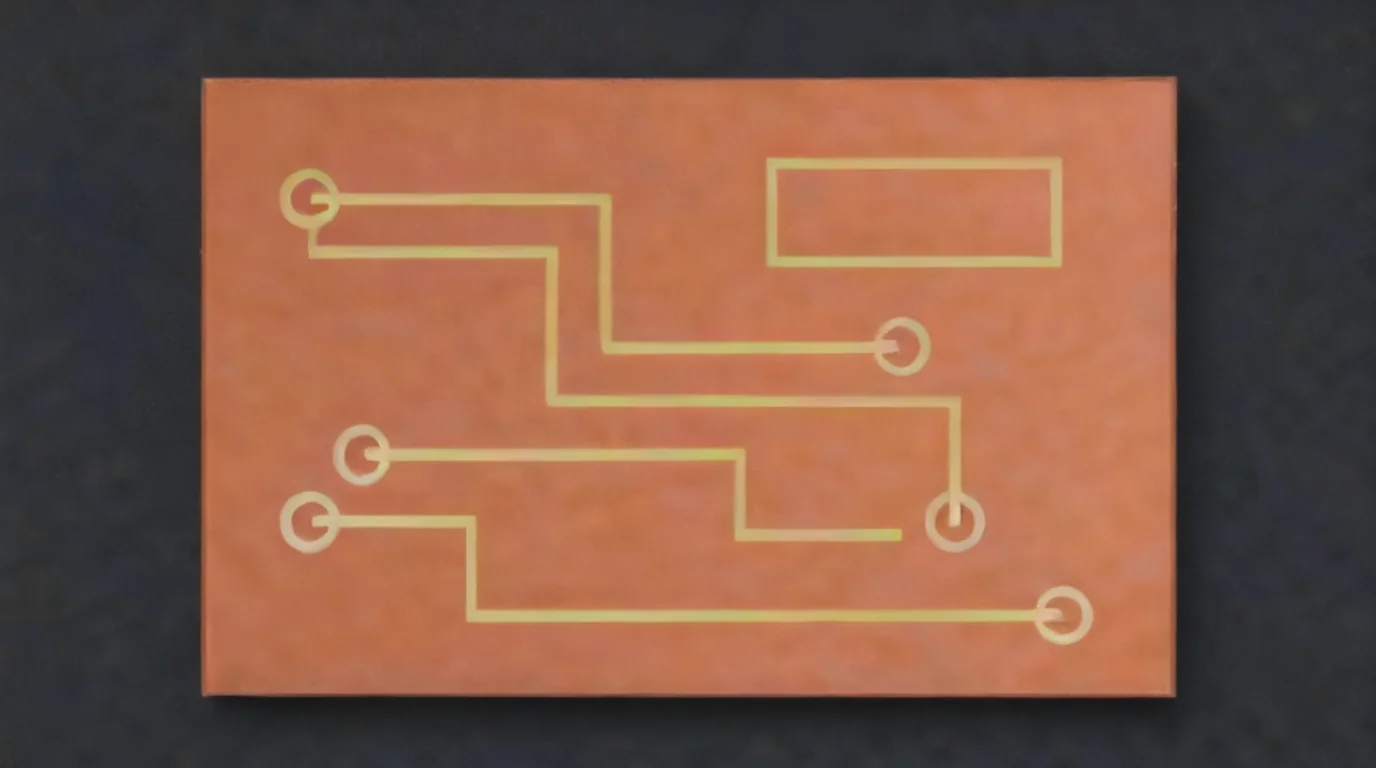 The goal is channels that fully isolate each trace. Checking them with a multimeter matters more than how they look. (AI-generated example.)
If you're thinking about PCBs, here is the workflow the sources describe:
- Design and export. A maker on Atomm designed a board in EasyEDA, exported the copper and silkscreen layers as SVG, tidied them in Inkscape and imported them into xTool Studio. The same project processes copper removal, hole cutting, surface cleaning and outline cutting as separate layers.
- Remove copper with the removal pass above, rotating between passes.
- Clean with the faster pass, then the gentle brightening pass.
- Test isolation. Hackster's lesson is that a clean-looking channel can still conduct. Check resistance between neighboring traces.
- Know the trade-off. JT Makes It found the 10W ComMarker removed copper faster and cut deeper into the board than the 5W, and that fiber leaves more charring on FR-4 than UV does.
What I saw in the videos
I watched the copper sections frame by frame instead of only reading transcripts.
- JT Makes It, 5W vs 10W Omni 1 (ComMarker): A copper-clad board carries two test grids with the settings engraved above them: "5W Omni: Interval 0.0300 mm, Frequency 40.0 kHz, Q-Pulse 1.00 ns, speed 300" and "10W Omni: same, speed 500", each with 5, 10, 15, 20 and 25 passes. The cells shift from copper-brown to patchy grey as the passes rise, and the 10W row reaches grey earlier. These are ComMarker numbers, not F2 Ultra UV numbers.
- JT Makes It, UV vs fiber: The frames I pulled show a raw aluminum plate labeled DARK, DEEP and WHITE and a brass sheet with test grids and coins. I didn't see a copper close-up. The narration says the fiber laser makes deep, permanent marks on raw aluminum, brass and copper, while the UV marks them less deeply with fewer effects.
- Laser Engraving 911 (F2 Ultra UV): The metal section shows a brass sheet, a stainless tag and a gold-colored metal card being engraved. The narration lumps copper in with gold, silver, brass, aluminum and steel as "light engraving" metals. No copper settings appear on screen.
Step-by-step: engraving copper sheet and tags
1. Identify and clean
- Peel any protective film. Wipe off oil and fingerprints with isopropyl alcohol.
- Check for lacquer or plating. If it's coated, see the surface table above.
2. Beat the reflection
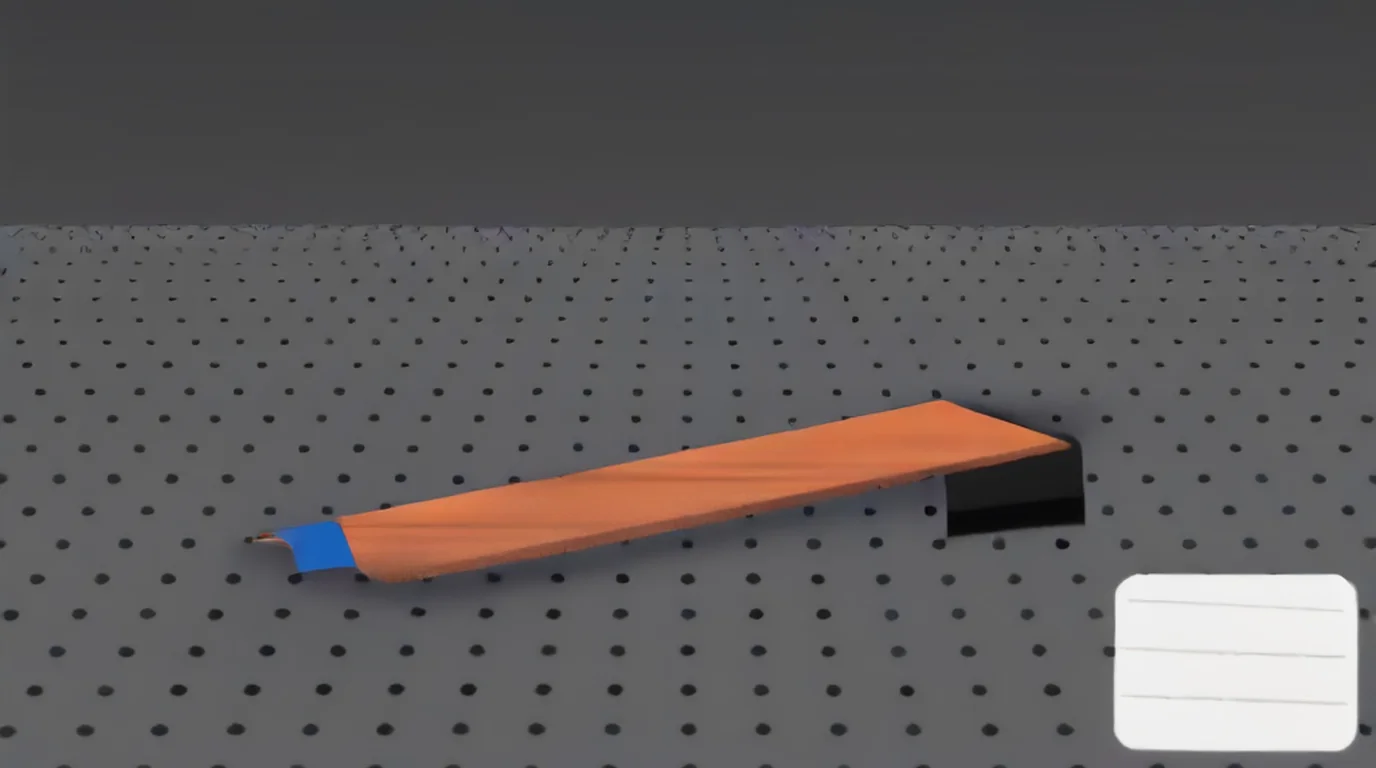 A small shim under one edge stops the beam reflecting straight back into the optics. (AI-generated example.)
- Put a 1 mm object under one side so the plate isn't square to the laser module, as xTool recommends for reflective metals (xTool metal guide).
- xTool also suggests spraying black laser marking spray on mirror-finish metal to reduce reflection, but notes the laser then engraves only a fixed color effect on the spray layer.
- Keep long jobs away from the dead center of the field.
3. Focus
- Use manual focus by overlapping the red and blue dots, or put masking tape at the ranging spot so autofocus can measure. My how to focus a UV laser guide walks through both.
4. Hold it flat
- Tape thin copper down or use a jig so the exhaust airflow can't move it. See best self-centering jigs for the F2 Ultra UV.
5. Grid, then the real piece
- Run the grid on an offcut, wipe it, and judge it under the light you'll sell it in.
- Close the lid, start, and keep extraction running.
6. Clean and protect
- Wipe with alcohol or a bristle brush. Let the metal cool before handling.
- Copper tarnishes. If it's a keepsake, ask whether a clear coat is acceptable for your customer. I didn't find a published test for how UV-marked copper ages.
Tags, jewelry blanks, PCBs and more
Copper blanks that suit a UV laser:
- Tags and keyrings: short text and small icons.
- Jewelry blanks and small discs: monograms and fine line art. Laser Engraving 911 specifically calls out jewelry makers as the people who are happy with a light mark on gold, silver and copper.
- Business cards and plates: a warm copper look with a fine mark.
- Copper-clad PCB blanks: experiments, with an isolation check.
More blank ideas: best UV laser blanks to buy and sell and UV laser project ideas.
Safety
- Keep the enclosure closed. If it can't close, wear goggles rated for 355 ± 5 nm, as the xTool safety page requires.
- Reflection is the main machine risk, and xTool names copper in its warning. Stay focused and tilt the piece.
- If the mark gets lighter partway through a long job, stop and let the module cool. xTool says reflective metals bounce heat back into the module and cause power loss.
- Run extraction. Burning FR-4 and metal vapor both produce fumes you don't want to breathe.
Troubleshooting
| Problem | Likely cause | Fix |
|---|---|---|
| Faint or invisible mark | Too little energy, or polished copper is reflecting | Slow down one grid step; check under raking light |
| Rough, dull, brownish patches | Too much energy or too many passes | Speed up or drop power; try the brightening row |
| Charred FR-4 under cleared copper | Heat on the substrate | Add the faster clean-up pass (500 mm/s) |
| Traces still conduct | Copper particles left in the substrate | Test with a meter; engrave deeper or use a different method (Hackster) |
| Autofocus fails or measures wrong | Mirror-like surface | Manual focus, or tape at the ranging spot |
| Mark fades during a long job | Laser module heating from reflection | Pause and let it cool; split large fills |
| Uneven tone across the plate | Not flat, or uneven finish | Tape it flat, re-focus, use brushed stock |
| Results change between batches | Different alloy or surface | Re-run a small grid per supplier batch |
What I couldn't confirm
- A published bare copper sheet recipe for the F2 Ultra UV. I found none, and xTool's intended-use list doesn't include copper.
- Frequency and units for the PCB recipe. The article doesn't show the Studio panel.
- Depth numbers. No F2 Ultra UV source I found measured copper engraving depth.
- Long-term wear or tarnish. No published test turned up for UV marks on copper.
- A reliable PCB isolation method. Reviewers disagree, and the one fully isolated board took about 90 minutes.
FAQ
Can the xTool F2 Ultra UV engrave copper?
Yes, but lightly. Reviewers report that it marks copper with shallow, fine detail, and that getting depth with a 5W UV takes a long time. xTool's intended-use list for the machine doesn't include copper, so test on an offcut first.
What are the best F2 Ultra UV settings for copper?
There's no published bare copper sheet recipe. The sourced F2 Ultra UV numbers are for PCB blanks: 100% power, 80 mm/s, 200 lines and 3 passes to remove copper, then 30% power, 500 mm/s and 300 lines to brighten the surface. Build a grid around those on your own stock.
Can the F2 Ultra UV make PCBs?
It can remove copper from a blank. Results are mixed. One reviewer got a clean, bright board in minutes, while Hackster's reviewer found traces still conducted and needed very deep engraving to isolate them. Always check resistance between traces.
Is copper dangerous for the F2 Ultra UV laser?
Copper is highly reflective, and xTool warns that reflected beams can damage the product if the laser isn't correctly focused on copper or stainless steel. Tilt the piece about 1 mm and keep it in focus.
Why is my copper engraving faint or dull?
Polished copper reflects a lot of light, and too much energy can roughen the surface. Clean it, check focus, run a grid, and judge the mark under angled light.
Can I get a black or dark mark on copper with a UV laser?
I didn't find a UV source that shows one. Dark copper marks in the sources come from fiber lasers with pulse control. xTool says the UV can't form the stable oxide layer that kind of marking needs.
Should I use the fiber copper recipes on the F2 Ultra UV?
No. Recipes like 100% power, 500 mm/s, 5 passes, 30 kHz and 500 ns pulse belong to the infrared fiber laser. The UV doesn't have the same pulse control or power.
Can the F2 Ultra UV color-engrave, emboss or cut copper?
No. xTool's FAQ says UV can't create the stable oxide layer needed for color marking, and that metal can't be used for embossment on this machine. A 5W UV is also very limited for cutting metal.
Related guides
- xTool F2 Ultra UV brass settings
- xTool F2 Ultra UV stainless steel settings
- xTool F2 Ultra UV silver settings
- xTool F2 Ultra UV aluminum settings
- xTool F2 Ultra UV titanium settings
- How to focus a UV laser
- How to calibrate the xTool F2 Ultra UV
- Best self-centering jigs for the F2 Ultra UV
- Best UV laser blanks to buy and sell
- Desktop UV laser buying guide
Final thoughts
Copper works on the F2 Ultra UV for light, fine-detail marks, but it asks for care more than power. There's no published bare-sheet recipe, so build a grid between 30% power at 500 mm/s and 100% at 80 mm/s, keep it at 300 lines and 1 pass, and pick the cleanest cell. Tilt the piece 1 mm, stay in focus, and don't promise depth, dark marks or reliable PCB isolation.
Sources and further watching
- xTool Support - Safety First for xTool F2 Ultra UV (article 2737): https://support.xtool.com/article/2737
- xTool Support - Processing Parameters for xTool F2 Ultra UV (article 2699): https://support.xtool.com/article/2699
- xTool Support - Beginner's Guide to Metal Laser Processing (article 2507): https://support.xtool.com/article/2507
- xTool Support - FAQs on xTool F2 Ultra UV (article 2870): https://support.xtool.com/article/2870
- Hobby Laser Cutters (JT Makes It) - xTool F2 Ultra UV Review, PCB section: https://hobbylasercutters.com/xtool-f2-ultra-uv-review/
- Hobby Laser Cutters (JT Makes It) - Testing the 10W ComMarker Omni 1: https://hobbylasercutters.com/commarker-omni-1-10w/
- Hobby Laser Cutters (JT Makes It) - UV Laser vs. Fiber Laser: https://hobbylasercutters.com/uv-laser-vs-fiber-laser-engraver/
- Hackster.io (Cameron Coward) - The Maker's Toolbox: xTool F2 Ultra UV Laser Machine: https://www.hackster.io/news/the-maker-s-toolbox-xtool-f2-ultra-uv-laser-machine-8ebaaea81825
- Atomm - PCB project for the F2 Ultra UV (Plume_et_Feu, CC0): https://www.atomm.com/project/182045-pcb
- Atomm Material Lab - 1mm copper (F2 Ultra fiber, community entry): https://www.atomm.com/materials-lab/community-materials/1119-1mm-copper
- L3D Accessories - xTool F2 Ultra Brass & Copper Settings (fiber rows): https://www.l3daccessories.com/pages/xtool-f2-ultra-brass-copper-settings
- KEYENCE - How to Laser Engrave Copper: https://www.keyence.com/products/marker/laser-marker/resources/laser-marking-resources/how-to-laser-engrave-copper.jsp
- RFH Laser - Application of 355nm UV Nanosecond Laser in Copper Surface Marking: https://www.rfhtech.com/blog/application-of-rfh-355nm-uv-nanosecond-laser-in-copper-surface-marking_b3669
- Mimowork - Laser Engraving Copper: Fiber Laser and UV Laser: https://m.mimowork.com/news/laser-engraving-copper-application-strategies-of-fiber-laser-and-uv-laser/
- ZhuoRui Laser - Copper & Brass Laser Marking Guide: https://zhuoruilaser.com/materials/metals/copper/
- ZhuoRui Laser - UV Laser Marking Technology: https://zhuoruilaser.com/resources/technology-guides/uv-technology/
Further watching (embeds)
- JT Makes It - "Don't Buy a UV LASER Until You Watch This - 5W vs 10W ComMarker Omni 1 Performance Comparison Test": https://www.youtube.com/watch?v=AZwsxqzUZDE
- JT Makes It - "UV Laser vs. Fiber Laser - Which One Should You Choose? [ALL MATERIALS TESTED]": https://www.youtube.com/watch?v=TEGiheuk6SM
- Laser Engraving 911 - "xTool F2 Ultra UV Laser: What You Need to Know Before Buying": https://www.youtube.com/watch?v=38YVlBi81o0
5W vs 10W UV laser test grids removing copper from an FR-4 board (ComMarker Omni 1, not F2 Ultra UV). (Video: JT Makes It on YouTube.)
UV vs fiber side-by-side on raw aluminum, brass and copper, plus PCB prototyping. (Video: JT Makes It on YouTube.)
F2 Ultra UV review including the limits of depth on metals such as copper, brass and silver. (Video: Laser Engraving 911 on YouTube.)
Related settings
- xTool F2 Ultra UV Bamboo Settings: Cutting Boards, Coasters & Plywood (2026)
- xTool F2 Ultra UV Granite Settings: Black Granite, Memorials & Rocks (2026)
- xTool F2 Ultra UV Polycarbonate Settings: PC Sheet, Cases & Cards (2026)
- xTool F2 Ultra UV Cork Settings: Coasters, Sheets & Photo Chart (2026)
- xTool F2 Ultra UV Marble Settings: Black, White & Green Marble Chart (2026)
- xTool F2 Ultra UV Gold Settings: Solid, Gold-Filled & Gold-Plated Jewelry (2026)
- xTool F2 Ultra UV Silver Settings: Sterling Silver Jewelry, Tags & Pendants (2026)
- xTool F2 Ultra UV Aluminum Settings: Bare Sheet, Cards, Tags & ID Plates (2026)
- xTool F2 Ultra UV Silicone Settings: Wristbands, Watch Bands & Phone Cases (2026)
- xTool F2 Ultra UV Titanium Settings: Color Mark, Dark Mark & Jewelry Chart (2026)
- xTool F2 Ultra UV Paper & Cardstock Settings (2026 Guide)
- xTool F2 Ultra UV ABS Settings: Presets, Test Grid & Safety Guide (2026)
- xTool F2 Ultra UV Brass Settings: Tags, Sheet & Coin Emboss Chart (2026)
- xTool F2 Ultra UV Crystal Settings: 3D Inner Engraving Guide (2026)
- xTool F2 Ultra UV Anodized Aluminum Settings: Business Cards & More (2026)
- xTool F2 Ultra UV Leather Settings: Genuine, Faux & Leatherette Chart (2026)
- xTool F2 Ultra UV Stainless Steel Settings: Dark, White, Color & Photo Chart (2026)
- xTool F2 Ultra UV Wood Settings: Basswood, Plywood, Pine & MDF Chart (2026)
- xTool F2 Ultra UV Acrylic Settings: Clear, Black & White Chart (2026)
- xTool F2 Ultra UV Ceramic Settings: Tiles & Mugs Chart (2026)
- xTool F2 Ultra UV Glass Settings: Flat Glass & Rotary Chart (2026)
- xTool F2 Ultra UV PLA Settings: 3D Print Colour Chart (2026)
- xTool F2 Ultra UV Slate Settings: Power, Speed & Frequency Chart (2026)
- xTool F2 Ultra UV Tumbler Settings: Powder-Coated & Stainless (2026)
- Can a UV Laser Engrave Slate?
- Can a UV Laser Engrave Glass?
Keep reading
xTool F2 Ultra UV Bamboo Settings: Cutting Boards, Coasters & Plywood (2026)
Sourced xTool F2 Ultra UV bamboo settings for cutting boards, coasters and plywood, with a starting test grid, glue-line tips and food-safe finishing.
Read more19 min read
xTool F2 Ultra UV Granite Settings: Black Granite, Memorials & Rocks (2026)
Sourced xTool F2 Ultra UV granite settings for polished black and light granite, with a starting test grid, deep relief, paint fill and silica safety.
Read more20 min read
xTool F2 Ultra UV Polycarbonate Settings: PC Sheet, Cases & Cards (2026)
Sourced xTool F2 Ultra UV polycarbonate settings for clear, white and black PC, with a starting test grid, mark colors, fume safety and fixes.
Read more18 min read