xTool F2 Ultra UV Titanium Settings: Color Mark, Dark Mark & Jewelry Chart (2026)
Sourced xTool F2 Ultra UV titanium settings for color oxide marks on Grade 1 and Grade 2 titanium, plus defocus tips, a Studio test-grid method and fixes.
Last updated 20 min read
On this page
- Short answer
- Quick answer: the best starting settings
- xTool F2 Ultra UV titanium settings chart
- Other UV machines (cross-reference only, not F2 Ultra UV numbers)
- Fiber/MOPA titanium numbers you should NOT use on the UV
- What do these settings mean?
- Can a UV laser engrave titanium?
- Titanium vs stainless on the UV
- Grade, alloy and surface finish
- Color engraving on titanium in xTool Studio
- One thing that doesn't apply to UV
- Step-by-step: color marking titanium
- 1. Prep
- 2. Focus
- 3. Grid
- 4. Run
- 5. Read it under good light
- 6. Engrave the real piece
- How should I focus titanium for color?
- Jewelry, tags and ID-style blanks
- Is this job safe to run?
- What should I do if the mark looks wrong?
- What could I not confirm?
- FAQ
- Can the xTool F2 Ultra UV engrave titanium?
- What are the best F2 Ultra UV settings for color on titanium?
- How much should I defocus for titanium color?
- Can I use F2 Ultra fiber titanium settings on the UV?
- Which xTool Studio version do I need for color engraving?
- Does Grade 1 or Grade 2 titanium work better?
- Why do my titanium colors change between sessions?
- Is UV color on titanium safe for jewelry?
- Related guides
- Final thoughts
- Sources and further watching
Last updated: November 10, 2026
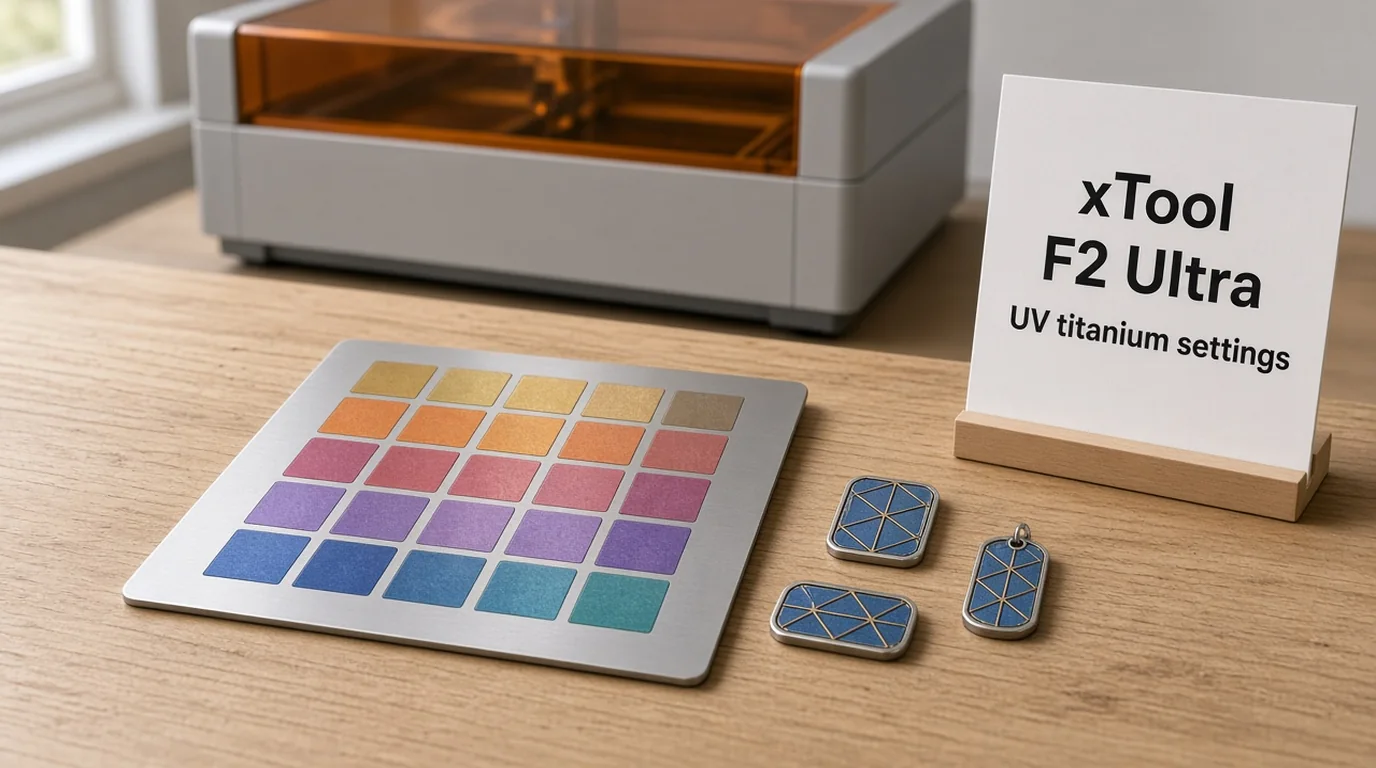 Titanium takes blues, purples, golds and cranberry reds from a UV laser, but only after a test grid. (AI-generated illustration, generic machine.)
Titanium is the metal I'd point most UV owners to once they've had their first go at color on stainless. It's light, it doesn't rust, and it grows a clean oxide film that turns into blues, purples, golds and reds under the beam. But there is very little published data for titanium on the xTool F2 Ultra UV, and a lot of the "titanium settings" you'll find online are really for the fiber (MOPA) F2 Ultra. Those numbers don't work on a 5W, 355 nm UV source.
This guide pulls together every UV-specific titanium number I could find from a named public source. Fiber numbers are fenced off in their own table, so you know what not to type into your UV machine. Every row is a starting point. Run a test grid on your own sheet before you engrave a paid piece.
Quick facts
- Machine: xTool F2 Ultra UV, enclosed 5W, 355 nm UV galvo
- Color starting point (Grade 2): 100% power, 600 lines/cm, 1 pass, bi-directional, crosshatch on
- Color variables: speed 40–250 mm/s and frequency 40–70 kHz
- Defocus: raise focus 4–5 mm (less defocus = darker colors, more = lighter)
- Colors reported: pastels and iridescent tones, plus deep blue, purple, orange and cranberry red
- Software: xTool Studio V1.8 or later for Color Engrave
- Clean first: acetone or another residue-free cleaner
- Keep it central: color jobs inside the 60 × 60 mm center of the bed
- Safety: lid closed, or 355 nm-rated goggles if it can't close
Short answer
The xTool F2 Ultra UV is a 5 W, 355 nm galvo. For color on Grade 2 titanium, the published array is 100 percent power, 600 lines per centimetre, one bi-directional crosshatched pass, defocused 4 to 5 mm. Sweep speed from 40 to 250 mm/s and frequency from 40 to 70 kHz. About 4 mm shifts colors darker, and about 5 mm shifts them lighter. Color jobs should stay in the 60 by 60 mm center. Clean with acetone first. Grade 1 TA1 sheet has Studio presets, but those numbers are not on the public page, so this chart does not invent them. Do not type fiber settings into the UV. Pulse width in nanoseconds and frequencies such as 1950 kHz belong to the MOPA F2 Ultra. This UV runs at 40 to 150 kHz. Oxide color shifts with batch, finish, humidity, and temperature, so rerun a small grid when any of those change. Deep engraving is slow on 5 W.
Quick answer: the best starting settings
For color on Grade 2 titanium, an Atomm maker published this working array for the F2 Ultra UV: 100% power, 600 lines/cm, 1 bi-directional pass with crosshatch, defocused 4–5 mm. Then sweep speed from 40 to 250 mm/s and frequency from 40 to 70 kHz across the grid. Each cell gives a different color.
For a dark or grey mark, I couldn't find an F2 Ultra UV-specific titanium recipe with power listed. Use xTool's official 1 mm TA1 titanium preset inside xTool Studio as your first test (more on that below), stay in focus, and run a small speed-by-power grid.
For anything that matters, test first. xTool itself says oxide color shifts with the material, humidity and temperature, even at identical settings (xTool Support).
xTool F2 Ultra UV titanium settings chart
These rows are from F2 Ultra UV sources only. Keep each row's numbers together.
| Goal | Power | Speed | Lines/cm | Passes / mode | Frequency | Focus | Source |
|---|---|---|---|---|---|---|---|
| Color array, Grade 2 titanium | 100% | 40–250 mm/s (varied across grid) | 600 | 1, bi-directional, crosshatch | 40–70 kHz (varied across grid) | +4 to +5 mm defocus | Atomm project "F2 Ultra UV - Color Engraving on Titanium" |
| Darker color shift, same array | 100% | 40–250 mm/s | 600 | 1, bi-directional, crosshatch | 40–70 kHz | +4 mm (lower end) | Same Atomm project |
| Lighter / pastel shift, same array | 100% | 40–250 mm/s | 600 | 1, bi-directional, crosshatch | 40–70 kHz | +5 mm (upper end) | Same Atomm project |
| Fine-tune one color | ±0.5% steps | ±50 mm/s steps | keep | keep | keep | keep | xTool Support 3845 (method written for 304 stainless) |
| Legal frequency window | — | — | — | — | 40–150 kHz | — | xTool Support 2699 |
| Test-array layout | — | — | — | cells ≥ 10 × 10 mm, ≤ 8 rows/columns, ≥ 1 mm gap | — | inside center 60 × 60 mm | xTool Support 3845 |
| 1 mm TA1 titanium, engrave and score presets | in Studio | in Studio | in Studio | bitmap engrave, vector fill engrave, score | in Studio | in Studio | xTool Material Lab (Atomm) official TA1 sheet, F2 Ultra UV, updated 2026-09-29 |
Tip: The Atomm array runs at full power. That means your color knobs are speed, frequency and defocus, not power. If you copy xTool's ±0.5% power step from the stainless guide, you'll have to drop below 100% first.
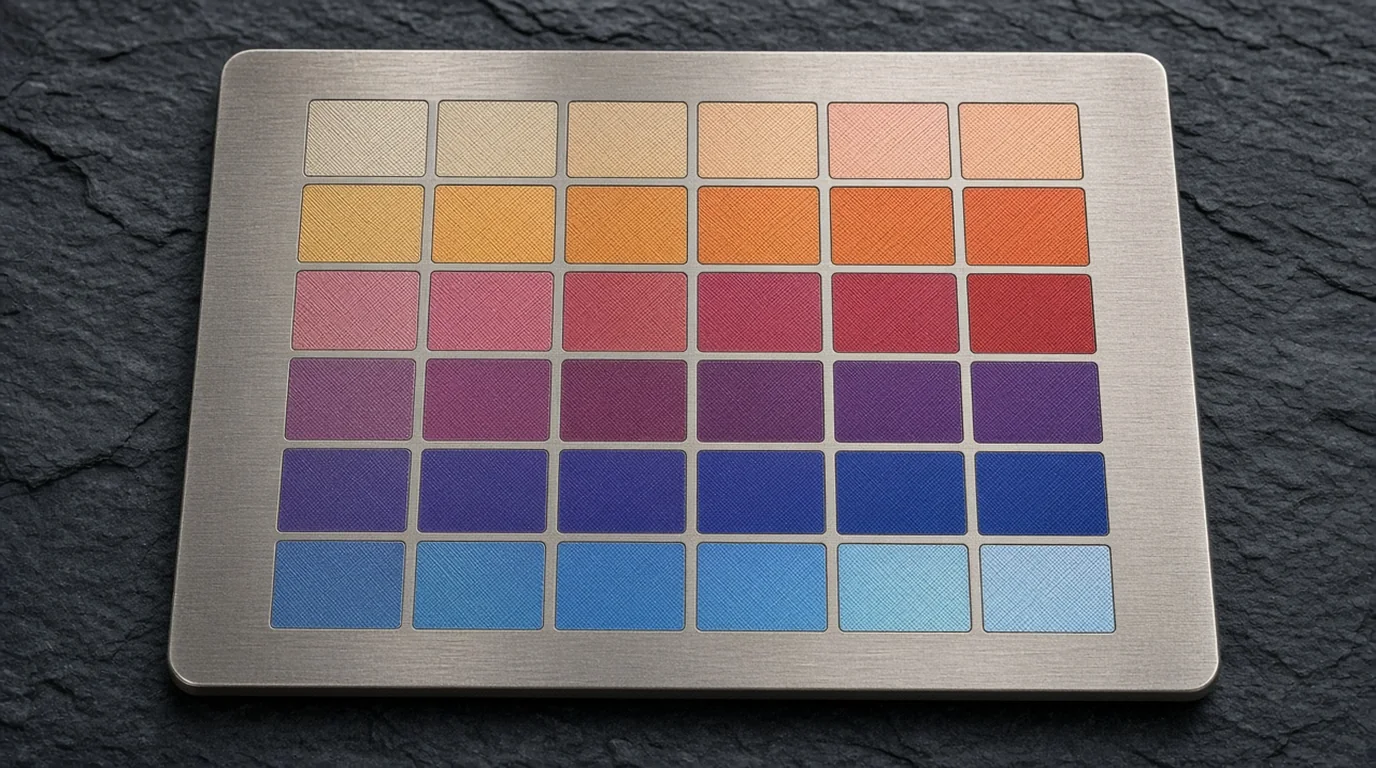 Your test grid becomes your palette. Photograph it and save each cell's speed and frequency. (AI-generated example.)
Other UV machines (cross-reference only, not F2 Ultra UV numbers)
These are from different UV lasers. They show what 355 nm can do on titanium, but don't paste them into Studio as-is.
| Machine | Result | Published settings | Source | Why it doesn't transfer |
|---|---|---|---|---|
| ComMarker 5W UV | Black mark on titanium | 200 mm/s, 40 kHz, 0.01 mm line distance (about 1000 lines/cm), pulse "1"; power not stated | ComMarker blog, titanium guide | Different source and software; no power value |
| Endurance 3W 355 nm UV, polished titanium | Blue | 2 passes, 80 mm/s, 20 kHz, 0.005 mm line spacing | Endurance Lasers titanium guide | 20 kHz is below the F2 Ultra UV's 40 kHz floor; different optics |
| Endurance 3W 355 nm UV, polished titanium | Yellow | 1 pass, 75 mm/s, 67 kHz, 0.03 mm line spacing | Endurance Lasers titanium guide | Different laser, lens and controller |
| Endurance 3W 355 nm UV, polished titanium | Black | 1 pass, 200 mm/s, 70 kHz, 0.0007 mm line spacing | Endurance Lasers titanium guide | Very tight spacing on a different controller |
The Endurance results are useful for one thing: they show that line spacing and pass count swing titanium colors just as much as speed does on a UV.
I also watched that Endurance video. The on-screen slides list recipes for ocher, yellow-blue, dark blue, sky, petrol (teal), yellow, silver, sky blue, dark blue-purple and red-brown-orange. Power is missing from every slide, so I haven't copied those rows into the chart. What you can see is the result: a mandala on titanium with those hues as a matte-to-slightly-reflective oxide film, not paint.
Fiber/MOPA titanium numbers you should NOT use on the UV
You'll see these all over search results. They're for the fiber/MOPA F2 Ultra (a different machine), not the UV.
| Machine | Published titanium settings | Source |
|---|---|---|
| F2 Ultra (MOPA fiber) – color | Power 5–35%, speed 500–4500 mm/s, 5000 lines/cm, pulse width 2 ns, 1950 kHz | xTool Support 2625 |
| F2 Ultra (fiber) – Grade 1 color card | +1.5 mm defocus, 500 or 600 kHz with 60 ns, 2500–5000 lines/cm | Atomm project by Pixel2plastics |
| F2 Ultra Fiber – deep engrave | 100%, 1700 mm/s, 280 lines/cm, 10 passes, 60 kHz, 200 ns, crosshatch | L3D precious metals settings |
The giveaway is pulse width in nanoseconds and frequencies far above 150 kHz. The F2 Ultra UV's frequency range is 40–150 kHz, per xTool's own parameter page.
What do these settings mean?
Power, speed, passes, line density, and frequency decide how much energy reaches the surface. Use these notes with the one row you already chose.
- Power (%): laser output. The Atomm titanium array holds it at 100%.
- Speed (mm/s): slower means more energy per area and a thicker oxide. On the Atomm array, speed is a main color dial.
- Lines per cm: fill density. 600 lines/cm is the published titanium value. 100 lines/cm equals 254 DPI (xTool 2699).
- Frequency (kHz): pulse rate. 40–150 kHz is the machine's range. The titanium array uses 40–70 kHz.
- Bi-directional: fills in both directions, which is faster. Uni-directional is cleaner on edges but slower (xTool 2699).
- Crosshatch: a second fill at an angle. It evens out a color field.
- Defocus: raising focus above the surface spreads the spot, lowering energy density. On titanium, 4 mm leans darker and 5 mm leans lighter (Atomm).
Can a UV laser engrave titanium?
Yes. xTool lists titanium among the materials the F2 Ultra UV is intended to process (Safety First, F2 Ultra UV). But "engrave" covers three different results, and a 5W UV is only great at two of them.
- Oxide color (annealing). The laser heats the surface below the point where metal is removed. A thin, clear oxide film grows. Light bounces off the top and bottom of that film and interferes, so you see color. Thickness picks the color. EVlaser's titanium explainer describes this as color from interference, not pigment, and notes there's no simple straight line between energy and color (EVlaser).
- Dark or grey mark. More energy, tighter focus. The surface oxidizes and changes texture enough to read as dark. Good for text, serials and logos.
- Deep engrave (ablation). Metal is actually vaporized. This is where a 5W UV falls behind. Reviewers of the F2 Ultra UV say it marks metal well but gets very little depth without long run times, and point deep metal work toward the fiber F2 Ultra.
There's a fair debate here. Some fiber-laser sellers say titanium color needs a MOPA laser. WeCreat lists "vibrant, repeatable color marking" as a UV weak spot. On the other hand, an Atomm maker got consistent color on Grade 2 titanium with the F2 Ultra UV, and xTool's own UV color tutorial says the same method can be explored on titanium. My read: a UV can color titanium, but expect a narrower, softer palette than MOPA and more test grids per batch.
Titanium vs stainless on the UV
- Titanium tends to show stronger color than stainless, according to an Atomm maker who tested pure titanium on the fiber F2 Ultra (a different machine, but the same oxide physics).
- Both depend on oxide thickness. xTool's stainless color order runs light yellow → yellow → orange → pink → purple → blue-purple → blue → cyan → green → brown → black as energy rises (xTool 3845). Titanium follows a similar gold-to-blue-to-green idea, but treat your own grid as the truth.
- On the F2 Ultra UV itself, Chris from L3D's short shows a physical stainless test plate labelled "Engrave Test - xTool F2 Ultra UV" with "Power: 70 Speed: 425 Pass: 2 (4mm Up, Crosshatch)". The grid varies lines per centimetre from 300 to 700 against frequency from 50 to 75 kHz, and the plate shows vivid cyan, magenta, blue, gold and green interference colors. That's steel, not titanium, so don't paste those numbers onto a titanium job. It does confirm that about 4 mm of defocus is how this UV machine gets color instead of a grey ablation mark — the same idea as the Atomm titanium array.
- For the rest of the stainless chart, see my F2 Ultra UV stainless steel settings.
Grade, alloy and surface finish
| Material | What it is | What to expect |
|---|---|---|
| Grade 1 / TA1 | Softest commercially pure titanium | xTool sells 1 mm TA1 sheets listed for UV engraving; official F2 Ultra UV presets exist in Studio |
| Grade 2 | Most common commercially pure grade | The only titanium with a published F2 Ultra UV color array (Atomm) |
| Ti-6Al-4V (Grade 5) | Alloy with about 6% aluminum and 4% vanadium | Different chemistry and heat behavior; don't reuse Grade 2 numbers without a new grid |
Two things matter more than the grade label:
- Finish. Polished, brushed and bead-blasted titanium all reflect and absorb differently. ZhuoRui Laser notes polished titanium makes color judgment more sensitive to lighting and viewing angle. On stainless, xTool found polished needs about 1% more power or 100 mm/s less speed, and mirror about 2% more power or 200 mm/s less, to match mill-finish color. That's a stainless rule, but it's a good warning for shiny titanium too.
- Clean surface. Fingerprints and film residue change how the oxide grows. The Atomm maker cleans with acetone first.
xTool's TA1 sheets ship with a protective film on both sides. Peel it before color work, and let any cleaner fully evaporate before you close the lid (solvents near a laser are a fire risk, per xTool's safety page).
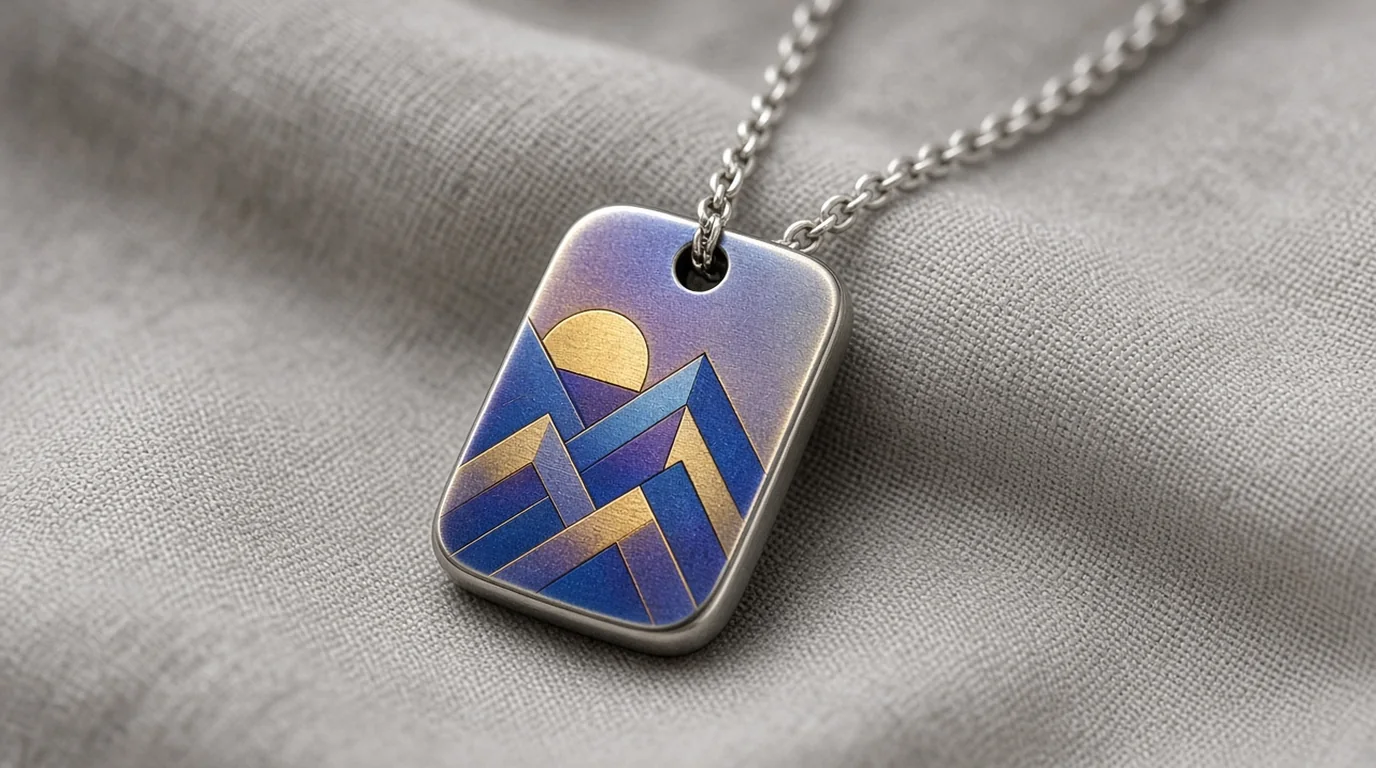 Small tags and pendants are where UV color on titanium shines: fine detail, short run times. (AI-generated example.)
Color engraving on titanium in xTool Studio
xTool's color workflow is written around 304 stainless, but it says the same method can be used to explore titanium. Here's how it maps.
- Update Studio. Color Engrave on the F2 Ultra UV needs xTool Studio V1.8 or later.
- Use the Material test array. xTool asks you to build arrays with the Material test array tool, so the settings can be saved later. Cells at least 10 × 10 mm, no more than 8 rows or columns, at least 1 mm apart.
- Load your titanium values. Put speed on one axis (40–250 mm/s) and frequency on the other (40–70 kHz). Keep 100% power, 600 lines/cm, crosshatch, and your chosen defocus fixed.
- Stay central. Place color jobs within the 60 × 60 mm center of the baseplate.
- Photograph the result. Then add the material in Studio (Add Material → Import parameters from file), set Processing Type to Color Engrave, and attach the photo. Now you can pick colors by sight.
- For bitmaps, use Color separation. Choose images with solid color blocks. Avoid gradients and tiny color specks.
One thing that doesn't apply to UV
The "Explore more colors" section of xTool's color page mentions frequencies above 500 kHz and pulse widths over 20 ns. Those values sit outside the F2 Ultra UV's 40–150 kHz range, and pulse width isn't one of the UV parameters listed on xTool's UV parameter page. I'd treat that section as MOPA-style guidance and ignore those numbers on the UV.
Step-by-step: color marking titanium
1. Prep
- Peel film. Wipe with acetone or a residue-free cleaner. Handle by the edges.
- Let it dry fully.
2. Focus
- Autofocus, then add the defocus by raising the Thickness value 4 mm (darker) or 5 mm (lighter).
- Shiny titanium can fool autofocus. Use the manual method in my UV laser focus guide.
- If your marks drift or look stretched, run through how to calibrate the F2 Ultra UV.
3. Grid
- Build the speed × frequency array. A small 5 × 5 or 6 × 6 grid is a sensible first sheet.
- Leave the material as Unknown if a preset would override your grid values.
4. Run
- Lid closed. Extraction on. Don't stare at the process light.
5. Read it under good light
- Tilt the sheet. Interference colors shift with angle.
- Note the cells you like and save them as named materials, such as "Ti-Gr2-blue".
6. Engrave the real piece
- Same sheet batch, same finish, same day if you can.
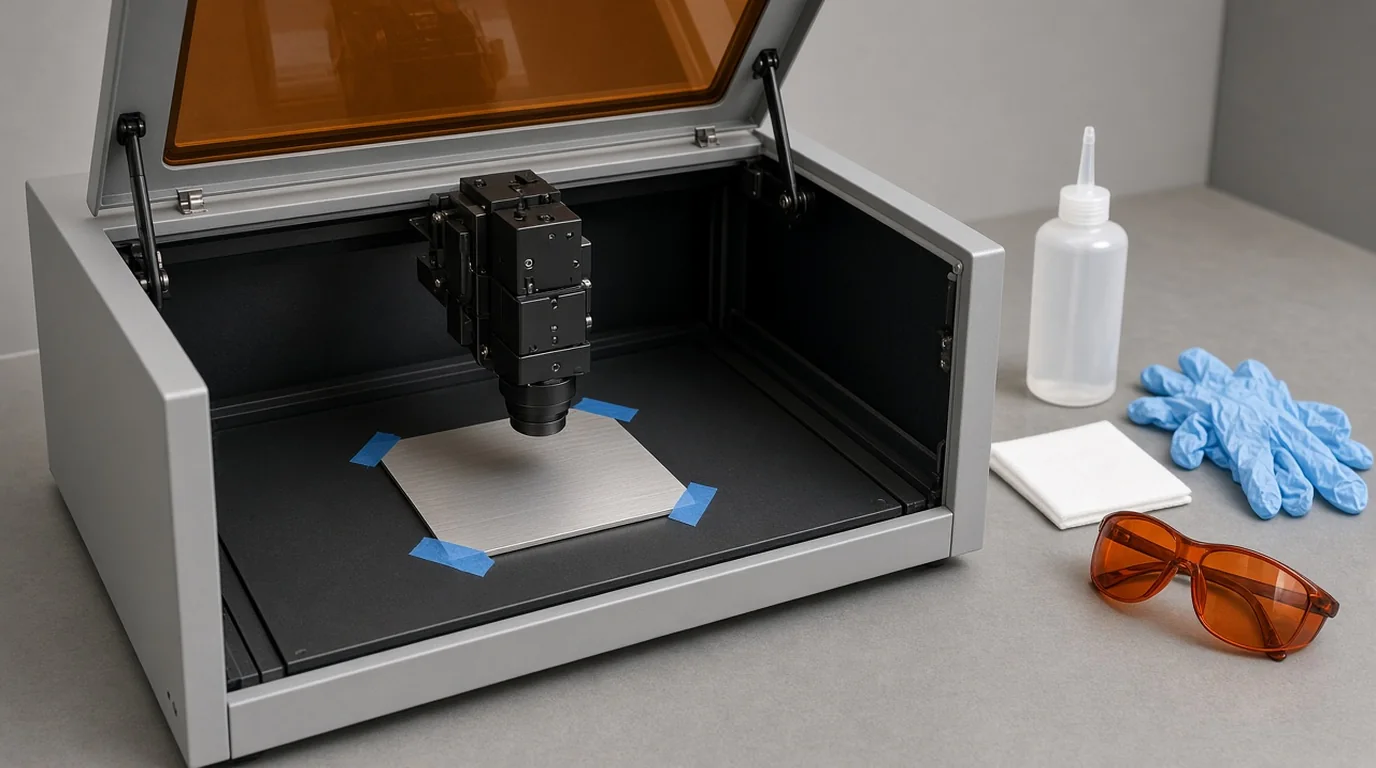 Clean, dry and centered. Most titanium color problems start before the laser fires. (AI-generated illustration, generic machine.)
How should I focus titanium for color?
Color on titanium uses a few millimetres of defocus. Dark marks and fine text stay in focus.
- Color = defocused. The published titanium array uses 4–5 mm. Small changes matter, so move in small steps and log each one.
- Dark marks and fine text = in focus. A tight spot gives sharper edges.
- Flatness counts. A thin 0.5 mm sheet can bow. A bowed sheet changes the defocus across the grid and muddies the colors. Tape the corners or use a flat jig.
- Reflection. xTool warns that reflective metals need correct focus to avoid reflected-beam damage to the machine, and it tells users to be extra careful with mirror finishes on stainless and keep them out of the center. Treat mirror-polished titanium the same way.
Jewelry, tags and ID-style blanks
Titanium is popular for:
- Pendants and charms: small color logos, initials or patterns.
- Rings (flat inner bands need a jig): fine text marks rather than big color fields.
- Pet tags and dog tags: dark text for reading, color for decoration.
- Medical-alert-style tags: clear dark text is easier to read than color.
- Keychains, guitar picks and EDC tags.
A few honest notes:
- Industrial sources say heavy wear can rub through surface color faster than a deeper engraved mark. JPT and EVlaser both suggest engraving, not color, where abrasion matters. On a 5W UV, "deeper" is slow, so keep wear areas in mind when you design.
- I'm not making any medical or skin claims about laser-marked titanium. If a piece is for a medical or regulated use, the buyer's own requirements apply.
- Marked metal is hot right after the job. Let it cool before handling (xTool safety page).
Need blanks? See the best UV laser blanks to buy and sell and more ideas in UV laser project ideas.
Is this job safe to run?
Keep the lid closed when the machine allows it, extract the fumes, and stop if the blank chars, cracks, or overheats.
- Keep the enclosure closed with "Stops when enclosure opened" enabled.
- If the lid can't close, xTool requires a controlled area and goggles rated for 355 ± 5 nm.
- Don't stare at the beam.
- Shiny titanium reflects. Never defeat the interlock to "watch the color appear."
- Run the exhaust to outside or a proper air purifier. Metal marking still makes fine particles.
- Keep acetone and other solvents away from the machine during the job.
What should I do if the mark looks wrong?
Match the symptom to one cause in the table, change only that fix, and test it on scrap first.
| Problem | Likely cause | Fix |
|---|---|---|
| No color, just a faint grey haze | Too much defocus or too fast | Drop defocus toward 4 mm; slow down within 40–250 mm/s |
| Colors are muddy or brown | Too much energy | Speed up, or raise defocus toward 5 mm |
| Colors are pale pastels only | Defocus at the high end | Try 4 mm, or slower speeds |
| Uneven color across one block | Sheet not flat, or no crosshatch | Flatten the sheet; turn on crosshatch |
| Different color than last week | Humidity, temperature, new batch | Re-run a small grid per batch (xTool 3845) |
| Edges ragged on small text | Bi-directional backlash | Use uni-directional for fine text (xTool 2699) |
| Autofocus reads wrong on shiny sheet | Reflection | Focus manually |
| Fingerprint shapes in the color | Skin oils | Clean with acetone; handle by edges |
| Fiber settings won't load or fail | Frequency outside 40–150 kHz | Use UV-specific rows only |
What could I not confirm?
The items below were not stated in the public sources for this page, so this chart does not fill them in.
- Official UV titanium numbers. xTool's Material Lab lists F2 Ultra UV presets for its 1 mm TA1 titanium sheet (engrave and score), but the numbers only appear inside xTool Studio, not on the public web page. I didn't publish numbers I couldn't see.
- An F2 Ultra UV dark-mark recipe with power listed. The only UV black-mark row I found (ComMarker) is from a different machine and leaves out power.
- Exact color per cell. The Atomm maker shared ranges, not a speed-to-color map. Your grid has to fill that in.
- Ti-6Al-4V on the F2 Ultra UV. No public UV recipe for Grade 5 alloy turned up.
- Durability of UV color on titanium. No wear or wash test for UV-made titanium color was published by the sources I read.
FAQ
Can the xTool F2 Ultra UV engrave titanium?
Yes. xTool lists titanium as an intended material for the F2 Ultra UV. It does color oxide marks and dark marks well, but deep engraving is slow on a 5W UV.
What are the best F2 Ultra UV settings for color on titanium?
A published Grade 2 starting array is 100% power, 600 lines/cm, 1 bi-directional pass with crosshatch, defocused 4–5 mm, with speed swept from 40 to 250 mm/s and frequency from 40 to 70 kHz. Run your own test grid.
How much should I defocus for titanium color?
About 4–5 mm above focus. Lower defocus (4 mm) shifts colors darker. Higher defocus (5 mm) shifts them lighter.
Can I use F2 Ultra fiber titanium settings on the UV?
No. Fiber settings like 1950 kHz with a 2 ns pulse width are for the MOPA F2 Ultra. The UV runs at 40–150 kHz, and pulse width isn't one of the parameters xTool lists for it.
Which xTool Studio version do I need for color engraving?
xTool Studio V1.8 or later is required for Color Engrave on the F2 Ultra UV.
Does Grade 1 or Grade 2 titanium work better?
Both are commercially pure. The only published F2 Ultra UV color array used Grade 2. xTool sells Grade 1 (TA1) sheets with UV presets in Studio. Test each grade separately.
Why do my titanium colors change between sessions?
Oxide color is sensitive to the material batch, finish, humidity and temperature, according to xTool. Re-run a small grid when anything changes.
Is UV color on titanium safe for jewelry?
The color is a grown oxide, not paint, so nothing is added to the surface. I can't make skin or medical claims. Polish-quality blanks and normal jewelry-safe titanium grades are the sensible choice.
Related guides
- xTool F2 Ultra UV stainless steel settings
- xTool F2 Ultra UV brass settings
- xTool F2 Ultra UV anodized aluminum settings
- xTool F2 Ultra UV tumbler settings
- How to focus a UV laser
- How to calibrate the xTool F2 Ultra UV
- Best UV laser blanks to buy and sell
Final thoughts
Start titanium color at 100% power, 600 lines/cm, one crosshatched bi-directional pass, and 4–5 mm of defocus. Then let speed (40–250 mm/s) and frequency (40–70 kHz) paint the grid. Clean the sheet, keep it flat and central, and save every cell you like. Ignore any titanium recipe with nanosecond pulse widths or kHz in the hundreds. That's a fiber machine talking.
Sources and further watching
- Atomm – "F2 Ultra UV - Color Engraving on Titanium" (jaugusto): https://www.atomm.com/project/193010-f2-ultra-uv-color-engraving-on-titanium
- xTool Support – Start Color Engraving with xTool F2 Ultra UV (article 3845): https://support.xtool.com/article/3845
- xTool Support – Processing Parameters for xTool F2 Ultra UV (article 2699): https://support.xtool.com/article/2699
- xTool Support – Safety First for xTool F2 Ultra UV (article 2751): https://support.xtool.com/article/2751
- xTool Material Lab (Atomm) – 3/64" (1 mm) TA1 Titanium Sheet: https://www.atomm.com/materials-lab/official/458-3-64-1mm-ta1-titanium-sheet
- xTool – 1 mm Grade 1 Titanium Sheets product page: https://au.xtool.com/products/3-64-grade-1-titanium-sheets-5pcs
- xTool Support – How to Master the xTool F2 Ultra (article 2625, fiber/MOPA – contrast only): https://support.xtool.com/article/2625
- Atomm – Grade 1 1 mm Titanium Color Calibration Test Card, F2 Ultra (fiber – contrast only): https://www.atomm.com/project/105957-metal-color-calibration-test-card-with-multi-colored-grid
- Atomm – 1 mm pure titanium color engraving sample, F2 Ultra (AKILASER): https://www.atomm.com/project/70792-1mm-pure-titanium-color-engraving-sample
- L3D – xTool F2 Ultra precious metals settings (fiber – contrast only): https://www.l3daccessories.com/pages/xtool-f2-ultra-precious-metals-settings
- Endurance Lasers – Color engraving on titanium with a 3W 355 nm UV laser: https://endurancelasers.com/color-engraving-on-titanium-a-detailed-guide/
- ComMarker – Laser Engraving Titanium Guide: https://blog.commarker.com/archives/57618
- EVlaser – Laser Marking Titanium: processes and applications: https://www.evlaser.com/academy/titanium-laser-marking/
- ZhuoRui Laser – Titanium laser marking guide: https://zhuoruilaser.com/materials/metals/titanium/
- JPT Laser – Laser marking titanium: https://jpt-laser.com/learn/laser-marking-titanium/
- WeCreat – Can a UV laser engrave metal?: https://wecreat.com/en-ca/blogs/knowledge/can-uv-laser-engrave-metal
- KEYENCE – High-quality laser marking on titanium: https://www.keyence.com/products/marker/laser-marker/resources/laser-marking-resources/high-quality-laser-marking-on-titanium.jsp
Further watching (embeds)
- Endurance robots channel – "Titanium color laser engraving using 3 watt Endurance UV 355 nm laser" (different UV machine): https://www.youtube.com/watch?v=0M8_sM6ncWE
- Chris from L3D – "Perfect Photo Engravings on Metal: Settings and Workflow Revealed | xTool F2 Ultra UV": https://www.youtube.com/watch?v=KcDswN5O1jM
- JT Makes It – "UV Laser vs. Fiber Laser – Which One Should You Choose? [ALL MATERIALS TESTED]": https://www.youtube.com/watch?v=TEGiheuk6SM
- Laser Engraving 911 – "xTool F2 Ultra UV Laser: What You Need to Know Before Buying": https://www.youtube.com/watch?v=38YVlBi81o0
- Chris from L3D – "How Is This Even Possible? | Colour Engraving on Steel (xTool F2 Ultra UV)": https://www.youtube.com/watch?v=saw4h1-ia1o
Color results on a different 355 nm UV laser. Power is not stated. (Video: Endurance robots channel on YouTube.)
Photo settings and focus on metal with the F2 Ultra UV. (Video: Chris from L3D on YouTube.)
A side-by-side of UV and fiber across materials. (Video: JT Makes It on YouTube.)
What the F2 Ultra UV is built to mark. (Video: Laser Engraving 911 on YouTube.)
Related settings
- xTool F2 Ultra UV Bamboo Settings: Cutting Boards, Coasters & Plywood (2026)
- xTool F2 Ultra UV Granite Settings: Black Granite, Memorials & Rocks (2026)
- xTool F2 Ultra UV Polycarbonate Settings: PC Sheet, Cases & Cards (2026)
- xTool F2 Ultra UV Cork Settings: Coasters, Sheets & Photo Chart (2026)
- xTool F2 Ultra UV Marble Settings: Black, White & Green Marble Chart (2026)
- xTool F2 Ultra UV Gold Settings: Solid, Gold-Filled & Gold-Plated Jewelry (2026)
- xTool F2 Ultra UV Silver Settings: Sterling Silver Jewelry, Tags & Pendants (2026)
- xTool F2 Ultra UV Copper Settings: Sheet, Tags & Copper-Clad PCB Blanks (2026)
- xTool F2 Ultra UV Aluminum Settings: Bare Sheet, Cards, Tags & ID Plates (2026)
- xTool F2 Ultra UV Silicone Settings: Wristbands, Watch Bands & Phone Cases (2026)
- xTool F2 Ultra UV Paper & Cardstock Settings (2026 Guide)
- xTool F2 Ultra UV ABS Settings: Presets, Test Grid & Safety Guide (2026)
- xTool F2 Ultra UV Brass Settings: Tags, Sheet & Coin Emboss Chart (2026)
- xTool F2 Ultra UV Crystal Settings: 3D Inner Engraving Guide (2026)
- xTool F2 Ultra UV Anodized Aluminum Settings: Business Cards & More (2026)
- xTool F2 Ultra UV Leather Settings: Genuine, Faux & Leatherette Chart (2026)
- xTool F2 Ultra UV Stainless Steel Settings: Dark, White, Color & Photo Chart (2026)
- xTool F2 Ultra UV Wood Settings: Basswood, Plywood, Pine & MDF Chart (2026)
- xTool F2 Ultra UV Acrylic Settings: Clear, Black & White Chart (2026)
- xTool F2 Ultra UV Ceramic Settings: Tiles & Mugs Chart (2026)
- xTool F2 Ultra UV Glass Settings: Flat Glass & Rotary Chart (2026)
- xTool F2 Ultra UV PLA Settings: 3D Print Colour Chart (2026)
- xTool F2 Ultra UV Slate Settings: Power, Speed & Frequency Chart (2026)
- xTool F2 Ultra UV Tumbler Settings: Powder-Coated & Stainless (2026)
- Can a UV Laser Engrave Slate?
- Can a UV Laser Engrave Glass?
Keep reading
xTool F2 Ultra UV Bamboo Settings: Cutting Boards, Coasters & Plywood (2026)
Sourced xTool F2 Ultra UV bamboo settings for cutting boards, coasters and plywood, with a starting test grid, glue-line tips and food-safe finishing.
Read more19 min read
xTool F2 Ultra UV Granite Settings: Black Granite, Memorials & Rocks (2026)
Sourced xTool F2 Ultra UV granite settings for polished black and light granite, with a starting test grid, deep relief, paint fill and silica safety.
Read more20 min read
xTool F2 Ultra UV Polycarbonate Settings: PC Sheet, Cases & Cards (2026)
Sourced xTool F2 Ultra UV polycarbonate settings for clear, white and black PC, with a starting test grid, mark colors, fume safety and fixes.
Read more18 min read