xTool F2 Ultra UV ABS Settings: Presets, Test Grid & Safety Guide (2026)
xTool F2 Ultra UV ABS settings for white and black ABS plastic: Studio presets, sourced power, speed and DPI, test grid, curved parts, fume safety and fixes.
Last updated 15 min read
On this page
- Short answer
- Quick answer: the best starting settings
- xTool F2 Ultra UV ABS settings chart
- xTool Studio ABS materials
- What do these settings mean?
- Can a UV laser really engrave ABS?
- Why ABS grade and colour change everything
- Step-by-step: engraving ABS on the F2 Ultra UV
- 1. Confirm it's ABS
- 2. Focus and hold the part still
- 3. Pick an ABS material as your base
- 4. Run a material test array
- 5. Engrave, cool and judge
- Engraving curved ABS parts
- Safety: fumes and heat
- What should I do if the mark looks wrong?
- What could I not confirm?
- FAQ
- What are the best xTool F2 Ultra UV ABS settings?
- Can the xTool F2 Ultra UV engrave ABS plastic?
- Is it safe to laser engrave ABS?
- Why is my ABS mark too light or too faint?
- Does the F2 Ultra UV melt ABS?
- Can I engrave 3D printed ABS?
- Can I engrave a curved ABS part like a golf ball?
- Do I need air assist for ABS?
- Related guides
- Final thoughts
- Sources and further watching
Last updated: November 10, 2026
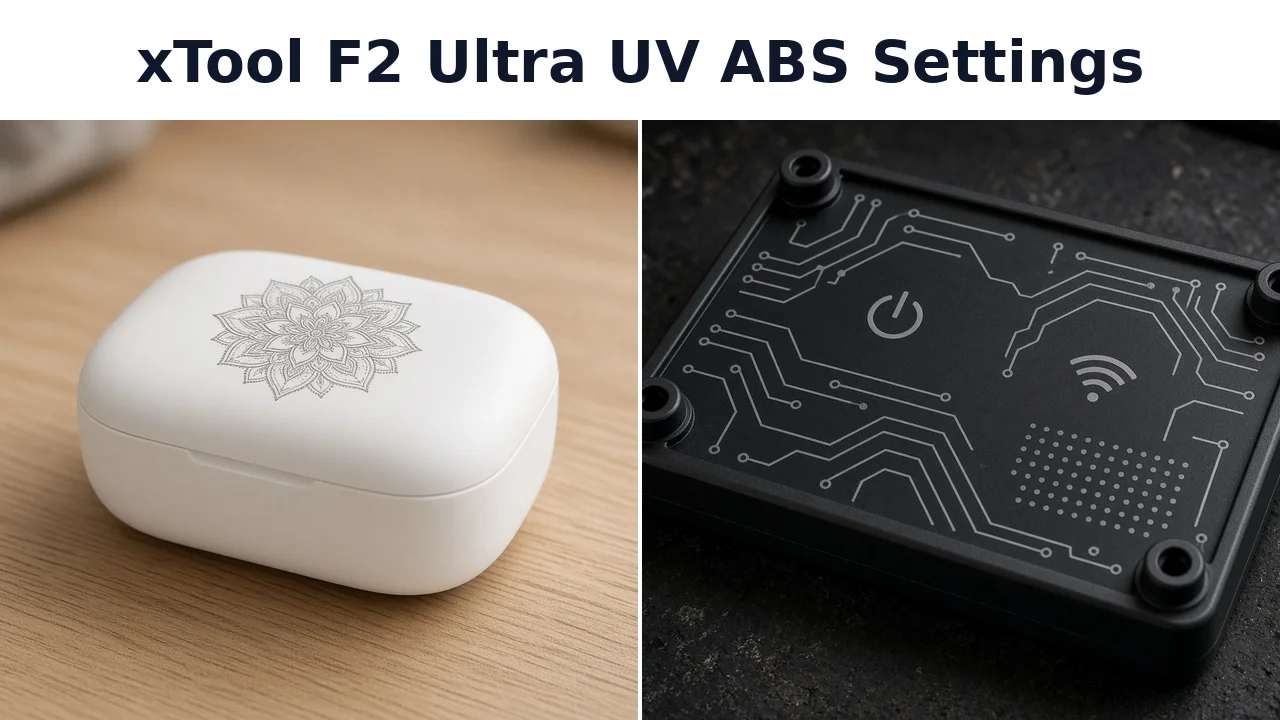 ABS is one of the plastics a UV laser marks cleanly, without the melting a diode or CO2 laser tends to cause. (AI-generated illustration.)
Quick facts
- Machine: xTool F2 Ultra UV, 5W, 355 nm UV galvo, 200 × 200 mm surface area
- Best base: the ABS material in xTool Studio, then save your own copy
- Preset shown on video: 90% power, 400 mm/s fill, 500 mm/s line (Aurora Tech)
- Community white ABS record: 70% power, 1000 mm/s, 1 pass, 500 DPI, 100 µs dot duration (Atomm)
- Frequency range: 40–150 kHz (xTool)
- Mark type: shallow colour change, not a deep groove
- Biggest variable: ABS grade, colour and additives
- Safety: ventilate or filter, keep the lid closed, never melt or char it
Short answer
The xTool F2 Ultra UV is a 5 W, 355 nm galvo, and it can mark ABS as a shallow colour change, not a deep groove. Start from an ABS material in xTool Studio, then save your own copy. A preset shown on video ran at 90 percent power and 400 mm/s for fill, or 500 mm/s for line. A community record for a white ABS case used 70 percent power, 1000 mm/s, one pass, and 500 DPI. Grade, colour, and additives change the result, so run a grid. A useful window borrowed from 3D-print plastic tests is 10 to 100 percent power and 250 to 4500 mm/s, and the ABS rows above sit around 70 to 90 percent and 400 to 1000 mm/s. Light ABS usually marks darker, and dark ABS usually marks lighter. Too much energy can foam, yellow, or melt the surface. Ventilate, keep the lid closed, and do not laser PVC or unknown plastic. Retest every new batch.
Quick answer: the best starting settings
The safest start is xTool Studio's own ABS material for the F2 Ultra UV. In Aurora Tech's review the ABS preset ran at 90% power and 400 mm/s for fill, or 500 mm/s for line engraving. Aurora Tech used it on ABS housings and a PLA tag, and it looked good on both.
For a photo or bitmap on a white ABS case, an Atomm community record uses 70% power, 1000 mm/s, 1 pass, 500 DPI, 100 µs dot duration and bi-directional scanning.
Those two starting points sit well apart on speed. That's normal. Different artwork, fill type and ABS colour all move the sweet spot, so run a test grid before the real job.
xTool F2 Ultra UV ABS settings chart
| Job | Power | Speed | Density | Passes | Frequency | Source |
|---|---|---|---|---|---|---|
| White ABS material (base) | preset | preset | preset | 1 | preset | xTool Studio, used by Embrace Making |
| ABS preset, fill engraving | 90% | 400 mm/s | – | 1 | – | Aurora Tech |
| ABS preset, line engraving | 90% | 500 mm/s | – | 1 | – | Aurora Tech |
| White ABS case, bitmap | 70% | 1000 mm/s | 500 DPI (about 200 LPC), 100 µs dot | 1 | – | Atomm community (rulorulo) |
| Photo on white golf ball, white ABS material as base | 83% | – | 375 DPI, 302 µs dot, Jarvis | – | 40 kHz | Chris from L3D |
| Golf ball logo, first guess (not confirmed ABS) | 50% | 2250 mm/s | 240 LPC | 1 | default | Embrace Making |
| 3 mm ABS sheet, reviewer-published | 100% | 1000 mm/s | – | 1 | – | LaserEngraverExpert (affiliate review, unverified) |
| 3 mm black ABS, reviewer-published | 90% | 1200 mm/s | – | 1 | – | LaserEngraverExpert (affiliate review, unverified) |
| Test grid range (3D print plastics) | 10–100% | 250–4500 mm/s | – | 1 | – | CNC Kitchen |
Tip: Keep each row together. A power value only makes sense with its own speed, density and dot duration.
How to read the chart:
- The Aurora Tech and Atomm rows are the best-anchored starting points for ABS on this machine.
- The golf ball rows are curved plastic parts. Embrace Making noted that the ABS setting also worked on golf balls, but didn't confirm the ball's plastic.
- The LaserEngraverExpert rows come from an affiliate review site and I couldn't verify them, so treat them as a rough cross-check only.
- Other UV lasers publish similar ABS recipes. ComMarker lists a 6W, 150 mm lens recipe for white ABS at 1000 mm/s, 40 kHz and 0.03 mm line spacing. That's a different machine, so use it for scale only, not as an F2 Ultra UV setting.
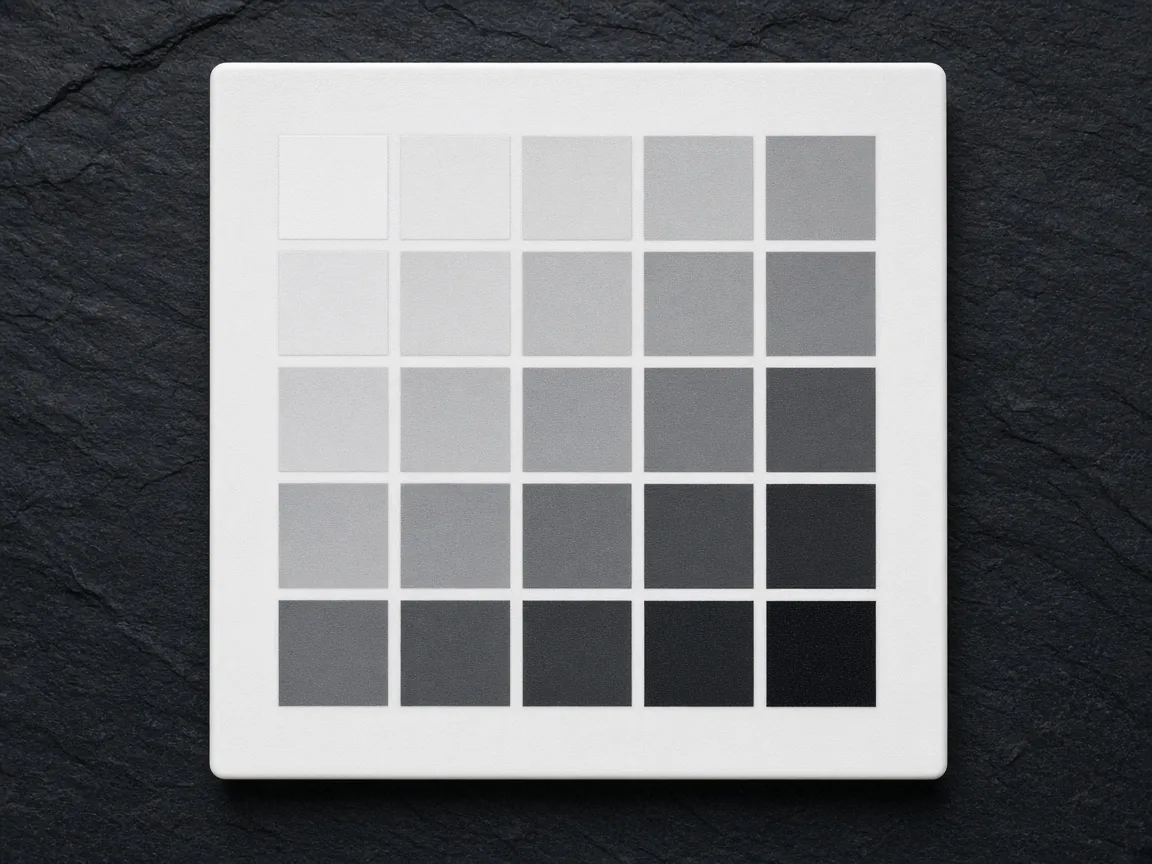 A power and speed grid on a spare ABS part shows your safe, dark-mark window quickly. (AI-generated illustration.)
xTool Studio ABS materials
You don't have to guess a first recipe. xTool's material library holds tested ABS entries for the F2 Ultra UV, and Atomm lists them:
- White ABS Plastic, tested across several machines, including the F2 Ultra UV
- White 3D Printing ABS, listed for the F2 Ultra UV, process on flat surface
- Black 3D Printing ABS, listed for the F2 Ultra UV
The exact numbers load inside Studio. They're not published on the public pages, which is why the chart above uses creator and community values instead.
Embrace Making's workflow shows how simple it is: place the part, use the camera's auto-measure, pick ABS under Plastic, apply it, then use the one-click set test array and choose a cell slightly darker than the default. Then process.
What do these settings mean?
Power, speed, passes, line density, and frequency decide how much energy reaches the surface. Use these notes with the one row you already chose.
- Power (%): share of the 5W source. The ABS-based settings in this post run at roughly 70–90%.
- Speed (mm/s): faster means less heat per spot. On ABS, less heat means less melting.
- Lines per cm (LPC) and DPI: fill density. xTool says 100 LPC equals 254 DPI, so 500 DPI is about 200 LPC.
- Dot duration (µs): time on each dot for bitmaps. xTool says too long can cause a whitening effect.
- Frequency (kHz): pulse rate, 40–150 kHz on this machine. Chris from L3D used 40 kHz on his white plastic photo job.
- Passes: repeats. One pass is the norm for ABS, because more heat is the enemy.
xTool explains every one of these in its processing parameters guide.
Can a UV laser really engrave ABS?
Yes. A UV laser is widely recommended for marking ABS cleanly. Its 355 nm light changes surface pigment and chemistry with far less heat than a diode or CO2 beam. The spot is also very small, so fine text and tiny logos hold up.
What you get is a mark, not a groove. It shows as a colour change, a bit of micro-foaming or a thin layer of pigment removed. That's enough for names, logos, serial numbers and artwork on enclosures, cases and tags.
| Laser type | What it does on ABS | Best for |
|---|---|---|
| UV (this machine) | Cold, fine colour change with small heat effect | Fine text, logos, light-coloured and heat-sensitive ABS |
| Fiber / MOPA | Works on some pigments, often a light foamed mark on dark ABS | Fast production on compatible grades |
| CO2 | Tends to melt and groove rather than mark | Shallow recess work, if at all |
| Diode | Often melts and discolours | Not a good fit |
Sources for this comparison are ComMarker, Zhuorui Laser and Gweike Cloud, plus CNC Kitchen, who found the UV laser "worked on the widest range of materials" in his 3D printing test and called a blue diode poorly suited to clean, high-contrast marks on printed plastics.
Why ABS grade and colour change everything
ABS is a family, not one recipe. Resin grade, flame retardants, fillers, recycled content and pigments all change contrast.
- Light or white ABS: usually takes a dark, grey mark. Watch for yellowing or brown scorching.
- Black or dark ABS: usually takes a lighter, grey-to-white mark from micro-foaming or pigment change.
- Coloured ABS: the response is pigment-specific, so test each colour.
- Painted or coated ABS: the laser may just remove the coating, which is a different job.
CNC Kitchen's tests on PLA, PETG, ASA, TPU and polycarbonate point the same way: marking quality depended more on pigments and additives than on the base polymer. Blue turned almost white, while red and some dark carbon-fibre materials gave trouble, and two white PLAs from different brands behaved very differently. ABS wasn't on his written list, so treat that as a strong hint, not proof, for your ABS.
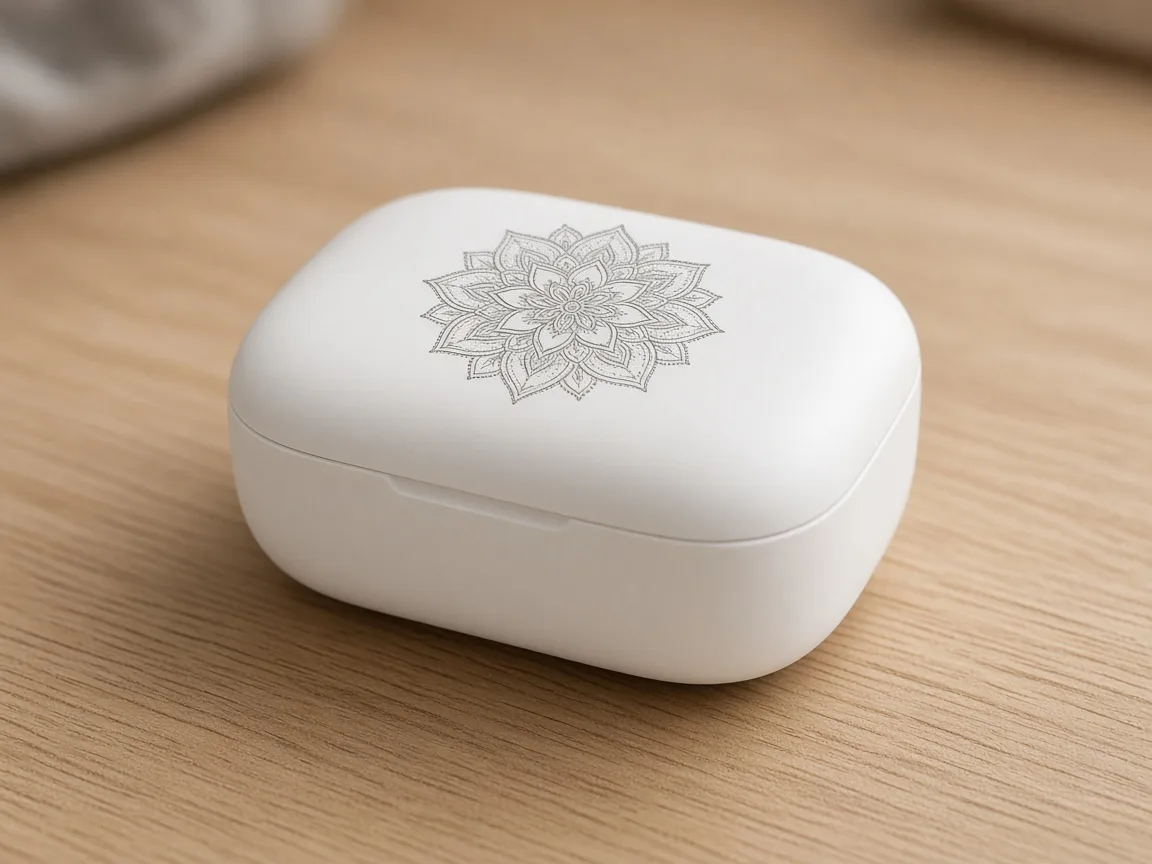 White ABS cases take fine line art well, which is why they're a popular personalised-gift blank. (AI-generated illustration.)
Step-by-step: engraving ABS on the F2 Ultra UV
1. Confirm it's ABS
- Check the label, spec sheet or filament spool. Never laser PVC or vinyl.
- If you can't tell ABS from PLA on a print, a dab of acetone on a hidden spot softens ABS but not PLA (OneLaser). Treat anything unknown as unsafe to laser.
2. Focus and hold the part still
- Measure the height of the real part, not a flat sample. See the focus guide.
- Use a jig so the part can't shift. A self-centering jig makes repeat parts quick.
- Frame the job first. The camera view can look slightly skewed on a small part.
3. Pick an ABS material as your base
- In Studio, go to Material Library, Plastic, ABS.
- Choose White ABS Plastic for light parts, or a 3D printing ABS entry for prints.
- Save it under My Materials before you edit.
4. Run a material test array
- Generate a power against speed grid. CNC Kitchen used 10–100% power and 250–4500 mm/s on 3D printing plastics.
- On ABS, the sourced values above sit in the 70–90% power and 400–1000 mm/s area, so make sure your grid brackets that.
- Pick the cleanest cell with good contrast and no shiny melted edge.
5. Engrave, cool and judge
- Run one pass with the lid closed and the exhaust on.
- Let the part cool, then look at it in normal room light.
- Repeat the test whenever the colour, brand or batch changes.
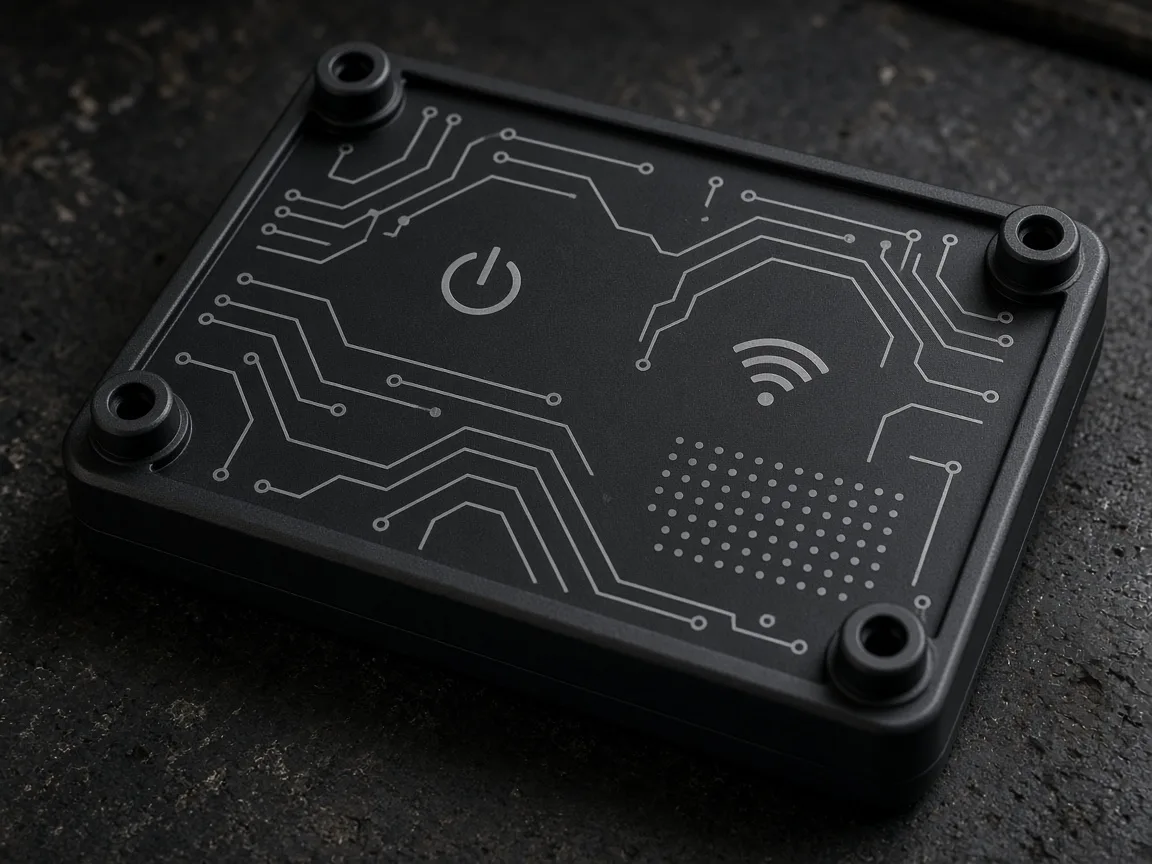 Dark ABS usually takes a lighter mark, so black housings suit crisp icons and traces. (AI-generated illustration.)
Engraving curved ABS parts
Golf balls, rounded cases and bottle-shaped parts drift out of focus across the curve.
Chris from L3D used Curved Surface mode in xTool Studio to fix it. He scanned a 12 by 12 grid on a golf ball, where the default is 3 by 3, and the engraving stayed in focus all the way round with no ripple artefacts. The same photo on flat-surface mode looked patchy and uneven on the curved parts.
Two other tips from that video:
- Keep the artwork inside the safe area your template or scan shows.
- Raise the scan grid density, because the default can leave visible stepping.
Safety: fumes and heat
ABS needs more respect than wood or acrylic. Sources disagree on how risky UV marking is, so keep the safe side of the line.
- xTool's safety guide: an older xTool article lists ABS among plastics not to cut or engrave, because hot ABS can release cyanide gas.
- xTool's ABS guide: a newer article covers ABS processing with air assist or exhaust, goggles and a dust mask, and notes ABS can trigger flame alarms. See the xTool ABS guide.
- OneLaser: says CO2 and RF lasers should not process ABS, and that UV marking uses a mostly photochemical process rather than combustion.
- Gweike Cloud: UV is "cold" but not heat-free. Excess energy can still yellow, melt, foam or char plastic.
My working rules:
- Keep energy low and stop if you see melting, charring or smoke.
- Keep the lid closed, run the exhaust and vent outside or through a good filter. See the inline fan guide.
- Wear laser safety glasses rated for 355 nm whenever the lid is open.
- Don't mark PVC, vinyl or unknown plastic. Don't run ABS jobs unattended.
What should I do if the mark looks wrong?
Match the symptom to one cause in the table, change only that fix, and test it on scrap first.
| Problem | Likely cause | Fix |
|---|---|---|
| Mark too light | Pigment or grade resists UV | Slow down a little or raise power, then test another colour |
| Yellow or brown patch | Too much energy in one spot | Raise speed, cut power, keep to one pass |
| Melted or shiny edge | Heat build-up | Raise speed and reduce power; check focus height |
| Heavy raised foam | Too much energy, gas bubbles in the surface | Back off energy; a light foam can be fine contrast on dark ABS, heavy foam weakens the surface |
| Patchy on a curved part | Part drifts out of focus | Use Curved Surface mode with a denser scan grid |
| Fuzzy edges | Focus off | Re-measure on the real part (focus guide) |
| Bitmap looks washed out or whitened | Dot duration or DPI too high | Lower dot duration or DPI and compare (xTool says excess can whiten the result) |
| Flame alarm triggers | Smoke from ABS | Use air assist or a smoke exhaust pipe, per xTool's ABS guide |
| Same ABS, different result | Batch or brand differs | Test every new batch |
What could I not confirm?
The items below were not stated in the public sources for this page, so this chart does not fill them in.
- Studio preset values: the real numbers sit inside xTool Studio, not on the public web.
- Black ABS on video: I found no F2 Ultra UV creator who stated black ABS settings.
- Frequency: only the golf ball photo (40 kHz) states one for a plastic like ABS. Others used defaults.
- Marks over time: no source here tested how ABS marks age, so test wear on your own parts.
FAQ
What are the best xTool F2 Ultra UV ABS settings?
Start from xTool Studio's ABS material. Aurora Tech showed that preset at 90% power and 400 mm/s for fill (500 mm/s for line), and an Atomm community record for a white ABS case used 70% power, 1000 mm/s, 1 pass and 500 DPI. Run a test array, because ABS grade and colour change the result.
Can the xTool F2 Ultra UV engrave ABS plastic?
Yes. xTool Studio has ABS materials for the F2 Ultra UV, and creators marked ABS housings, tags and a jar lid with them. The mark is a shallow colour change, not a deep groove.
Is it safe to laser engrave ABS?
Only with care. xTool's older safety guide lists ABS among plastics not to laser, and other sources warn about toxic fumes from hot, burning ABS. UV marking uses far less heat, but you should still keep energy low, avoid melting, vent outside or through a filter and keep the lid closed.
Why is my ABS mark too light or too faint?
Pigments and additives matter more than the base plastic. Slow the speed a little, raise power, or test a different colour of the same ABS. Light ABS usually marks darker, and dark ABS usually marks lighter.
Does the F2 Ultra UV melt ABS?
Not if you stay in the right band. UV is a cold-marking process, but too much energy per area can still foam, yellow or melt the surface. Back off power or raise speed if you see it.
Can I engrave 3D printed ABS?
Yes. Atomm lists xTool-tested 3D printing ABS entries for the F2 Ultra UV, and CNC Kitchen found the UV laser worked on the widest range of 3D printing plastics. Treat each filament colour and brand as a new material and test it.
Can I engrave a curved ABS part like a golf ball?
Yes, with Curved Surface mode in xTool Studio. Chris from L3D used a 12 by 12 scan grid on a golf ball instead of the default 3 by 3 and got smoother, more even results.
Do I need air assist for ABS?
xTool's ABS guide says to enable air-compress assist where the machine supports it, or connect a smoke exhaust pipe where it doesn't. At minimum, run the exhaust and keep the lid closed.
Related guides
- xTool F2 Ultra UV polycarbonate settings
- xTool F2 Ultra UV PLA settings
- xTool F2 Ultra UV silicone settings
- xTool F2 Ultra UV acrylic settings
- How to focus a UV laser
- Best self-centering jigs for the F2 Ultra UV
- Best inline fans for the F2 Ultra UV
- Best UV laser blanks to buy and sell
Final thoughts
Start ABS from the Studio material, then test around 70–90% power and 400–1000 mm/s in a single pass. Expect a shallow mark whose darkness depends on the colour of the plastic, and re-test whenever the batch changes. Keep the heat low, the lid closed and the air moving.
Sources and further watching
Setting up an ABS earbud case with the Studio material and one-click test array, plus the golf ball first guess. (Video: Embrace Making on YouTube.)
The ABS preset values and batch-filling black ABS tags. (Video: Aurora Tech on YouTube.)
Curved Surface mode, photo settings on a white plastic golf ball and the 12 by 12 scan grid. (Video: Chris from L3D on YouTube.)
Test grids, pigments versus polymer and how UV marks 3D printing plastics. (Video: CNC Kitchen on YouTube.)
- xTool Support, Processing Parameters for xTool F2 Ultra UV: https://support.xtool.com/article/2699
- xTool Support, Beginner's Guide to ABS Laser Processing: https://support.xtool.com/article/2453
- xTool Support, Plastic Engraving on the xTool F2 Ultra UV (academy course): https://support.xtool.com/academy/course?id=315
- xTool Support, Safety Guide: What Plastics Can Be Cut or Engraved?: https://support.xtool.com/article/870
- xTool Support, xTool F2 Ultra UV User Guide: https://support.xtool.com/article/2359
- Atomm Material Lab, White ABS Plastic (official): https://www.atomm.com/materials-lab/official/93-white-abs-plastic
- Atomm Material Lab, White 3D Printing ABS (official): https://www.atomm.com/materials-lab/official/3997-white-3d-printing-abs
- Atomm Material Lab, White ABS Plastic by rulorulo (community): https://www.atomm.com/materials-lab/community/7679-white-abs-plastic
- CNC Kitchen, Is This Laser the 3D Printing Solution We Needed? (blog): https://www.cnckitchen.com/blog/is-this-laser-the-3d-printing-solution-we-needed
- ComMarker, Laser Engraving ABS Plastic: How to Get the Best Results: https://blog.commarker.com/archives/57585
- Zhuorui Laser, ABS Plastic Laser Marking: UV, Fiber and MOPA Guide: https://zhuoruilaser.com/materials/plastics/abs/
- Gweike Cloud, UV Laser Engraving Plastic: ABS, PC, PE and PP Guide: https://www.gweikecloud.com/blogs/news/uv-laser-engraving-plastic
- OneLaser, Can You Laser Engrave ABS Plastic?: https://www.1laser.com/blogs/topic/laser-engraving-abs-plastic
- LaserEngraverExpert, xTool F2 Ultra UV Review (affiliate review): https://laserengraverexpert.com/xtool-f2-ultra-uv-review/
- Embrace Making, xTool F2 ULTRA UV Engraving Plastics Guide (YouTube): https://www.youtube.com/watch?v=2h-uN5BJ5g0
- Aurora Tech, xTool F2 Ultra UV In-Depth Review (YouTube): https://www.youtube.com/watch?v=zitSTxV1cJA
- Chris from L3D, Uneven Surfaces Don't Stand a Chance Against This xTool Technique (YouTube): https://www.youtube.com/watch?v=RGTCHqT2qps
- CNC Kitchen, Is This Laser the 3D Printing Solution We Needed? (YouTube): https://www.youtube.com/watch?v=jA-E5CGcBxI
- JT Makes It, xTool F2 Ultra UV: Is This the Easiest UV Laser Engraver to Use? (YouTube, white ABS jar lid engraved from the material library): https://www.youtube.com/watch?v=CfbYbGjU86U
Related settings
- xTool F2 Ultra UV Bamboo Settings: Cutting Boards, Coasters & Plywood (2026)
- xTool F2 Ultra UV Granite Settings: Black Granite, Memorials & Rocks (2026)
- xTool F2 Ultra UV Polycarbonate Settings: PC Sheet, Cases & Cards (2026)
- xTool F2 Ultra UV Cork Settings: Coasters, Sheets & Photo Chart (2026)
- xTool F2 Ultra UV Marble Settings: Black, White & Green Marble Chart (2026)
- xTool F2 Ultra UV Gold Settings: Solid, Gold-Filled & Gold-Plated Jewelry (2026)
- xTool F2 Ultra UV Silver Settings: Sterling Silver Jewelry, Tags & Pendants (2026)
- xTool F2 Ultra UV Copper Settings: Sheet, Tags & Copper-Clad PCB Blanks (2026)
- xTool F2 Ultra UV Aluminum Settings: Bare Sheet, Cards, Tags & ID Plates (2026)
- xTool F2 Ultra UV Silicone Settings: Wristbands, Watch Bands & Phone Cases (2026)
- xTool F2 Ultra UV Titanium Settings: Color Mark, Dark Mark & Jewelry Chart (2026)
- xTool F2 Ultra UV Paper & Cardstock Settings (2026 Guide)
- xTool F2 Ultra UV Brass Settings: Tags, Sheet & Coin Emboss Chart (2026)
- xTool F2 Ultra UV Crystal Settings: 3D Inner Engraving Guide (2026)
- xTool F2 Ultra UV Anodized Aluminum Settings: Business Cards & More (2026)
- xTool F2 Ultra UV Leather Settings: Genuine, Faux & Leatherette Chart (2026)
- xTool F2 Ultra UV Stainless Steel Settings: Dark, White, Color & Photo Chart (2026)
- xTool F2 Ultra UV Wood Settings: Basswood, Plywood, Pine & MDF Chart (2026)
- xTool F2 Ultra UV Acrylic Settings: Clear, Black & White Chart (2026)
- xTool F2 Ultra UV Ceramic Settings: Tiles & Mugs Chart (2026)
- xTool F2 Ultra UV Glass Settings: Flat Glass & Rotary Chart (2026)
- xTool F2 Ultra UV PLA Settings: 3D Print Colour Chart (2026)
- xTool F2 Ultra UV Slate Settings: Power, Speed & Frequency Chart (2026)
- xTool F2 Ultra UV Tumbler Settings: Powder-Coated & Stainless (2026)
- Can a UV Laser Engrave Slate?
- Can a UV Laser Engrave Glass?
Keep reading
xTool F2 Ultra UV Bamboo Settings: Cutting Boards, Coasters & Plywood (2026)
Sourced xTool F2 Ultra UV bamboo settings for cutting boards, coasters and plywood, with a starting test grid, glue-line tips and food-safe finishing.
Read more19 min read
xTool F2 Ultra UV Granite Settings: Black Granite, Memorials & Rocks (2026)
Sourced xTool F2 Ultra UV granite settings for polished black and light granite, with a starting test grid, deep relief, paint fill and silica safety.
Read more20 min read
xTool F2 Ultra UV Polycarbonate Settings: PC Sheet, Cases & Cards (2026)
Sourced xTool F2 Ultra UV polycarbonate settings for clear, white and black PC, with a starting test grid, mark colors, fume safety and fixes.
Read more18 min read