xTool F2 Ultra UV Aluminum Settings: Bare Sheet, Cards, Tags & ID Plates (2026)
Sourced xTool F2 Ultra UV settings for bare (uncoated) aluminum sheet, cards, tags and ID plates, plus reflection safety, a test grid and fixes.
20 min read
On this page
- Short answer
- Quick answer: the best starting settings
- xTool F2 Ultra UV aluminum settings chart
- A test grid built from the sourced row
- Other UV machines (cross-reference only, not F2 Ultra UV numbers)
- Fiber and anodized numbers you should NOT use on bare aluminum
- What do these settings mean?
- Can the F2 Ultra UV engrave bare aluminum?
- Bare vs anodized aluminum: how to tell, and what to expect
- What do the source videos show?
- Step-by-step: engraving bare aluminum cards, tags and plates
- 1. Identify and clean
- 2. Beat the reflection
- 3. Focus
- 4. Hold it flat and repeatable
- 5. Grid, then the real piece
- 6. Clean and protect
- Business cards, tags, ID plates and more
- Is this job safe to run?
- What should I do if the mark looks wrong?
- What could I not confirm?
- FAQ
- Can the xTool F2 Ultra UV engrave bare aluminum?
- What are the best F2 Ultra UV settings for raw aluminum?
- Is there a raw aluminum preset in xTool Studio?
- Can I get a black mark on bare aluminum with a UV laser?
- Why is my aluminum engraving so faint?
- Do I need to tilt aluminum on the F2 Ultra UV?
- Should I use anodized aluminum settings on bare aluminum?
- Can the F2 Ultra UV color-engrave or emboss aluminum?
- Related guides
- Final thoughts
- Sources and further watching
Last updated: November 10, 2026
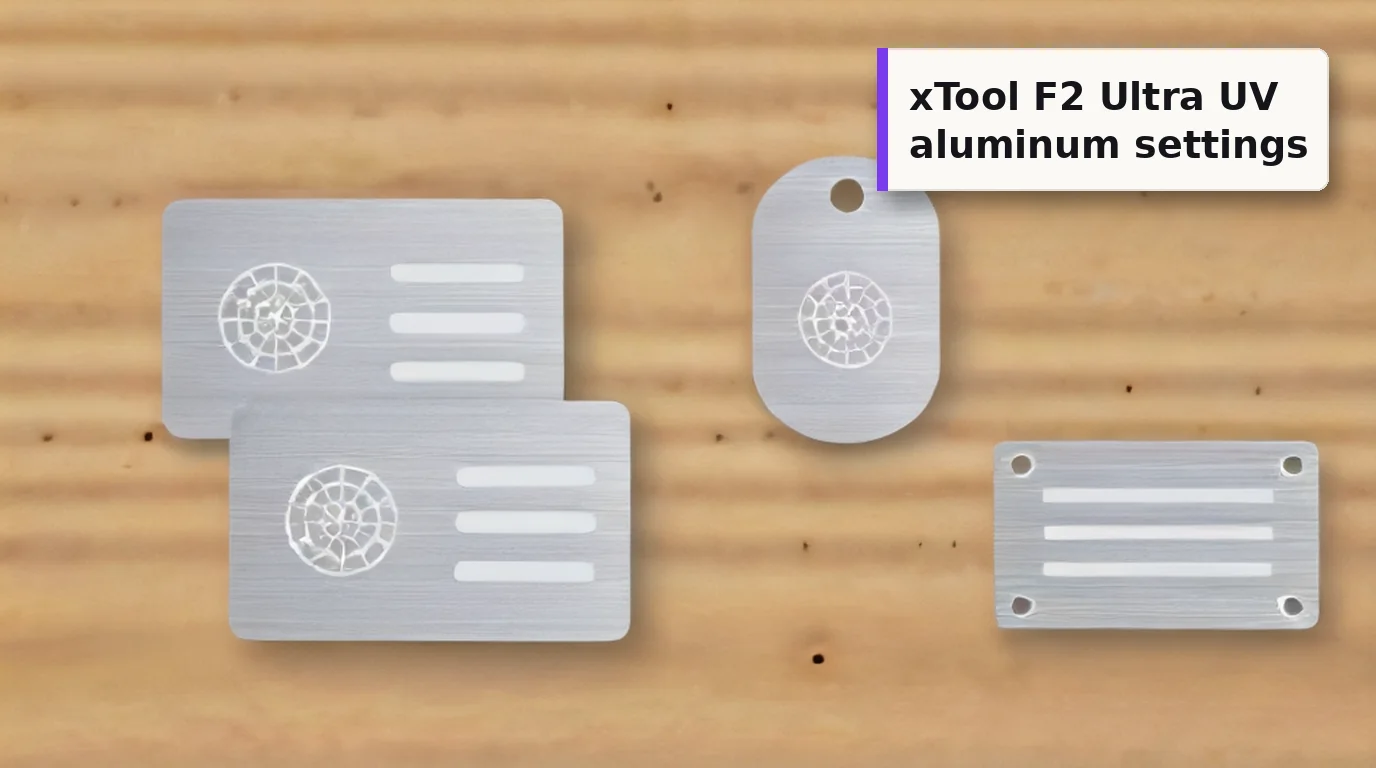 Bare aluminum takes a fine, frosted mark on the F2 Ultra UV. It's subtler than anodized, but the detail is excellent. (AI-generated example.)
This guide covers bare, raw, uncoated aluminum: mill-finish or brushed sheet, silver business card blanks, tags, ID plates and machined parts. If your aluminum has a colored coating (black, blue, red, gold), it's anodized, and that's a different job with much faster settings. Use my xTool F2 Ultra UV anodized aluminum settings guide for those.
Bare aluminum is one of the harder metals for a 5W UV laser. It's shiny, it reflects a lot of light back toward the optics, and it pulls heat away fast. It also has no dyed layer to remove, so the mark is a light, frosted etch instead of a bright silver-on-black contrast. xTool's material library didn't have a raw aluminum preset when reviewers looked, so most owners start from a different metal's preset.
I collected the F2 Ultra UV numbers I could trace to a named public source, read off the screen where the creator showed them. Numbers for other machines go in their own tables. Treat every row as a starting point and run a test grid on your own stock.
Quick facts
- Machine: xTool F2 Ultra UV, enclosed 5W, 355 nm UV galvo
- Starting point (raw 6061 plate, text and logos): 55% power, 1400 mm/s, 1 pass, 200 lines/cm (Studio's stainless steel preset, as shown on screen)
- Darkest mark on a can lid (bitmap): 90% power, 700 µs dot duration, 900 DPI
- Raw aluminum preset in Studio: none reported; reviewers used the stainless steel preset
- What the mark looks like: light grey to frosted white, low to medium contrast
- Biggest risk: reflection back into the laser. Tilt the piece about 1 mm and keep it in focus
- Not possible on this machine: metal embossing and reliable color marking (xTool FAQ)
- Safety: lid closed, extraction on, 355 nm goggles if the lid can't close
Short answer
The xTool F2 Ultra UV is a 5 W, 355 nm galvo, and this page is for bare, uncoated aluminum, not anodized stock. The published on-screen start is Studio's stainless steel preset: 55 percent power, 1400 mm/s, one pass, and 200 lines per centimetre. Run a grid from 55 to 95 percent power and from 400 to 1400 mm/s on your own alloy and finish. Expect a light grey or frosted white mark, not the bright silver you get by clearing dye on anodized cards. Anodized recipes such as 95 percent at 2000 mm/s usually look faint on bare plate. A dark mark is not reliable. One can-lid bitmap at 90 percent power, 700 microseconds, and 900 DPI was the darkest cell in that small grid. xTool says this UV cannot color-engrave or emboss aluminum. Put a 1 mm shim under one edge so the beam does not reflect straight back into the module, and focus by hand if the shine fools autofocus.
Quick answer: the best starting settings
For bare aluminum sheet, plates and silver cards, the clearest F2 Ultra UV example I found is from Aurora Tech's in-depth review. They engraved text and a 45 × 45 mm logo on raw 6061 aluminum using xTool Studio's stainless steel preset, because there was no raw aluminum entry in the library. The Studio panel on screen reads 55% power, 1400 mm/s, 1 pass, 200 lines/cm. The logo took about 30 seconds, and both the text and logo came out clear.
For a darker, image-style mark, TechHoarder ran a six-step bitmap grid on an aluminum soda can lid. All six cells used 90% power, with dot duration from 300 to 1300 µs and 500 to 1500 DPI. The darkest, cleanest cell was 700 µs at 900 DPI.
Neither creator showed a frequency. The F2 Ultra UV runs from 40 to 150 kHz (xTool Support), and the in-focus anodized and stainless steel recipes I've published all use 40 kHz. So 40 kHz is a sensible place to start your grid. That's my suggestion, not a published aluminum value.
Before you press start, tilt the piece about 1 mm off flat. xTool recommends this for reflective metals so the beam doesn't bounce straight back into the laser module (xTool metal guide). More on that below.
xTool F2 Ultra UV aluminum settings chart
These rows come from F2 Ultra UV sources only. Keep each row's numbers together.
| Item / goal | Power | Speed / dot duration | Lines/cm or DPI | Passes | Frequency | Source |
|---|---|---|---|---|---|---|
| Raw 6061 aluminum plate, text and 45 × 45 mm logo (about 30 s) | 55% | 1400 mm/s | 200 lines/cm | 1 | not shown | Aurora Tech video (stainless steel preset, values on screen in Studio) |
| Aluminum can lid, dark bitmap mark (best cell) | 90% | 700 µs dot duration | 900 DPI | not shown | not shown | TechHoarder video (values on screen in Studio) |
| Aluminum can lid, runner-up cell | 90% | 500 µs dot duration | 700 DPI | not shown | not shown | TechHoarder video |
| Aluminum can lid, full grid tested | 90% | 300–1300 µs | 500–1500 DPI | not shown | not shown | TechHoarder video |
| Legal frequency window | — | — | — | — | 40–150 kHz | xTool Support 2699 |
Note on the can test: TechHoarder selected Studio's "1/64" (0.2 mm) Gold Coated Aluminum" profile as the material and then overrode it with user-defined bitmap rows. A drink can isn't a clean bare-sheet test either, and the video doesn't say whether the lid was lacquered. Use those rows for image work on thin aluminum, and test them before you trust them on plate.
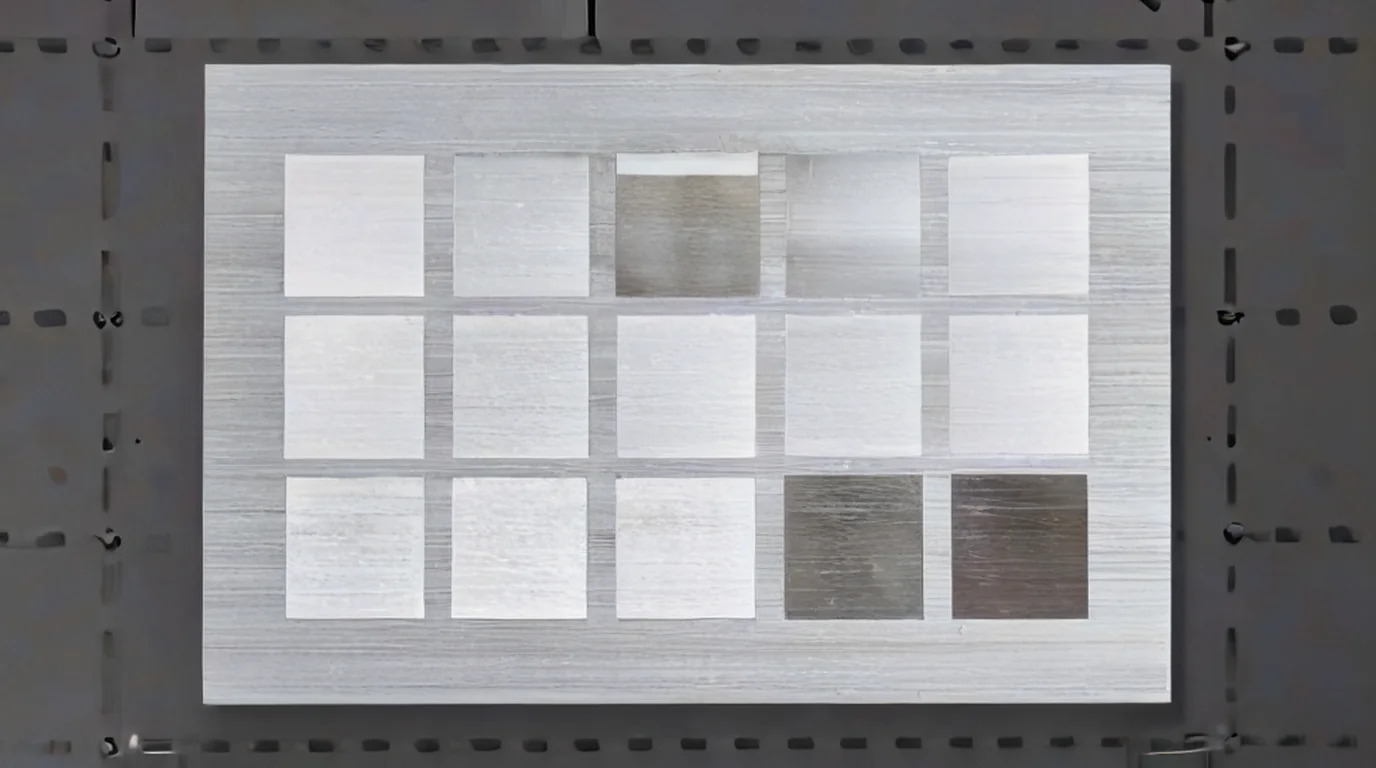 Bare aluminum changes a lot from one alloy and finish to the next. A small grid on your own stock tells you more than any chart. (AI-generated example.)
A test grid built from the sourced row
This is my suggested grid, not a tested recipe. It brackets the Aurora Tech row and stays inside the machine's limits:
- Power: 55%, 75%, 95%
- Speed: 400, 800, 1400 mm/s
- Fixed: 1 pass, 200 lines/cm, 40 kHz
- Second grid (optional): repeat the best cell at 300 lines/cm, then at 2 passes
- Cells: 10 mm squares or one short word each, on an offcut of the same sheet
Pick the cell with the most even frosted tone after wiping. On bare aluminum, more energy doesn't always mean more contrast. Past a point, the surface just gets rougher and greyer.
Other UV machines (cross-reference only, not F2 Ultra UV numbers)
| Machine | Result | Published settings | Source | Why it doesn't transfer |
|---|---|---|---|---|
| ComMarker Omni X 6W UV, 70 mm lens | Stainless steel / aluminum engrave | 2000 mm/s, 40 kHz, pulse 1, 0.02 mm interval (about 500 lines/cm); power not stated | ComMarker metal guide | Different source, lens and software; no power value |
| ComMarker Omni 1 10W UV | Deep engrave on raw aluminum | 20 passes at 500 mm/s, 50 kHz, 1 ns pulse, then a cleaning pass at double speed, 100 kHz, 5 ns; power not stated | JT Makes It (Hobby Laser Cutters) | Twice the power, plus a pulse-width control |
| Generic industrial UV | Aluminum mark | 20–30% power, 300–500 mm/s, 20–30 kHz, 10–20 ns pulse | LaserCNC blog | 20–30 kHz is below the F2 Ultra UV's 40 kHz floor |
Fiber and anodized numbers you should NOT use on bare aluminum
These rank near the top for "aluminum laser settings", but they're for a different laser type or a different surface.
| Machine / surface | Published settings | Source | Why not |
|---|---|---|---|
| 50W fiber, white mark on bare aluminum | 80% power, 3500 mm/s, 50 kHz, 0.02 mm | ComMarker aluminum guide | 1064 nm fiber, 10× the power |
| 60W MOPA fiber, dark grey on bare aluminum | 50% power, 1500 mm/s, 500 kHz, 6 ns, 0.01 mm | ComMarker aluminum guide | Pulse control the UV doesn't have |
| F2 Ultra UV, black anodized business card | 95% power, 2000 mm/s, 300 lines/cm, 1 pass, 40 kHz | L3D Accessories | Anodized only. Bare aluminum has no dyed layer to clear |
The anodized card rows run fast because the beam only has to remove a thin dyed layer. On bare metal there's nothing to remove, so those settings tend to leave a faint or patchy mark.
What do these settings mean?
Power, speed, passes, line density, and frequency decide how much energy reaches the surface. Use these notes with the one row you already chose.
- Power (%): laser output. The sourced bare aluminum rows run at 55% (vector) and 90% (bitmap).
- Speed (mm/s): faster means less energy per spot. The stainless preset moves at 1400 mm/s on raw 6061.
- Lines per cm: fill density. 200 lines/cm is the published value. 100 lines/cm equals 254 DPI (xTool 2699).
- Dot duration (µs): used in bitmap mode instead of speed. Longer dwell puts more energy into each dot, which is how the can test got darker.
- Frequency (kHz): pulse rate, 40–150 kHz on the F2 Ultra UV. No bare aluminum source showed one.
- Passes: one pass in the vector row. Add passes for depth or tone only after a one-pass grid looks even.
Can the F2 Ultra UV engrave bare aluminum?
Yes, with honest limits. xTool lists aluminum in the F2 Ultra UV's intended-use materials on its safety page, and Aurora Tech's raw 6061 results were clean and readable.
The limits come from the metal itself:
- Reflection. Aluminum reflects most incoming light. LASIT puts absorption on raw aluminum at about 12–15% for 355 nm UV, compared with 5–8% for 1064 nm fiber. UV is better off than fiber here, but most of the beam still bounces.
- Heat flow. Aluminum moves heat away quickly, so less of the energy stays where you want the mark.
- No dark oxide. Utah Marking explains that bare aluminum doesn't grow a dark oxide the way stainless steel and titanium do. The normal result is a light grey to white frosted etch a few microns deep, with low to medium contrast.
- Less power than fiber. Laserax notes that UV lasers are rarely used on bare metals in industry because of poor absorption and lower power. They're used far more on coated or anodized metal.
The other side of that debate:
- Fine detail. JT Makes It found the UV mark shallower than fiber on raw aluminum, but the smaller spot size holds fine detail well. ComMarker describes UV as the tool for small text and compact codes on aluminum.
- No machine swap. If you already own the F2 Ultra UV for glass, plastics and wood, it can handle silver cards, tags and plates without a second laser.
My read: for names, logos, serial numbers and QR codes on silver blanks, the F2 Ultra UV is a good fit. If you need deep, dark or color marks on bare aluminum every day, a fiber or MOPA laser is the better tool. That includes xTool's own F2 Ultra, which xTool's aluminum guide recommends for bare aluminum.
Bare vs anodized aluminum: how to tell, and what to expect
| Surface | How to recognize it | Typical F2 Ultra UV result | Where to start |
|---|---|---|---|
| Bare / mill finish / brushed | Silver, conducts electricity; a water drop spreads flat | Light grey to frosted white, low to medium contrast | This guide |
| Polished / mirror | Shiny, reflects like a mirror | Hard to see, high reflection risk | Tilt, consider marking spray, test carefully |
| Bead-blasted / matte | Even satin texture | More even frosting; codes read more consistently (Utah Marking) | This guide |
| Black or colored anodized | Colored, no conductivity; water beads up | Bright silver-white mark | Anodized aluminum guide |
| Clear (natural) anodized | Silver but non-conductive | Pale mark on a pale background | Test both guides' grids |
| Powder-coated or painted | Thick colored coating | The beam removes the coating | Treat it as a coating job |
Two quick checks from ComMarker's aluminum guide: put a drop of water on it (it beads up on anodized, sits flat on bare), or test it with a multimeter (anodized reads above about 10 MΩ).
Alloy matters too. ZhuoRui warns not to assume 5xxx, 6xxx, 7xxx and cast aluminum share the same window. Utah Marking finds 6061 etches to a uniform frosted white, while castings show porosity inside the mark.
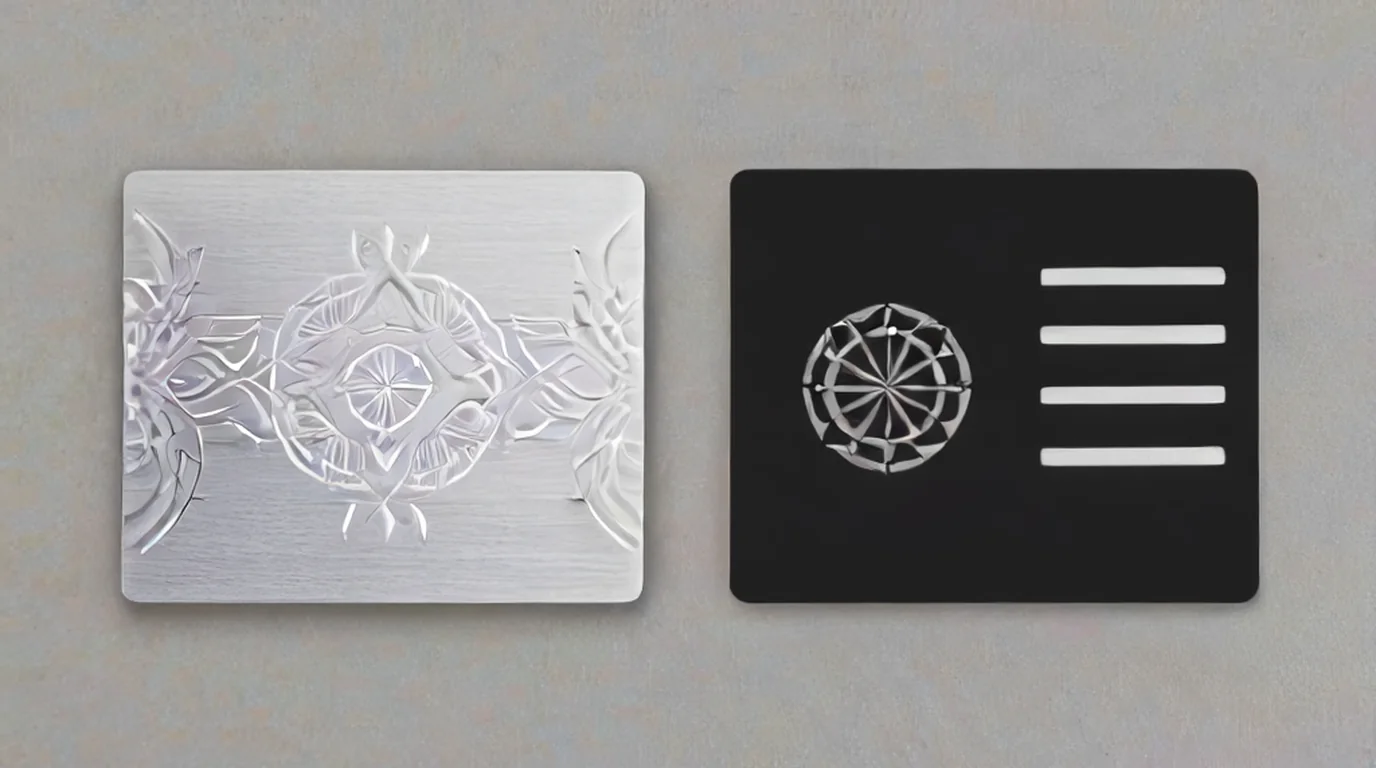 Two surfaces, two looks. Bare aluminum (left) gives a frosted mark that changes with the light. Anodized (right) gives bright silver on color. (AI-generated example.)
What do the source videos show?
I watched the aluminum sections frame by frame instead of only reading transcripts.
- Aurora Tech (F2 Ultra UV): A raw 6061 plate sits on the bed. The overlay panel reads Power 55, Speed 1400 mm/s, Pass 1, Lines per cm 200 while the job runs. Text engraves first, then the same settings engrave a starburst logo in about 30 seconds. The mark is a light grey frost against the brushed surface, and it reads best when the light catches it. Aurora Tech also lists the missing raw aluminum preset as a gap in xTool's library.
- TechHoarder (F2 Ultra UV, can lid): Studio shows six skull cells, all at 90% power, stepping dot duration 300 → 1300 µs and DPI 500 → 1500. In his words, some cells looked sharp and some "looked like they had been through a house fire". On the close-up, the 300 µs cell is visibly faint. The 500 µs / 700 DPI and 700 µs / 900 DPI cells stood out, and the enlarged 700 / 900 skull won the final round.
- JT Makes It (UV vs fiber): Side-by-side metal tests show the UV making shallower marks on raw aluminum, brass and copper with fewer finish options than fiber. Anodized aluminum is where both lasers do well.
Step-by-step: engraving bare aluminum cards, tags and plates
1. Identify and clean
- Confirm it's bare with the water drop test. Peel any protective film first.
- Wipe off oil and fingerprints with isopropyl alcohol. Reticle Red warns that oils make a bare-metal mark read blotchy, and LaserCNC says a dirty surface scatters the beam.
2. Beat the reflection
- Put a 1 mm shim under one edge so the surface isn't square to the beam (xTool 2507).
- An xTool support rep also suggests avoiding long jobs in the center of the galvo field (about 3 × 3 cm). Shift the job off center, or tilt the fixture. That advice was given on an F2 Ultra thread, but it's about reflective aluminum, so it applies here too.
- On mirror-polished stock, xTool suggests black marking spray to cut reflection. That changes the look to a fixed black mark.
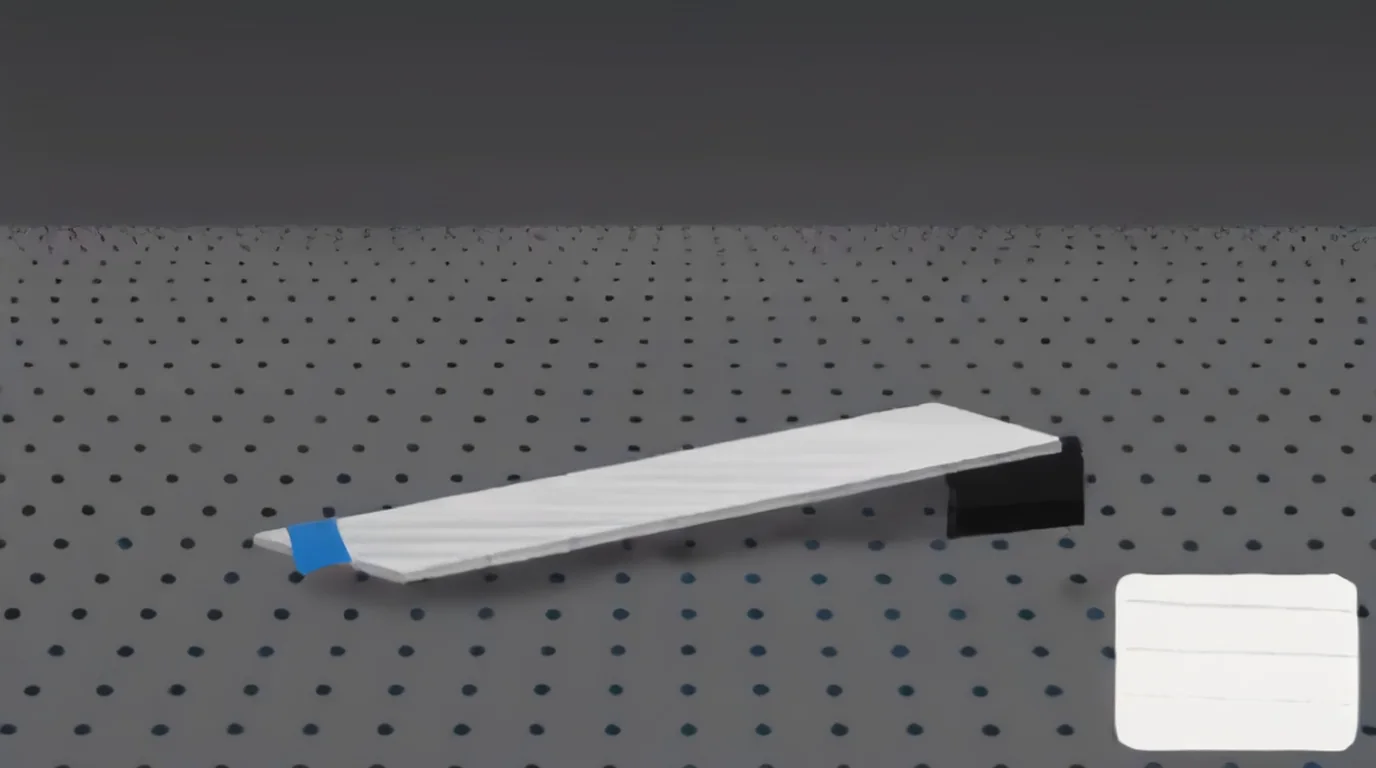 A small shim under one edge stops the beam reflecting straight back into the optics. (AI-generated example.)
3. Focus
- Shiny metal can confuse autofocus. xTool's FAQ says to use manual focus on reflective materials and overlap the red and blue dots.
- If you do use auto-measure, put a bit of masking tape or dark paper where the ranging beam hits (xTool 2507). Then remove it before engraving.
- xTool's safety page specifically warns that reflective materials need correct focus to avoid damage from reflected light. See my UV laser focus guide.
4. Hold it flat and repeatable
- Thin cards and tags move under the exhaust airflow. Tape them down or use a jig. My self-centering jigs guide covers options.
- Keep each design near the middle of the field, but off the dead center. In a galvo note for its F1 Ultra, xTool explains that the lens edges pass less power, and that aluminum is less sensitive than wood or paper, so the falloff shows up more.
5. Grid, then the real piece
- Run the grid above on an offcut, wipe it, and judge it under the light you'll sell it in.
- Close the lid, start, and keep extraction running.
6. Clean and protect
- Wipe with alcohol, or use a bristle brush or ultrasonic cleaner for residue (xTool 2507).
- Let it cool before handling. Atomm's precautions warn that freshly processed metal can be hot.
Business cards, tags, ID plates and more
Bare aluminum blanks that suit a UV laser:
- Silver business cards: names, line art and QR codes. The frosted look is subtle and premium, not high contrast.
- Pet tags and keyrings: short text, small icons.
- ID plates, nameplates and asset tags: serial numbers and Data Matrix codes. Utah Marking says bare aluminum codes read well when the finish is uniform.
- Machined parts and enclosures: small logos and part numbers.
A few honest notes:
- Contrast. If a customer wants bold black-on-silver, sell anodized blanks instead, or quote a fiber job.
- Durability. Utah Marking describes the frosted etch as permanent. I didn't find a published wear test for F2 Ultra UV marks on bare aluminum.
- Cutting. JT Makes It found the 5W Omni 1 was almost unable to cut metal, and needed the 10W model to cut a 0.4 mm aluminum card. Don't plan bare aluminum cutting on a 5W UV.
More blank ideas: best UV laser blanks to buy and sell and UV laser project ideas.
Is this job safe to run?
Keep the lid closed when the machine allows it, extract the fumes, and stop if the blank chars, cracks, or overheats.
- Keep the enclosure closed. If it can't close, wear goggles rated for 355 ± 5 nm, as xTool's F2 Ultra UV safety page requires.
- Reflection is the main machine risk. Atomm's aluminum precautions say to stay inside the recommended parameter range and avoid long vertical exposure on one spot.
- If the mark gets lighter partway through a long job, stop and let the module cool. xTool says reflective metals bounce heat back into the module and cause power loss.
- Run extraction. LASIT notes that metal vapor can condense on optics.
What should I do if the mark looks wrong?
Match the symptom to one cause in the table, change only that fix, and test it on scrap first.
| Problem | Likely cause | Fix |
|---|---|---|
| Faint or invisible mark | Too little energy, or the light angle hides it | Slow down or raise power one grid step; check it under raking light |
| Mark is uneven across the job | Reflective or uneven finish, or not flat | Clean, tape it flat, re-focus; consider bead-blasted stock |
| Edges of the design weaker than the center | Lens field falloff, worse on metals | Keep the design central, or add a pass (xTool 1386) |
| Autofocus fails or measures wrong | Mirror-like surface | Manual focus, or tape at the ranging spot (xTool 2507) |
| Mark fades during a long job | Laser module heating from reflection | Pause and let it cool; split large fills |
| Rough, grey, over-burned look | Too much energy | Speed up or drop power; stay at 1 pass |
| Design vanishes at some angles | Normal for frosted bare aluminum | Use matte or bead-blasted blanks, or anodized |
| Results change between batches | Different alloy or finish | Re-run a small grid per supplier batch |
| Anodized settings barely mark | Wrong surface | Use the bare aluminum row, not the card rows |
What could I not confirm?
The items below were not stated in the public sources for this page, so this chart does not fill them in.
- An official raw aluminum preset. Aurora Tech found none, and xTool's Material Lab F2 Ultra UV aluminum entries I checked were anodized or coated.
- Frequency for either sourced row. Neither video showed it.
- Lines per cm for the vector preset on the can profile. TechHoarder's Gold Coated Aluminum profile shows 85% power, 500 mm/s and 1 pass in its reference row, but that's a coated-aluminum preset, and the density wasn't visible.
- Long-term wear. No published abrasion or outdoor test turned up for UV marks on bare aluminum.
FAQ
Can the xTool F2 Ultra UV engrave bare aluminum?
Yes. A reviewer engraved clear text and a 45 × 45 mm logo on raw 6061 aluminum using Studio's stainless steel preset. Expect a light grey or frosted white mark rather than high contrast.
What are the best F2 Ultra UV settings for raw aluminum?
The published on-screen starting point is 55% power, 1400 mm/s, 1 pass and 200 lines/cm, which is Studio's stainless steel preset. Run a small grid from 55% to 95% power and 400 to 1400 mm/s on your own stock.
Is there a raw aluminum preset in xTool Studio?
Reviewers didn't find one. They used the stainless steel preset instead. The F2 Ultra UV aluminum entries I found in xTool's Material Lab were for anodized or coated blanks.
Can I get a black mark on bare aluminum with a UV laser?
Sometimes, on thin stock. One creator got the darkest mark on a can lid with a 90% power, 700 µs, 900 DPI bitmap. Bare aluminum doesn't form a dark oxide easily, so don't promise black results on plate.
Why is my aluminum engraving so faint?
Bare aluminum reflects most UV light and has no colored layer to remove. Clean it, check focus, slow down one grid step, and judge the mark under angled light.
Do I need to tilt aluminum on the F2 Ultra UV?
xTool recommends placing a 1 mm object under one side of reflective metal so light doesn't reflect straight back into the laser module. It's a cheap habit that protects the optics.
Should I use anodized aluminum settings on bare aluminum?
No. Anodized card recipes like 95% power at 2000 mm/s only need to clear a thin dyed layer. On bare aluminum they'll usually leave a faint mark.
Can the F2 Ultra UV color-engrave or emboss aluminum?
No. xTool's FAQ says UV can't create the stable oxide layer needed for color marking, and that metal can't be used for embossment on this machine.
Related guides
- xTool F2 Ultra UV anodized aluminum settings
- xTool F2 Ultra UV stainless steel settings
- xTool F2 Ultra UV brass settings
- xTool F2 Ultra UV titanium settings
- How to focus a UV laser
- How to calibrate the xTool F2 Ultra UV
- Best self-centering jigs for the F2 Ultra UV
- Best UV laser blanks to buy and sell
Final thoughts
Bare aluminum works on the F2 Ultra UV, but it rewards care more than power. Start raw sheet and silver cards at 55% power, 1400 mm/s, 1 pass and 200 lines/cm, then grid toward slower and stronger cells until the frost looks even. Tilt the piece 1 mm, focus manually if autofocus struggles, keep the design central, and save anodized settings for anodized blanks.
Sources and further watching
- xTool Support – Beginner's Guide to Metal Laser Processing (article 2507): https://support.xtool.com/article/2507
- xTool Support – FAQs on xTool F2 Ultra UV (article 2870): https://support.xtool.com/article/2870
- xTool Support – Processing Parameters for xTool F2 Ultra UV (article 2699): https://support.xtool.com/article/2699
- xTool Support – Safety First for xTool F2 Ultra UV (article 2737): https://support.xtool.com/article/2737
- xTool Support – Engraving Looks Weaker at the Image's Edges (article 1386): https://support.xtool.com/article/1386
- Atomm Material Lab – Aluminum (F2 Ultra UV community entry, precautions): https://www.atomm.com/materials-lab/community/373-aluminum
- Reddit r/xToolOfficial – Settings for bare 6061 aluminum engraving (xTool support reply): https://www.reddit.com/r/xToolOfficial/comments/1neoymu/settings_for_bare_6061_aluminum_engraving_f2_ultra/
- xTool – Aluminum Laser Engraving: All You Need to Know: https://www.xtool.com/blogs/xtool-academy/aluminum-laser-engraving
- L3D Accessories – xTool F2 Ultra UV Aluminium Settings (anodized rows): https://www.l3daccessories.com/pages/xtool-f2-ultra-uv-aluminium-settings
- ComMarker – How to Laser Engrave Aluminum: https://blog.commarker.com/archives/57451
- ComMarker – How to Engrave Metal with a UV Laser Engraver: https://blog.commarker.com/archives/55279
- Hobby Laser Cutters (JT Makes It) – UV Laser vs. Fiber Laser: https://hobbylasercutters.com/uv-laser-vs-fiber-laser-engraver/
- Hobby Laser Cutters (JT Makes It) – Testing the 10W ComMarker Omni 1: https://hobbylasercutters.com/commarker-omni-1-10w/
- Utah Marking – Laser Marking Anodized Aluminum & Bare Aluminum: https://utahmarking.com/materials/aluminum
- LASIT – Laser Marking on Aluminum: https://www.lasitlaser.com/laser-marking-on-aluminum-technologies-and-solutions-for-industry/
- Laserax – UV Lasers vs. Fiber Lasers: https://www.laserax.com/blog/uv-lasers-vs-fiber-lasers
- ZhuoRui Laser – Aluminum Laser Marking: https://zhuoruilaser.com/materials/metals/aluminum/
- LaserCNC – Setting UV Marking Parameters for Different Materials: https://www.lasercnc.com/blog/how-to-set-the-marking-parameters-for-different-materials-on-a-uv-marking-machin-622799.html
- Reticle Red – UV Laser Settings by Material: https://reticle-red.com/laser-data/uv-laser-settings
Further watching (embeds)
- Aurora Tech – "xTool F2 Ultra UV Laser In-Depth Review: Wood, Metal, Glass, Clear Acrylic, 3D Crystal & more": https://www.youtube.com/watch?v=zitSTxV1cJA
- TechHoarder – "I Tested xTool F2 UV Laser Settings on a Soda Can": https://www.youtube.com/watch?v=Ru79zIFhbRE
- JT Makes It – "UV Laser vs. Fiber Laser – Which One Should You Choose? [ALL MATERIALS TESTED]": https://www.youtube.com/watch?v=TEGiheuk6SM
Raw 6061 aluminum engraved with the stainless steel preset (55% power, 1400 mm/s, 1 pass, 200 lines/cm) at about 13:00. (Video: Aurora Tech on YouTube.)
Six-cell bitmap grid on an aluminum can lid at 90% power; 700 µs dot duration at 900 DPI gave the darkest mark. (Video: TechHoarder on YouTube.)
UV vs fiber side-by-side on raw aluminum, anodized aluminum and other metals. (Video: JT Makes It on YouTube.)
Related settings
- xTool F2 Ultra UV Bamboo Settings: Cutting Boards, Coasters & Plywood (2026)
- xTool F2 Ultra UV Granite Settings: Black Granite, Memorials & Rocks (2026)
- xTool F2 Ultra UV Polycarbonate Settings: PC Sheet, Cases & Cards (2026)
- xTool F2 Ultra UV Cork Settings: Coasters, Sheets & Photo Chart (2026)
- xTool F2 Ultra UV Marble Settings: Black, White & Green Marble Chart (2026)
- xTool F2 Ultra UV Gold Settings: Solid, Gold-Filled & Gold-Plated Jewelry (2026)
- xTool F2 Ultra UV Silver Settings: Sterling Silver Jewelry, Tags & Pendants (2026)
- xTool F2 Ultra UV Copper Settings: Sheet, Tags & Copper-Clad PCB Blanks (2026)
- xTool F2 Ultra UV Silicone Settings: Wristbands, Watch Bands & Phone Cases (2026)
- xTool F2 Ultra UV Titanium Settings: Color Mark, Dark Mark & Jewelry Chart (2026)
- xTool F2 Ultra UV Paper & Cardstock Settings (2026 Guide)
- xTool F2 Ultra UV ABS Settings: Presets, Test Grid & Safety Guide (2026)
- xTool F2 Ultra UV Brass Settings: Tags, Sheet & Coin Emboss Chart (2026)
- xTool F2 Ultra UV Crystal Settings: 3D Inner Engraving Guide (2026)
- xTool F2 Ultra UV Anodized Aluminum Settings: Business Cards & More (2026)
- xTool F2 Ultra UV Leather Settings: Genuine, Faux & Leatherette Chart (2026)
- xTool F2 Ultra UV Stainless Steel Settings: Dark, White, Color & Photo Chart (2026)
- xTool F2 Ultra UV Wood Settings: Basswood, Plywood, Pine & MDF Chart (2026)
- xTool F2 Ultra UV Acrylic Settings: Clear, Black & White Chart (2026)
- xTool F2 Ultra UV Ceramic Settings: Tiles & Mugs Chart (2026)
- xTool F2 Ultra UV Glass Settings: Flat Glass & Rotary Chart (2026)
- xTool F2 Ultra UV PLA Settings: 3D Print Colour Chart (2026)
- xTool F2 Ultra UV Slate Settings: Power, Speed & Frequency Chart (2026)
- xTool F2 Ultra UV Tumbler Settings: Powder-Coated & Stainless (2026)
- Can a UV Laser Engrave Slate?
- Can a UV Laser Engrave Glass?
Keep reading
xTool F2 Ultra UV Bamboo Settings: Cutting Boards, Coasters & Plywood (2026)
Sourced xTool F2 Ultra UV bamboo settings for cutting boards, coasters and plywood, with a starting test grid, glue-line tips and food-safe finishing.
Read more19 min read
xTool F2 Ultra UV Granite Settings: Black Granite, Memorials & Rocks (2026)
Sourced xTool F2 Ultra UV granite settings for polished black and light granite, with a starting test grid, deep relief, paint fill and silica safety.
Read more20 min read
xTool F2 Ultra UV Polycarbonate Settings: PC Sheet, Cases & Cards (2026)
Sourced xTool F2 Ultra UV polycarbonate settings for clear, white and black PC, with a starting test grid, mark colors, fume safety and fixes.
Read more18 min read