xTool F2 Ultra UV Stainless Steel Settings: Dark, White, Color & Photo Chart (2026)
Sourced xTool F2 Ultra UV stainless steel settings for slate-grey, white, deep, color and photo engraving on dog tags and cards, plus defocus tips, a test-grid method and troubleshooting.
8 min read
On this page
- Quick answer: the best starting settings
- xTool F2 Ultra UV stainless steel settings chart
- Color engraving on 304 stainless
- Why the numbers disagree
- What the settings mean
- Step-by-step: engraving stainless steel
- 1. Clean
- 2. Focus
- 3. Pick a style
- 4. Run a test grid
- 5. Engrave
- 6. Save
- Troubleshooting
- FAQ
- Can the xTool F2 Ultra UV engrave stainless steel?
- What is a good starting setting for a dark mark?
- How do I get a white mark on stainless steel?
- Should I defocus for stainless steel?
- Can the F2 Ultra UV do color engraving on stainless?
- What settings work for photos on stainless steel?
- Why does autofocus fail on stainless steel?
- Is UV or fiber better for stainless?
- Related guides
- Final thoughts
- Sources and further watching
Last updated: November 3, 2026
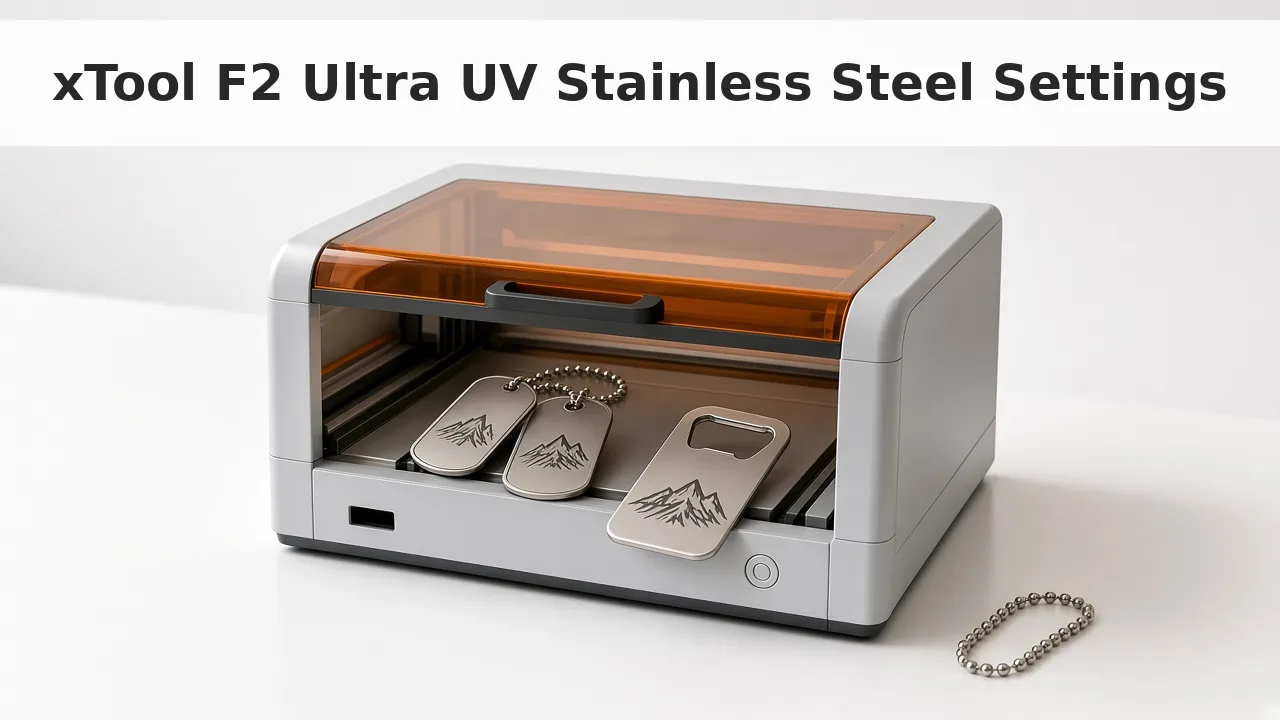 Dog tags and card openers are the most common stainless blanks for UV engraving. (AI-generated illustration, generic machine.)
Quick facts
- Machine: xTool F2 Ultra UV, 5W, 355 nm ultraviolet galvo laser
- Slate-grey dog tag: 80% power, 50 mm/s, 500 lines/cm, 1 pass, 40 kHz
- White mark: 30–40% power, 1300–1840 mm/s, 500–800 lines/cm, 40 kHz
- Deep engrave: 100% power, 20 mm/s, 500 lines/cm, 1 pass, 40 kHz
- Photo: 100% power, 650 µs dot duration, Jarvis, 40 kHz
- Color: 304 stainless, defocus about 4 mm, crosshatch
- Clean first: isopropyl alcohol or acetone, no fingerprints
- Expect: slower dark marks than a fiber laser
Quick answer: the best starting settings
For a dark slate-grey mark on dog tags, a good starting point is 80% power, 50 mm/s, 500 lines/cm, 1 pass, 40 kHz, in focus. Run a test grid and adjust.
For a white mark, go fast: 30–40% power at 1300–1840 mm/s.
For color, use 304 stainless, raise the head about 4 mm, and run a test grid. All of these are starting points.
xTool F2 Ultra UV stainless steel settings chart
| Result / item | Power | Speed | Passes | Lines/cm or DPI | Frequency |
|---|---|---|---|---|---|
| Card opener, slate grey | 100% | 50 mm/s | 1 | 800 LPC | 40 kHz |
| Dog tag, slate grey | 80% | 50 mm/s | 1 | 500 LPC | 40 kHz |
| Dog tag, deep engrave | 100% | 20 mm/s | 1 | 500 LPC | 40 kHz |
| Card opener, white | 30% | 1840 mm/s | 1 | 800 LPC | 40 kHz |
| Dog tag, white | 40% | 1300 mm/s | not stated | 500 LPC | 40 kHz |
| Brushed card, fine text (no defocus) | 100% | 40 mm/s | 2 | 800 LPC | not stated |
| Stainless mark, general | 60% | 200 mm/s | 1 | not stated | not stated |
| Stainless mark, low absorption | 100% | 100 mm/s | 2 | not stated | not stated |
| 304 photo (bitmap, Jarvis) | 100% | dot duration 650 µs | 1 | 1000 DPI / 1000 LPC | 40 kHz |
Color engraving on 304 stainless
| Setup | Power | Speed | Passes | Lines/cm | Frequency | Defocus |
|---|---|---|---|---|---|---|
| Color test grid | 70% | 425 mm/s | 2, crosshatch | 300–800 | 40–80 kHz | about +4 mm |
| Saturated full color | 90% | 100–1400 mm/s | 3, crosshatch, bi-directional | 800 | 40–88 kHz | +4 to +6 mm |
| Refining one color | ±0.5% steps | ±50 mm/s steps |
A cyan example to refine from is 16% power at 600 mm/s, then step ±0.5% and ±50 mm/s. Colors drop off above 88 kHz. A 4 mm defocus gives the darkest colors. A 6 mm defocus gives paler pastels. You need xTool Studio 1.8 or later for color engraving.
Tip: Keep each row's numbers together. Mixing power from one row with speed from another is a new combination. Run a test grid before you use it.
Why the numbers disagree
- Grade and finish matter. Brushed, polished and mirror stainless all reflect differently.
- Focus changes everything. In focus gives grey, white or depth. Defocus spreads the beam and makes oxide colors.
- Color is sensitive. Humidity, temperature and small power changes can shift the color, even with the same settings.
Light marks are fast. Dark marks are slow on a 5W UV. Light jewelry marks can take a couple of seconds. A dark card can take about 20 minutes. A full-sheet photo on 150 × 150 mm 304 stainless took 2 hours 34 minutes.
On a curved flask, a first pass with the stainless preset can look light. A repeat pass evens it. The curve itself changes how dark the mark looks.
What the settings mean
- Power (%): laser output.
- Speed (mm/s): slower puts more energy into the steel. Very slow speeds give dark or deep marks.
- Lines per cm: line density. 800 lines/cm is common for dense metal fills. 100 lines/cm equals 254 DPI.
- Frequency (kHz): 40–150 kHz on this machine. In-focus recipes use 40 kHz. Color uses 40–88 kHz.
- Defocus: raising the head above focus. Add it to the Thickness value in xTool Studio.
- Crosshatch: a second fill at an angle. It evens out color fields.
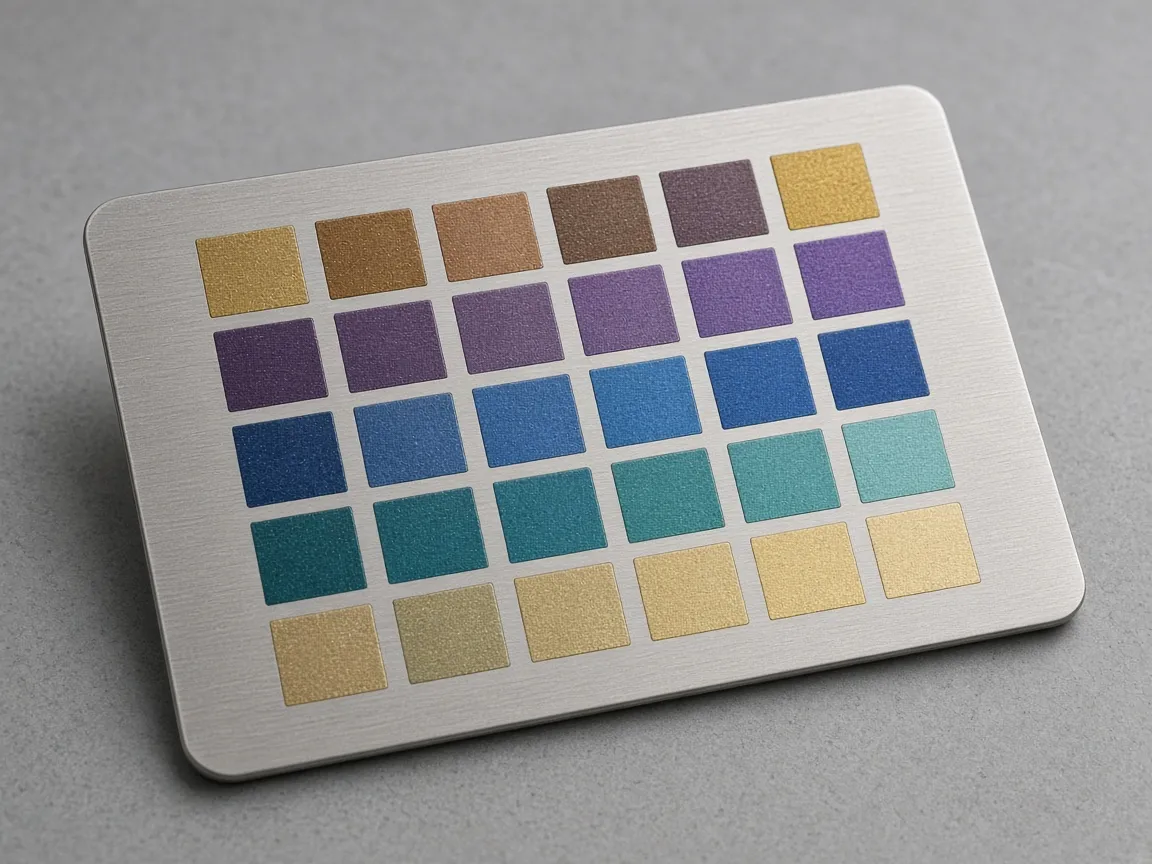 A color test grid on 304 stainless becomes your palette for color engraving. (AI-generated example.)
Step-by-step: engraving stainless steel
1. Clean
- Wipe with 99.9% isopropyl alcohol or acetone.
- If the blank has a protective film, focus with it on, then peel it off and adjust about 0.1 mm.
2. Focus
- Autofocus often fails on shiny steel. Lay 0.1 mm paper on top, focus manually until the red and blue dots meet, then subtract 0.1 mm.
- Some blanks mark more evenly if they sit slightly off the lens center, so the beam doesn't bounce straight back.
3. Pick a style
- Grey, white or deep: stay in focus and use the chart rows.
- Color: set Thickness about 4 mm higher than the measured value, and leave the material as "Unknown" so it doesn't override the grid.
4. Run a test grid
- Keep color objects within the 60 × 60 mm center of the bed.
- A color test grid on a 0.8 mm card took about 18 minutes.
5. Engrave
- Wear UV-rated glasses and run extraction. Steel makes very little smoke but still makes particles.
- For photos, lower the image contrast a little. Black areas in the file can come out shiny on the steel.
6. Save
- Save each color or finish as its own custom material, for example "Stainless-blue".
Troubleshooting
| Problem | Likely cause | Fix |
|---|---|---|
| Mark too light | Too little energy | Slow down or add a pass; a second pass over the same job often fixes a light first mark |
| Fine text blurry | Defocus on | Run in focus; fine text was cleaner with no defocus at 100%, 40 mm/s, 2 passes, 800 lines/cm |
| Autofocus failed | Shiny surface | Use the paper trick and focus manually |
| Shiny patches in photos | Too much image contrast | Lower contrast slightly |
| Colors shift between runs | Humidity, temperature, material | Re-run a small grid and save per batch |
| Colors fade out | Frequency above about 88 kHz | Stay in 40–88 kHz |
FAQ
Can the xTool F2 Ultra UV engrave stainless steel?
Yes. It marks bare stainless steel in grey, white, deeper and color styles. It is slower than a fiber laser for dark marks.
What is a good starting setting for a dark mark?
A good starting point for a slate-grey dog tag is 80% power, 50 mm/s, 500 lines/cm, 1 pass, 40 kHz. Run a test grid and adjust.
How do I get a white mark on stainless steel?
Go fast and stay low. A white card opener marked at 30% power, 1840 mm/s, 800 lines/cm. A white dog tag marked at 40%, 1300 mm/s, 500 lines/cm.
Should I defocus for stainless steel?
Only for color. Color recipes raise the head about 4–6 mm. For fine text, a cleaner result used no defocus at 100%, 40 mm/s, 2 passes, 800 lines/cm.
Can the F2 Ultra UV do color engraving on stainless?
Yes, on 304 stainless with xTool Studio 1.8 or later. A color grid to start from is 70% power, 425 mm/s, 2 crosshatched passes, 40–80 kHz, 300–800 lines/cm, defocused 4 mm.
What settings work for photos on stainless steel?
A photo starting point on 304 stainless is 100% power, 650 µs dot duration, 1000 DPI, 40 kHz and Jarvis.
Why does autofocus fail on stainless steel?
Shiny surfaces confuse it. Lay 0.1 mm paper on top, focus manually, then subtract 0.1 mm.
Is UV or fiber better for stainless?
Fiber is faster and usually darker. On a vector job, the UV mark can match an infrared F2 closely in quality and time.
Related guides
- xTool F2 Ultra UV tumbler settings
- xTool F2 Ultra UV anodized aluminum settings
- How to focus a UV laser
- Best self-centering jigs for the F2 Ultra UV
- ComMarker Omni 1 vs xTool F2 Ultra UV
Final thoughts
Start dog tags at 80% power, 50 mm/s and 500 lines/cm in focus for slate grey, or go fast and low for white. Defocus about 4 mm only for color. Clean the steel, focus by hand on shiny blanks, and save every result you like.
Sources and further watching
- xTool Support, Processing Parameters for F2 Ultra UV
- xTool Support, Start Color Engraving with xTool F2 Ultra UV
- L3D Accessories, F2 Ultra UV stainless steel settings
- L3D Accessories, F2 Ultra UV laser settings hub
- Bonny Creations, F2 Ultra UV settings hub
- Atomm, Color Engraving on the F2 Ultra UV
- Atomm, Simple Full Color Stainless Steel Engraving
- Atomm, 304 Stainless Steel Color Engrave Test Grid
- Atomm, EZ Color Engraved Art with xTool Studio
- r/xToolOfficial, fine text on stainless steel
- Chris from L3D, Perfect Photo Engravings on Metal
- Chris from L3D, F2 vs F2 Ultra UV
- Six Eight Woodworks, F2 Ultra UV Complete Review
- Aurora Tech, F2 Ultra UV In-Depth Review
- Hands On Katie, Testing An Impossible Laser
Focusing on shiny steel, image prep and photo settings. (Video: Chris from L3D on YouTube.)
The same stainless file on an infrared F2 and the F2 Ultra UV. (Video: Chris from L3D on YouTube.)
Stainless jewelry and how long dark metal marks take. (Video: Six Eight Woodworks on YouTube.)
Related settings
- xTool F2 Ultra UV Anodized Aluminum Settings: Business Cards & More (2026)
- xTool F2 Ultra UV Leather Settings: Genuine, Faux & Leatherette Chart (2026)
- xTool F2 Ultra UV Wood Settings: Basswood, Plywood, Pine & MDF Chart (2026)
- xTool F2 Ultra UV Acrylic Settings: Clear, Black & White Chart (2026)
- xTool F2 Ultra UV Ceramic Settings: Tiles & Mugs Chart (2026)
- xTool F2 Ultra UV Glass Settings: Flat Glass & Rotary Chart (2026)
- xTool F2 Ultra UV PLA Settings: 3D Print Colour Chart (2026)
- xTool F2 Ultra UV Slate Settings: Power, Speed & Frequency Chart (2026)
- xTool F2 Ultra UV Tumbler Settings: Powder-Coated & Stainless (2026)
- Can a UV Laser Engrave Slate?
- Can a UV Laser Engrave Glass?
Keep reading
xTool F2 Ultra UV Anodized Aluminum Settings: Business Cards & More (2026)
Sourced xTool F2 Ultra UV anodized aluminum settings for black, blue and pink metal business cards and fidget pens, plus bare aluminum notes, a test-grid method and troubleshooting.
Read more7 min read
xTool F2 Ultra UV Wood Settings: Basswood, Plywood, Pine & MDF Chart (2026)
Sourced xTool F2 Ultra UV wood settings for engraving basswood, pine, Baltic birch plywood and MDF, plus 3D emboss, cutting limits, a test-grid method and troubleshooting.
Read more8 min read
xTool F2 Ultra UV Leather Settings: Genuine, Faux & Leatherette Chart (2026)
Sourced xTool F2 Ultra UV leather settings for genuine leather, faux/PU leather and two-tone leatherette patches, plus cutting, a test-grid method and troubleshooting.
Read more8 min read