xTool F2 Ultra UV Leather Settings: Genuine, Faux & Leatherette Chart (2026)
Sourced xTool F2 Ultra UV leather settings for genuine leather, faux/PU leather and two-tone leatherette patches, plus cutting, a test-grid method and troubleshooting.
8 min read
On this page
- Quick answer: the best starting settings
- xTool F2 Ultra UV leather settings chart
- Cutting leather
- Why the numbers disagree
- What the settings mean
- Genuine leather vs faux leather vs leatherette
- Step-by-step: engraving leather on the F2 Ultra UV
- 1. Pick a base setting
- 2. Hold it flat and focus
- 3. Run a test grid
- 4. Engrave
- 5. Clean and finish
- 6. Save a custom material
- Troubleshooting
- FAQ
- Can the xTool F2 Ultra UV engrave leather?
- What is a good starting setting for genuine leather?
- Are xTool's library leather presets reliable?
- What settings work for leatherette hat patches?
- Can the xTool F2 Ultra UV cut leather?
- Does UV leather engraving smell?
- Why do different colored leathers look different with the same settings?
- Why does my silver leatherette come out grey?
- Related guides
- Final thoughts
- Sources and further watching
Last updated: November 3, 2026
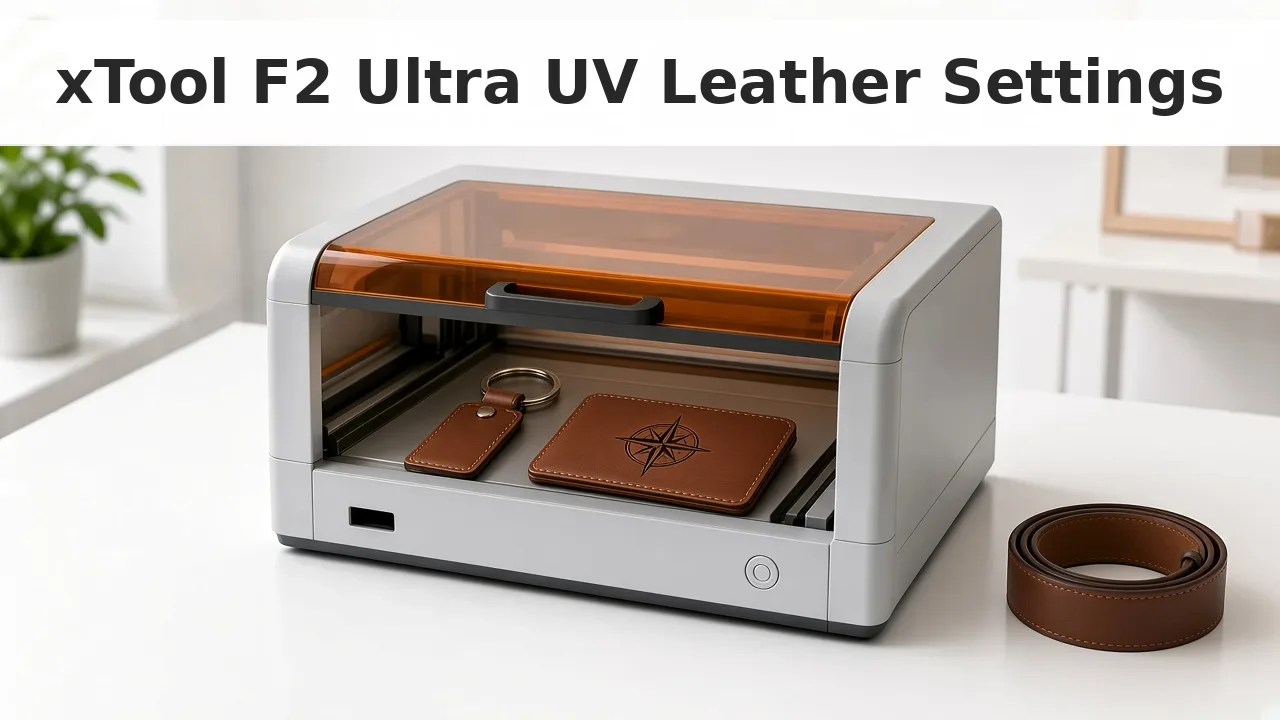 UV lasers mark leather with very little soot or char. (AI-generated illustration, generic machine.)
Quick facts
- Machine: xTool F2 Ultra UV, 5W, 355 nm ultraviolet galvo laser
- Genuine leather starting point: 30% power, 500 mm/s, 1 pass, 500 DPI
- Faux leather starting point: 32% power, 400 mm/s, 1 pass, 500 DPI
- 3 mm top-grain cowhide: 65% power, 225 mm/s, 1 pass
- Two-tone leatherette patch: 90% power, 180 mm/s, 250 lines/cm, 40 kHz
- Cutting PU leather (1 mm): 100% power, 10 mm/s, 1 pass
- Watch out: library presets can under-mark real leather, so always test
- Each color reacts differently, so save a setting per leather
Quick answer: the best starting settings
For genuine leather, a good starting point is 30% power, 500 mm/s, 1 pass. Run a test grid and adjust. Thick or oiled hides may need far more energy.
For faux (PU) leather, start at 32% power, 400 mm/s, 1 pass.
For two-tone leatherette patches, try 65–90% power at 180–225 mm/s, 40 kHz and check that the top layer is fully cleared.
A library preset of 80% power at 600 mm/s can barely mark a genuine leather belt. On one belt the useful row was 30% power at 20 mm/s, about 25 times slower than the 500 mm/s starting row. A large name at that speed took about 10 minutes.
xTool F2 Ultra UV leather settings chart
| Leather / result | Power | Speed | Passes | Lines/cm or DPI | Frequency |
|---|---|---|---|---|---|
| Genuine leather, engrave | 30% | 500 mm/s | 1 | 500 DPI | not stated |
| Faux leather, fine detail | 32% | 400 mm/s | 1 | 500 DPI | not stated |
| 3 mm top-grain cowhide | 65% | 225 mm/s | 1 | not stated | not stated |
| Genuine leather belt (after a test grid) | 30% | 20 mm/s | 1 | not stated | not stated |
| PU leatherette text | 65% | 225 mm/s | 1 | 120 LPC | 40 kHz |
| Yellow-to-black leatherette hat patch | 90% | 180 mm/s | 1 | 250 LPC | 40 kHz |
| Same patch, needed heavy scrubbing | 90% | 180 mm/s | 1 | 200 LPC | 40 kHz |
| Library preset (leather / PU) | 80% | 600 mm/s | not stated | not stated | not stated |
Cutting leather
| Job | Power | Speed | Passes | Result |
|---|---|---|---|---|
| Brown-to-black PU leather, 1 mm | 100% | 10 mm/s | 1 | Cut |
| Thick bridle butt leather | not stated | not stated | not stated | Clean, char-free edges |
Tip: Keep each row's numbers together. Mixing power from one row with speed from another is a new combination. Run a test grid before you use it.
Why the numbers disagree
- Genuine leather varies a lot. Tanning, oils, thickness and color all change how much energy it takes.
- Leatherette is a plastic coating. Too much power melts it rather than darkening it.
- The goal differs. A light mark, a dark brand and a fully cleared two-tone patch need very different energy.
What the settings mean
- Power (%): laser output. Higher means a darker, deeper mark.
- Speed (mm/s): slower puts more energy into each spot.
- Lines per cm: line density. Higher fills solid areas but takes longer. 100 lines/cm equals 254 DPI.
- Frequency (kHz): pulse rate, 40–150 kHz on the F2 Ultra UV. Every leather recipe in the chart that states a frequency uses 40 kHz.
Genuine leather vs faux leather vs leatherette
- Genuine leather: natural hide. Marks darker with more energy. It can still smell quite a bit. Run extraction.
- Faux / PU leather: a plastic surface. Past a point it goes glossy and rubbery instead of dark, and there is no way back. Lower power and add speed.
- Two-tone leatherette: a thin colored top layer over a contrasting base. Clear the top layer without melting the base.
- Clean edges are the main advantage. Little soot, and cuts can come out with no char to sand off. Some jobs have no burnt-leather smell at all. Don't count on that for genuine hide.
- A 65 × 65 mm logo on a library default can take about 1 minute. PU text at 65% and 225 mm/s took 23 seconds.
- Colors react differently at the same settings. Save one setting per leather color. Black-to-silver leatherette can come out more grey than silver. If that happens, try a different two-tone stock.
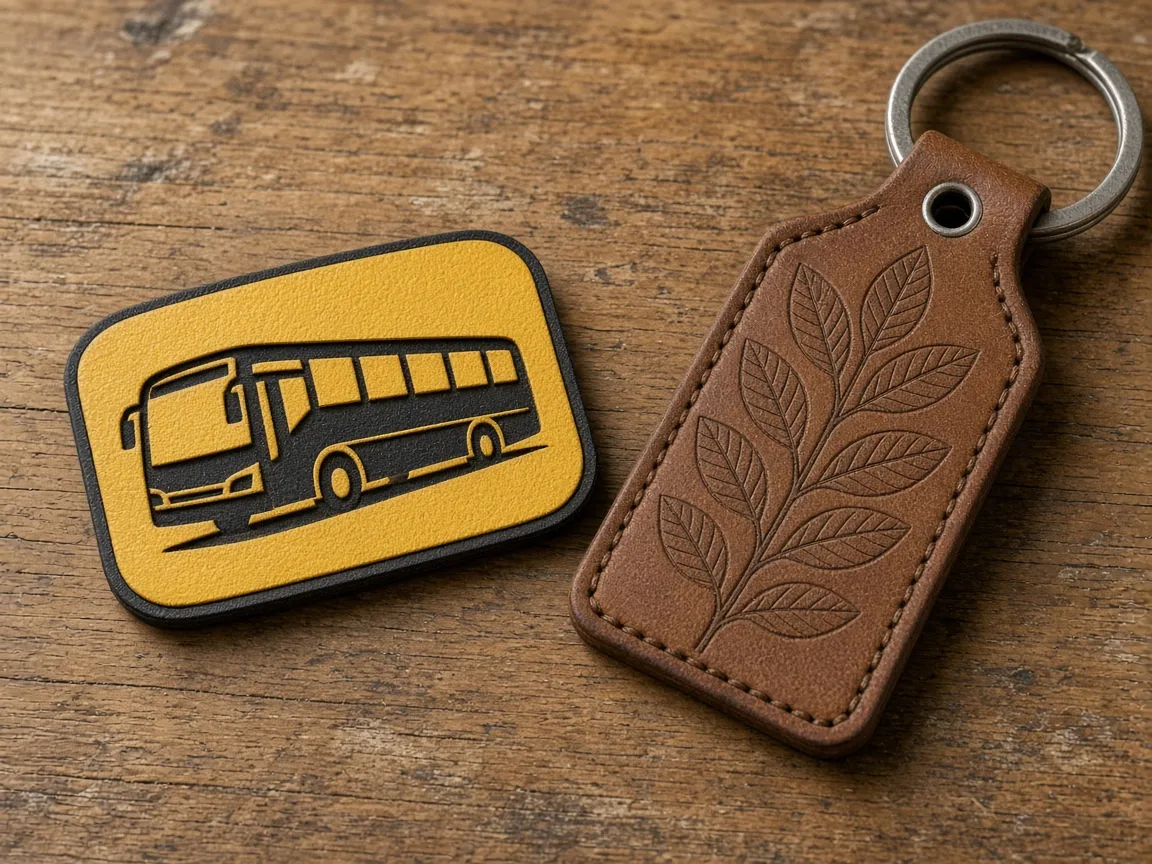 Two-tone leatherette (left) and genuine leather (right) need very different settings. (AI-generated example.)
Step-by-step: engraving leather on the F2 Ultra UV
1. Pick a base setting
- In xTool Studio, open the closest library leather so you can see the suggested settings.
- Or start from a row in the chart above. Use the preset as the top of a test grid, not as the final job.
2. Hold it flat and focus
- Tape or strap the leather flat to the baseplate.
- Autofocus, or overlap the red and blue spots on the surface.
3. Run a test grid
- Choose Applications > Material test array.
- A useful span is 20–80% power and 100–600 mm/s, with the preset as the maximum.
- Judge darkness, edge sharpness and any glossy melting.
4. Engrave
- Use the best square from the grid.
- On patches, engrave the loose patch before you press it onto a hat.
5. Clean and finish
- Leatherette residue may need a light scrub. A cleaner plus 250 lines/cm left a rich black with less scrubbing than 200 lines/cm.
- Finish edges on genuine leather as you normally would.
6. Save a custom material
- Set the material back to unknown first, so you don't overwrite the library preset.
- Save one setting per leather color.
Troubleshooting
| Problem | Likely cause | Fix |
|---|---|---|
| Barely any mark on real leather | Preset too fast | Slow down a lot and re-run the grid |
| Glossy, melted leatherette | Too much energy | Lower power, add speed |
| Two-tone patch looks grey | Top layer not cleared, or the stock reacts poorly | Raise lines/cm slightly or try another stock |
| Lots of residue to scrub | Low line density | 250 lines/cm cleaned up easier than 200 |
| Uneven tone | Leather not flat | Tape it down and refocus |
| Strong smell | Genuine leather | Run extraction; UV reduces smell but doesn't remove it |
FAQ
Can the xTool F2 Ultra UV engrave leather?
Yes. It engraves genuine leather, faux (PU) leather and two-tone leatherette, with little soot and less burnt smell than hotter lasers.
What is a good starting setting for genuine leather?
A good starting point is 30% power, 500 mm/s, 1 pass, 500 DPI. For 3 mm top-grain cowhide, try 65% and 225 mm/s. Run a test grid and adjust.
Are xTool's library leather presets reliable?
Not always. An 80% / 600 mm/s preset can barely mark a genuine leather belt. A working row on that belt was 30% power and 20 mm/s.
What settings work for leatherette hat patches?
A yellow-to-black leatherette patch marked at 90% power, 180 mm/s, 1 pass, 250 lines/cm, 40 kHz. PU leatherette text marked at 65%, 225 mm/s, 120 lines/cm, 40 kHz.
Can the xTool F2 Ultra UV cut leather?
Yes. Thick bridle butt can cut with clean, char-free edges. A starting cut for 1 mm PU leather is 100% power and 10 mm/s, 1 pass.
Does UV leather engraving smell?
Less than CO2 or diode, but not zero. Some jobs have no burnt-leather smell. Genuine leather can still smell quite a bit.
Why do different colored leathers look different with the same settings?
Each color reacts differently. Save a separate setting for each leather color.
Why does my silver leatherette come out grey?
Black-to-silver leatherette can turn more grey than silver, even after a test grid. Try a different two-tone stock.
Related guides
- How to focus a UV laser
- Best UV laser blanks to buy and sell
- UV laser project ideas
- xTool F2 Ultra UV wood settings
- Best inline fans for the F2 Ultra UV
Final thoughts
Start genuine leather at 30% and 500 mm/s and faux leather at 32% and 400 mm/s, then let a test grid decide. Expect real leather to need much more energy than presets suggest. Save one setting per leather color.
Sources and further watching
- xTool Support, Processing Parameters for F2 Ultra UV
- xTool Support, Processing Parameters (Test Matrix)
- Bonny Creations, Genuine Leather on the F2 Ultra UV
- Bonny Creations, Faux Leather on the F2 Ultra UV
- Bonny Creations, F2 Ultra UV settings hub
- Atomm, Leather for Laser Engraving
- Atomm, Hat Patch Using F2 Ultra UV
- DAYGONE LASERCRAFT, UV Laser vs Real Leather
- DAYGONE LASERCRAFT, UV Laser vs Leatherette
- J.H.Leather, Gift Making with the F2 Ultra UV
- Hands On Katie, Testing An Impossible Laser
- Aurora Tech, F2 Ultra UV In-Depth Review
A material test grid on a genuine leather belt. (Video: DAYGONE LASERCRAFT on YouTube.)
A test grid and final settings on PU leatherette. (Video: DAYGONE LASERCRAFT on YouTube.)
Leather bookmarks, keyrings and char-free leather cutting. (Video: J.H.Leather on YouTube.)
Related settings
- xTool F2 Ultra UV Anodized Aluminum Settings: Business Cards & More (2026)
- xTool F2 Ultra UV Stainless Steel Settings: Dark, White, Color & Photo Chart (2026)
- xTool F2 Ultra UV Wood Settings: Basswood, Plywood, Pine & MDF Chart (2026)
- xTool F2 Ultra UV Acrylic Settings: Clear, Black & White Chart (2026)
- xTool F2 Ultra UV Ceramic Settings: Tiles & Mugs Chart (2026)
- xTool F2 Ultra UV Glass Settings: Flat Glass & Rotary Chart (2026)
- xTool F2 Ultra UV PLA Settings: 3D Print Colour Chart (2026)
- xTool F2 Ultra UV Slate Settings: Power, Speed & Frequency Chart (2026)
- xTool F2 Ultra UV Tumbler Settings: Powder-Coated & Stainless (2026)
- Can a UV Laser Engrave Slate?
- Can a UV Laser Engrave Glass?
Keep reading
xTool F2 Ultra UV Wood Settings: Basswood, Plywood, Pine & MDF Chart (2026)
Sourced xTool F2 Ultra UV wood settings for engraving basswood, pine, Baltic birch plywood and MDF, plus 3D emboss, cutting limits, a test-grid method and troubleshooting.
Read more8 min read
xTool F2 Ultra UV Stainless Steel Settings: Dark, White, Color & Photo Chart (2026)
Sourced xTool F2 Ultra UV stainless steel settings for slate-grey, white, deep, color and photo engraving on dog tags and cards, plus defocus tips, a test-grid method and troubleshooting.
Read more8 min read
xTool F2 Ultra UV Anodized Aluminum Settings: Business Cards & More (2026)
Sourced xTool F2 Ultra UV anodized aluminum settings for black, blue and pink metal business cards and fidget pens, plus bare aluminum notes, a test-grid method and troubleshooting.
Read more7 min read